


22- ENG
GENERATOR
Cleaning
Risk of unsafe operation.
When cleaning, use only mild soap and
a damp cloth on plastic parts. Many
household cleaners contain chemicals
which could seriously damage plastic.
Also, do not use gasoline, turpentine,
lacquer, paint thinner, dry cleaning fluids
or similar products which may seriously
damage plastic parts. Never let any
liquid get inside the tool; never immerse
any part of the tool into a liquid.
The generator should be kept clean and
dry at all times. The generator should not
be stored or operated in environments
that include excessive moisture, dust
or any corrosive vapors. If these
substances are on the generator, clean
with a cloth or soft bristle brush. Do
not use a garden hose or anything with
water pressure to clean the generator.
Water may enter the cooling air slots
and could possibly damage the rotor,
stator and the internal windings of the
alternator.
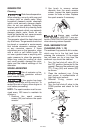
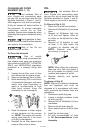
SPARK ARRESTER
Risk of explosion or fire.
DO NOT operate generator without
spark arrestor (WW).
If the engine has been
running, the muffler will be very hot. To
reduce the risk of injury, allow engine to
cool before proceeding.
NOTE: The spark arrester must be ser-
viced every 100 hours to maintain its
efficiency.
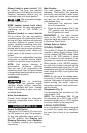
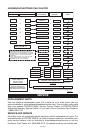
1. Remove the spark arrestor
screws (XX) and remove the spark
arrestor.
WW
XX
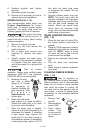
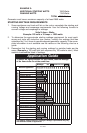
2. Use brush to remove carbon
deposits from the spark arrester
screen. Inspect the spark arrester
screen for holes or tears. Replace
the spark arrester if necessary.
WW
Always wear certified
safety equipment: ANSI Z87.1 eye pro-
tection (CAN/CSA Z94.3) with side shields
when removing carbon deposits.
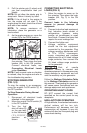
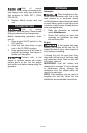
FUEL SEDIMENT CUP
CLEANING (FIG. 1, 10)
The sediment cup prevents dirt or water,
which may be in the fuel tank from
entering the carburetor. If the engine
has not been run for a long time, the
sediment cup should be cleaned.
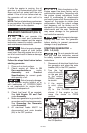
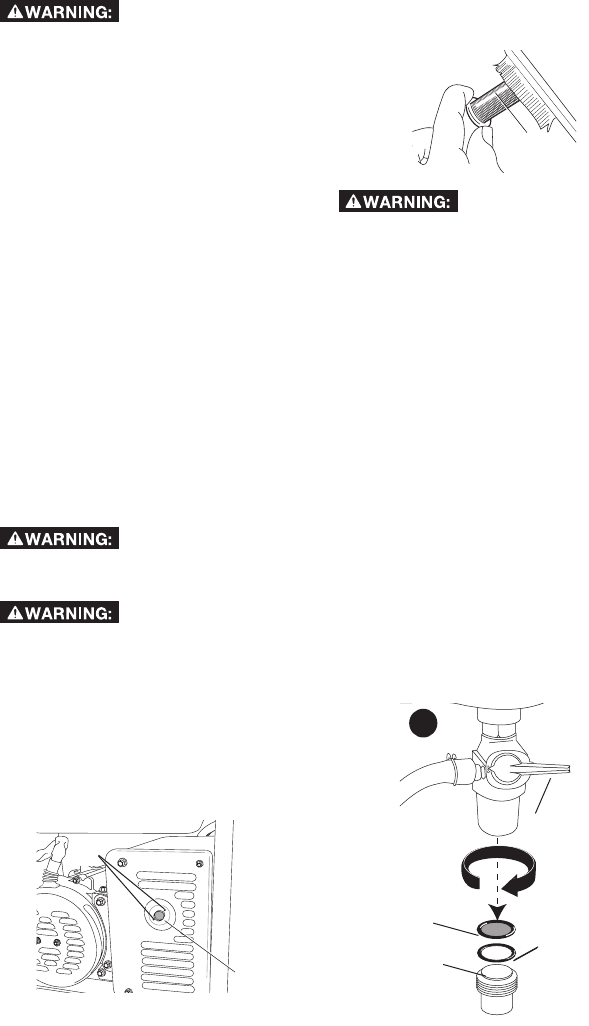
1. Turn the fuel shut-off valve (G) to
the OFF position (horizontal to the
ground). Remove the sediment cup
(TT), O-ring (UU) and screen (SS)
as shown.
2. Clean the sediment cup, O-ring
and screen in nonflammable or
high flash point solvent.
3. Reinstall O-ring, screen and
sediment cup.
4. Turn the fuel shut-off valve to the
OPEN position and check for fuel
leaks.
SS
UU
G
TT
10