3.29
ENGINE
3
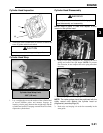
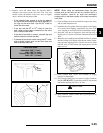
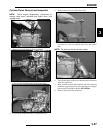
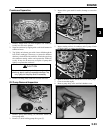
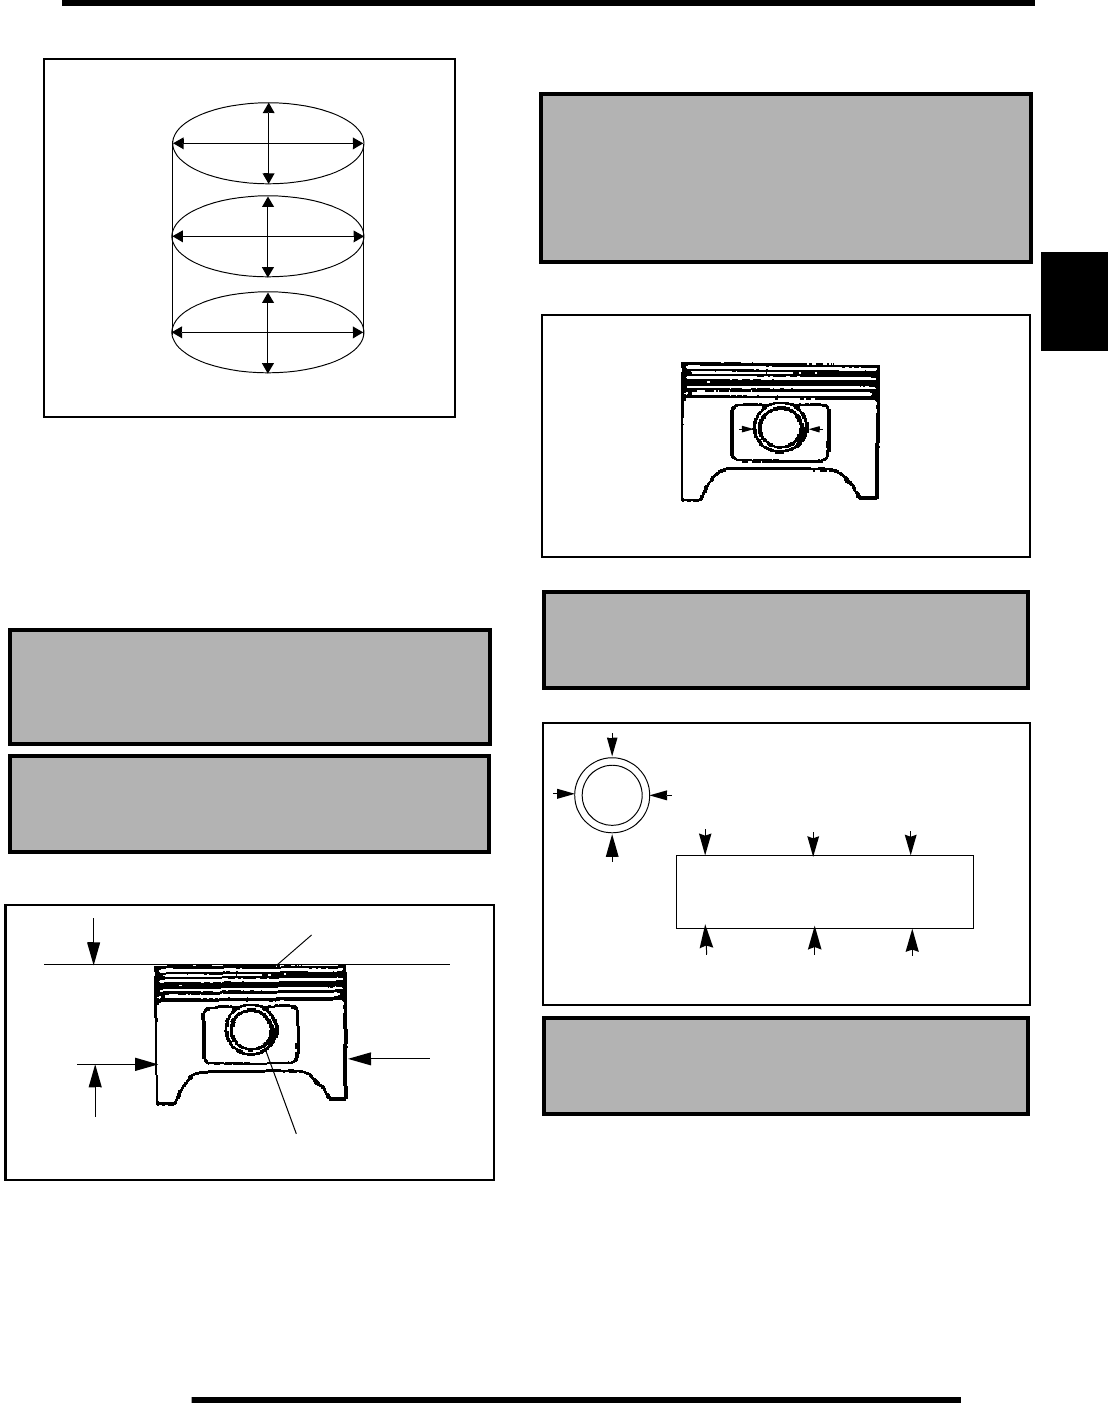
3. Inspect cylinder for wear, scratches, or damage.
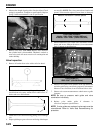
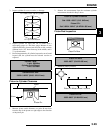
4. Inspect cylinder for taper and out of round with a
telescoping gauge or a dial bore gauge. Measure in two
different directions, front to back and side to side, on three
different levels (1/2” down from top, in the middle, and 1/
2” up from bottom).
5. Record measurements. If cylinder is tapered or out of round
beyond .002, the cylinder must be re-bored oversize or
replaced.
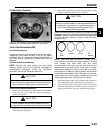
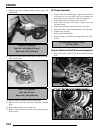
Piston-to-Cylinder Clearance
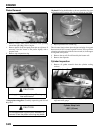
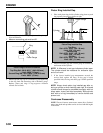
1. Measure piston outside diameter at a point 40 mm down
from the top of the piston at a right angle to the direction
of the piston pin.
2. Subtract this measurement from the maximum cylinder
measurement obtained in Step 5 above.
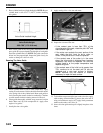
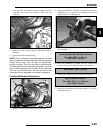
Piston/Rod Inspection
1. Measure piston pin bore.
Cylinder Taper
Limit: .002 Max.
Cylinder Out of Round
Limit: .002 Max.
Standard Bore Size:
3.6221-3.6228” (92.00 - 92.012 mm)
1/2” Down From Top of Cylinder
1/2” Up From Bottom
X
X
X
Y
Y
Y
Piston Pin
Piston
40 mm
Piston to Cylinder Clearance
Std: .0006- .0018” (.015- .045 mm)
Piston O.D.:
Std: 3.6204- 3.6215” (91.970-91.985 mm)
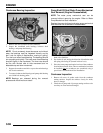
Piston Pin Bore:
.9055-.9057” (23.0-23.006 mm)
Piston Pin O.D.
.9053-.9055” (22.994-23.0 mm)
Piston Pin Bore
Piston Pin Measurement Locations


