


6.24
CLUTCH SYSTEM
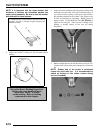
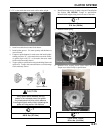
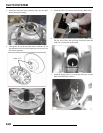
12. Inspect the bearing for wear. Spin the bearing, if the
bearing does not spin smoothly replace as needed. To
remove the bearing, simply press the bearing from the shaft.
13. Inspect the bearing for wear. Spin the bearing, if the
bearing does not spin smoothly replace as needed. To
remove the bearing, simply press the bearing from the shaft.
14. Inspect the cam assembly (helix) bushing for wear. If the
bushing is worn or the shaft does not fit snug into the
bushing, replace the cam assembly (cover).
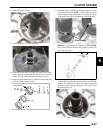
DRIVEN CLUTCH BUSHING REMOVAL/
INSTALLATION
NOTE: Special Tool Required: EBS CLUTCH
BUSHING REMOVAL AND INSTALLATION
NOTE: Bushings are installed at the factory using
Loctite
609. In order to remove bushings it will be
necessary to apply heat evenly to the area around
each bushing. Clean all residual Loctite
from
bushing bore prior to installing new bushing.
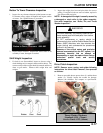
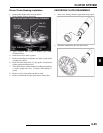
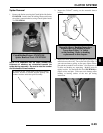
Driven Clutch Bushing Removal
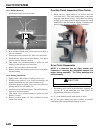
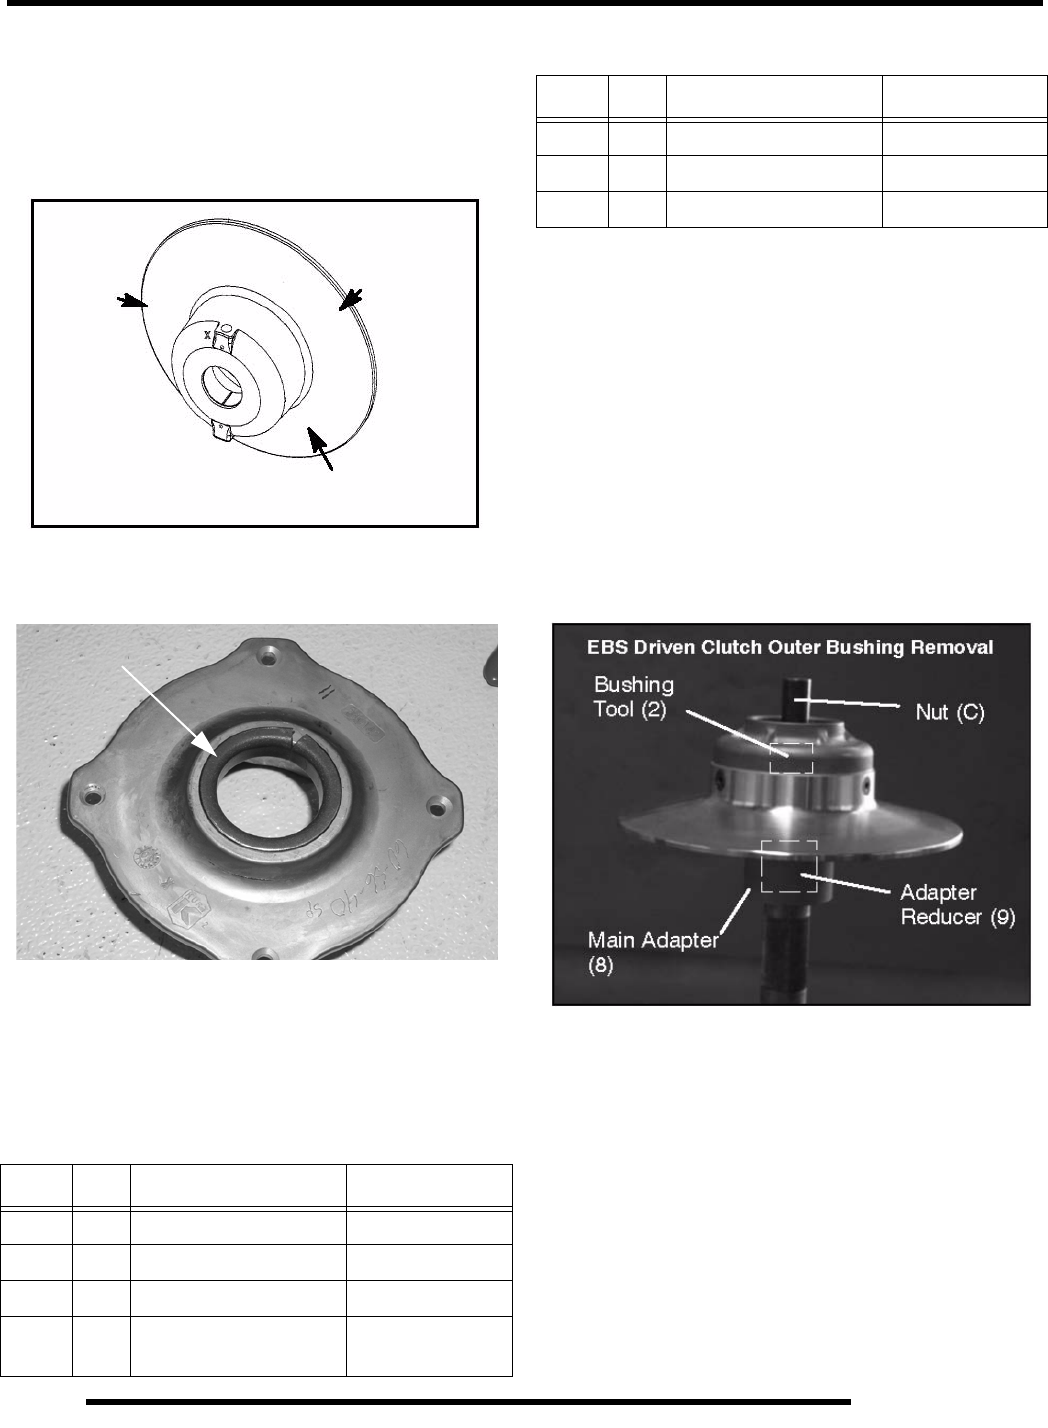
1. Install main puller adapter (Item 8) onto puller.
2. Install adapter reducer (Item 9).
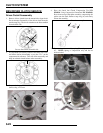
3. Using a hand held propane torch, apply heat around outside
of bushing until tiny smoke tailings appear.
4. Flip sheave over so bushing faces downward and install
onto puller.
5. Install bushing tool (Item 2).
6. Install left hand nut (C) and spacer onto puller rod and
tighten by hand. Turn puller barrel for further tension if
needed.
7. Turn clutch sheave counterclockwise until bushing is
removed and sheave comes free.
8. Remove nut (C) (left hand thread) from puller rod and set
aside.
9. Remove adapters from puller.
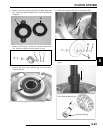
10. Remove bushing and removal tool from adapters. Discard
bushing.
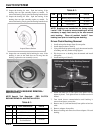
Table 6-1:
ITEM QTY PART DESCRIPTION PART #
A, B 1 EBS Puller Tool 5132027
C 1 EBS Puller Nut 5132501
D 1 EBS Main Adapter 5132029
E1
EBS Bushing Removal
Tool Instructions
5132028
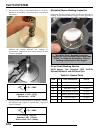
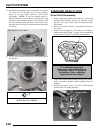
Inspect Sheave Surface
Inspect Bushing
-- 1 Bushing Replacement Kit 2871226
-- 1 Piston Pin Puller 2870386
-- 1 Instructions 9915111
Table 6-1:
ITEM QTY PART DESCRIPTION PART #