


PREPARA
TION 17
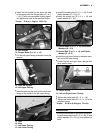
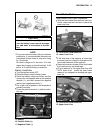
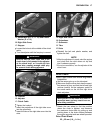
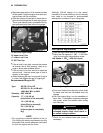
A.
Socket Bolt (D = 5, L = 16) and Plastic
Washer (D = 5.3)
B.
Rig
ht Side Cover
C. Stopper
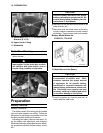
•
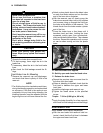
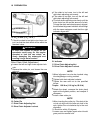
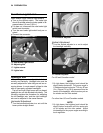
Loosen the locknut at the middle of the clutch
cable.
•
Turn the adjuster until the free play is correct.
WARNING
Be sure that the outer cable end at the
clutch lever is fully seated in the adjuster
at the clutch lever, or it could slip into
place later, creating enough cable play
to prevent clutch disengagement.
A. Locknut
B. Adjuster
C. Clutch Cable
•
Tighten the locknut.
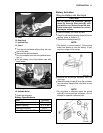
•
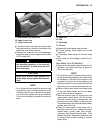
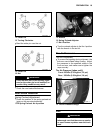
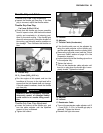
Insert the projections of the right side cover
into the grommets.
•
Insert the tabs of the right side cover into the
slots.
A. Right Side Cover
B. Projections
C. Gr
ommets
D. Tabs
E. Slots
•
Reinstall the bolt and plastic washer, and
tighten the bolt.
NOTE
żAfter the adjustment is made, start the engine
and check that the clutch does not slip and
that it releases properly.
żFor minor corrections, use the adjuster at the
clutch lever.
Drive Chain
Drive Chain Slack and Wheel Alignment
Inspection
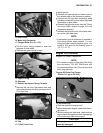
•
Set the motorcycle up on its side stand.
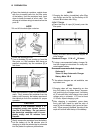
•
Make sure that the drive chain has the speci-
fied amount of play, and that the left and right
notches (marks) on the swingarm points to
the same marks on the left and right drive
chain adjusters.
WA RNING
Misalignment of the wheel will result in
abnormal wear, and may result in an un-
safe riding condition.
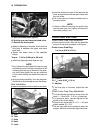
•
Rotate the rear wheel to find the position
where the chain is tightest, and measure
the maximum chain slack by pulling up and
pushing down in the chain midway between
the engine sprocket and rear wheel sprocket.
Drive Chain Slack:
25
a
35 mm (1.0
a
1.4 in.)