Battery
WARNING
• Wear safety glasses or approved eye protection when servicing the vehicle.
• Follow all instructions carefully when working with batteries.
• When jumping from a booster battery make nal (negative) connection at engine frame.
• Do not jump start or charge a frozen or damaged battery. Unplug charger before connecting or
disconnecting cables to the battery. Never lean over battery while boosting, testing, or charging.
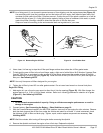
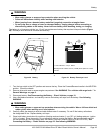
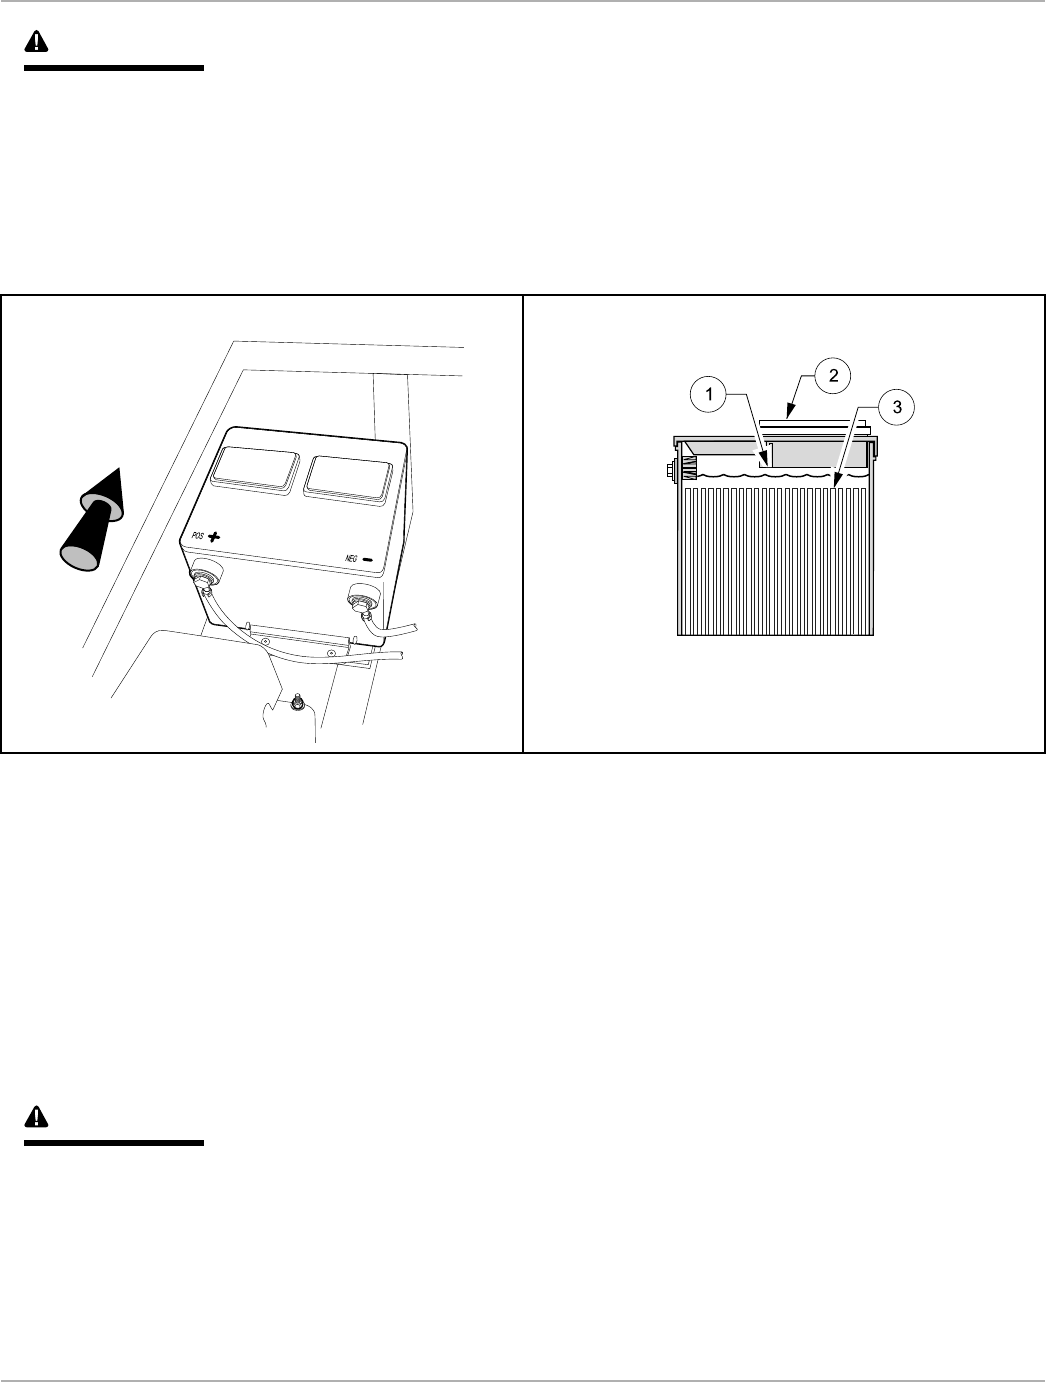
The battery in a Husqvarna vehicle is a 12-volt, low-maintenance battery that requires infrequent checks (Figure
28). Electrolyte level should be checked semiannually.
NEG
POS
1
3
2
1. Level Indicator 2. Cap 3. Plates
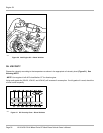
Electrolyte level at least 1/2 inch (13 MM) above plates or to level
indicator.
222
Figure 28 Battery
22
Figure 29 Battery Electrolyte Level
1. Turn the key switch to the OFF position and remove the key. Place the Forward/Reverse handle in the NEUTRAL
position. Chock the wheels.
2. Remove driver-side seat to access engine compartment. See WARNING “For vehicles with cargo beds...” in
General Warnings on page 8.
3. Disconnect battery. See Disconnecting the Battery – Diesel Vehicles on page 10.
4. Use a at-blade screwdriver, and carefully remove the battery cell caps from the battery. See following
WARNING.
WARNING
• Wear safety glasses or approved eye protection when servicing the vehicle. Wear a full face shield and
rubber gloves when working on or near batteries.
5. Carefully check the electrolyte level and add distilled water if necessary. Do not ll the battery cells above
the designated ll line. Replace battery cell caps.
6. Clean both battery terminals with a solution of baking soda and water (1 cup (237 mL) baking soda per 1 gallon
(3.8 L) of water). Rinse thoroughly. Do not allow this solution to enter the battery. Be sure terminals are tight.
Let the terminals dry and then spray them with Battery Terminal Protector Spray (P/N 603 00 00-03). See
Connecting the Battery – Diesel Vehicles on page 10. See following WARNING.
HUV 5420 DX All-Wheel Drive CE Mark Diesel Vehicle Owner’s Manual Page 45


