KK-XXX-03_INST_10-07
15
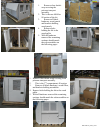
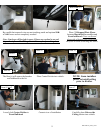
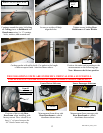
Begin to tighten
ALL
loose hardware on the remainder of the unit,
b
eing sure to align edges and bends of materials being tightened. This
will square the unit to itself.
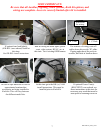
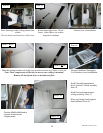
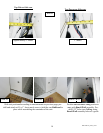
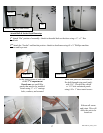
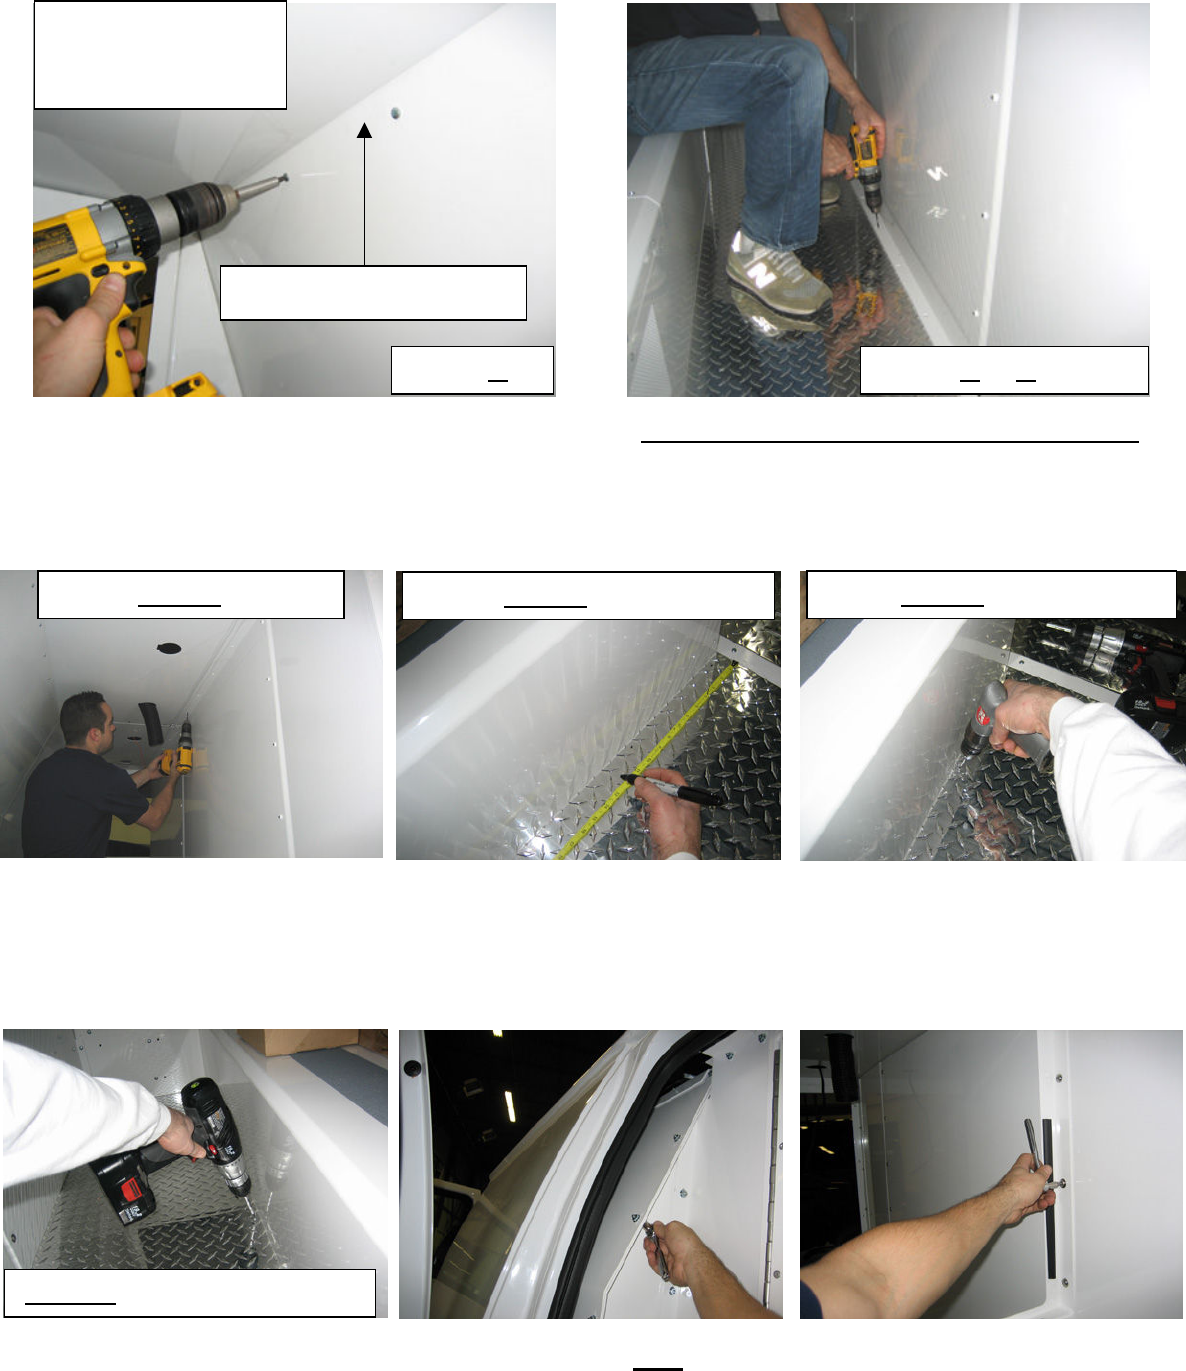
Pre-drill through
Ceiling
sections, (using
Divider as a template), with 3/16” drill
bit and attach using ¼” x 1 ½” hex head
lag bolts
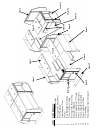
Item #5 through #8 into #7
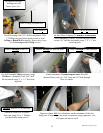
Attach remainder of
Diam
ond plate floor.
Pre-drill
diamond floor (only) w/ 3/16” hole and 1/8” hole through
floor of vehicle
Item #4 through #1 into van floor
Item 4 through #1 into van floor
Attach to wood floor or rubber
floor mat using #10 x 1” Phillips
pan head sheet metal screws
Through Item #4, #1, & van floor
Be Sure Floor Is Square To
Benches
&
Bulkheads.
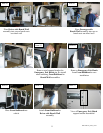
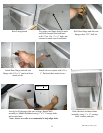
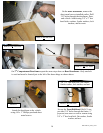
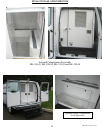
Attach Divider to vehicle. Pre-drill through floor(s)
using 3/16” drill bit and attach using ¼” x 1 ½” hex
head lag bolts
Item #5 & #4 to van floor
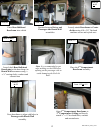
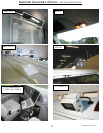
Pre-drill ceiling with 5/32” drill bit and attach #10 x
1” Phillips pan head sheet metal screws to hold
Ceiling to Bench/Wall assembly. Repeat these steps
on the Passenger-side Ceiling section
Item #8 to #2
Be careful when pre-
drilling not to hit
hoses, wires, etc…
Note: Ceiling is behind wall


