


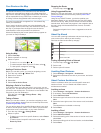


5
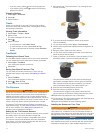
Screw the end piece back into the vehicle power cable
Ã
.
Mounting on Your Dashboard
NOTICE
The permanent mounting adhesive is extremely difficult to
remove after it is installed.
You can use an optional mounting disk to mount your device to
the dashboard and comply with certain state regulations. See
www.garmin.com for more information.
1
Clean and dry the dashboard where you are placing the disk.
2
Remove the backing from the adhesive on the bottom of the
disk.
3
Place the disk on the dashboard.
4
Remove the clear plastic cover from the top of the disk.
5
Place the suction cup mount on top of the disk.
6
Flip the lever down (toward the disk).
Removing the Device, Mount, and Suction
Cup
Removing the Device from the Mount
1
Press the release tab or button on the mount.
2
Tilt the device forward.
Removing the Mount from the Suction Cup
1
Turn the device mount to the right or left.
2
Apply pressure until the socket on the mount releases the
ball on the suction cup.
Removing the Suction Cup from the Windshield
1
Flip the lever on the suction cup toward you.
2
Pull the tab on the suction cup toward you.
Purchasing Additional Maps
1
Go to your device product page at (www.garmin.com).
2
Click the Maps tab.
3
Follow the on-screen instructions.
Safety Cameras
NOTICE
Garmin is not responsible for the accuracy of or the
consequences of using a custom point of interest or a safety
camera database.
Information about safety camera locations and speed limits is
available in some areas. Go to www.garmin.com/safetycameras
to check availability or to purchase a subscription or one-time
update. You can purchase a new region or extend an existing
subscription at any time.
You can update safety cameras for an existing safety camera
subscription by going to http://my.garmin.com. You should
update your device frequently to receive the most up-to-date
safety camera information.
For some devices and regions, basic safety camera data may
be included with your device. Included data does not include
updates or a subscription.
Custom Points of Interest
Custom POIs are customized points on the map. They can
contain alerts that let you know if you are near a designated
point or if you are traveling faster than a specified speed.
Installing POI Loader
You can create or download custom POI lists on your computer
and install them on your device using POI Loader software.
1
Go to www.garmin.com/poiloader.
2
Follow the on-screen instructions.
Using the POI Loader Help Files
For more information on the POI loader, refer to the Help file.
With the POI loader open, click Help.
Finding Custom POIs
Before you can find custom POIs, you must load custom POIs
on your device using the POI Loader software (Installing POI
Loader).
1
Select Where To? > Categories.
2
Scroll to the Other Categories section, and select a category.
Purchasing Accessories
Go to http://buy.garmin.com.
Device Information
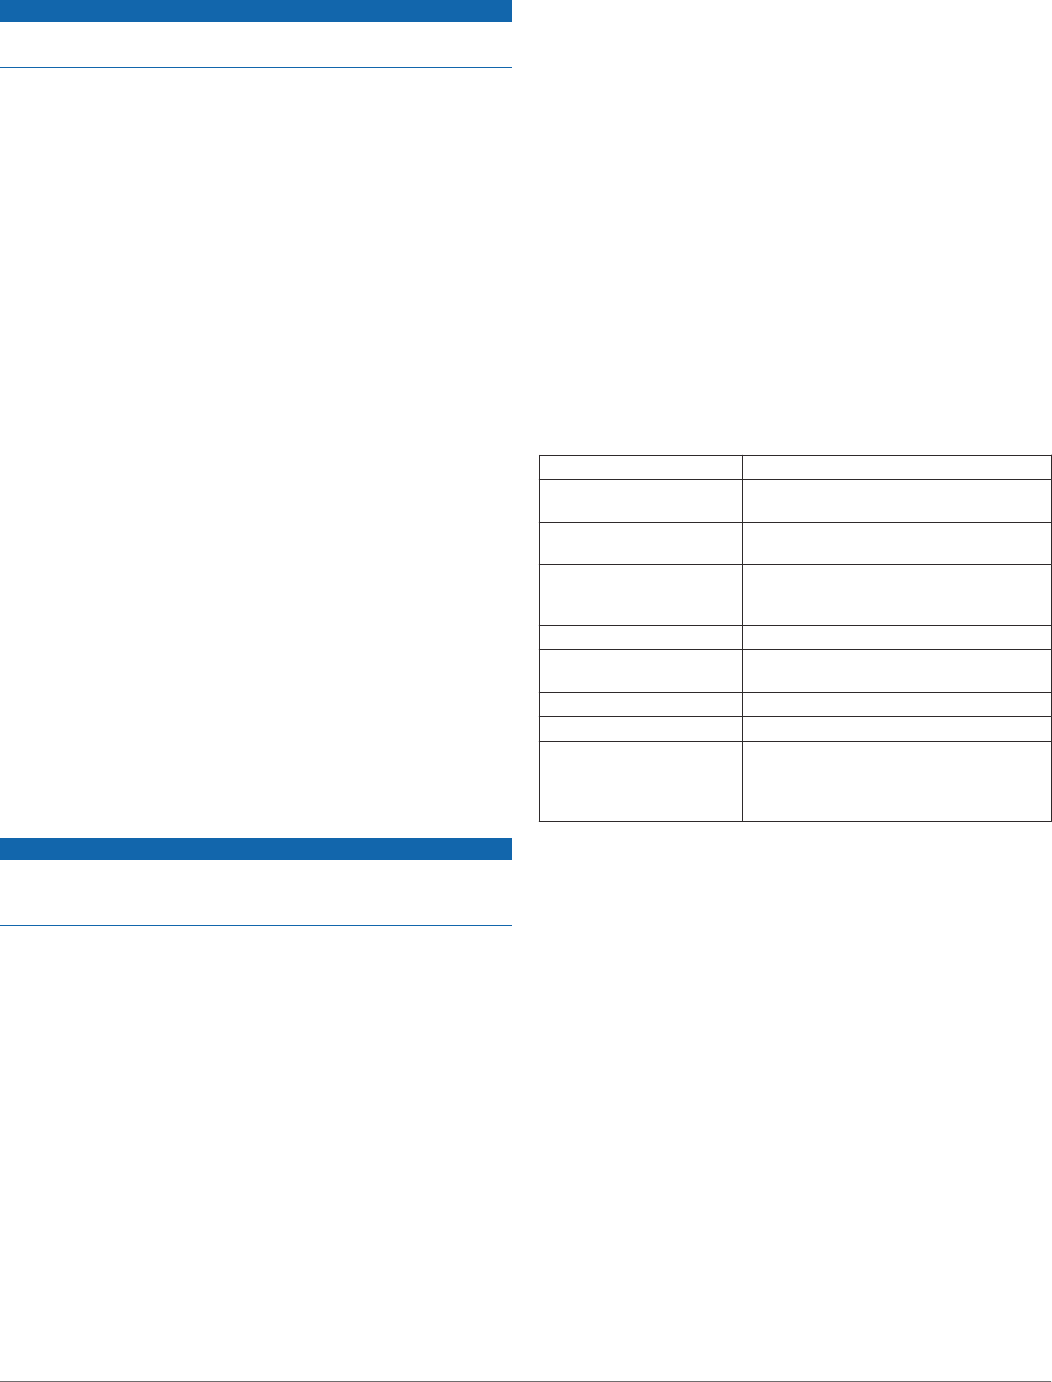
Specifications
Water resistance IEC 60529 IPX7
Operating temperature
range
-4° to 131°F (-20° to 55°C)
Charging temperature
range
32° to 113°F (0° to 45°C)
Power input (CLA,
motorcycle, or external
power)
8–28 Vdc
Power input (USB) 5 V ±0.25 V
Battery life Up to 4 hours, depending on usage and
settings
Battery type User-replaceable lithium-ion battery
Battery voltage range 3.5 V–4.1 V
Radio frequency protocol 2.4 GHz ANT+™ wireless communications
protocol (for VIRB Remote)
2.4 GHz ANT™ (for Tire Pressure Monitor
System)
Troubleshooting
My device is not acquiring satellite signals
• Verify the GPS simulator is turned off (Navigation Settings).
• Take your device out of parking garages and away from tall
buildings and trees.
• Remain stationary for several minutes.
The device does not charge in my vehicle
• Check the fuse in the vehicle power cable (Changing the
Fuse in the Vehicle Power Cable).
• Verify the vehicle is turned on and is supplying power to the
power outlet.
• Verify the interior temperature of the vehicle is between 32°
and 113°F (between 0° and 45°C).
• Verify that the fuse is not broken in the vehicle power outlet.
My battery does not stay charged for very
long
• Decrease the screen brightness (Display Settings).
• Shorten the display timeout (Display Settings).
18 Device Information