1
Introduction
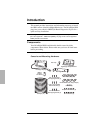
This manual provides instructions and information necessary to install
the OBD version of the DriveRight 600
E device. The DriveRight OBD
plugs into your vehicle’s OBDII (On-Board Diagnostics II) port for a
quick and easy installation.
Note: DriveRight OBD only functions in vehicles equipped with a compatible OBDII
port. See “Appendix 1: OBDII Compatibility” on page 10 for a list of supported
OBDII protocols and vehicles.
Components
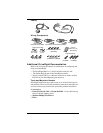
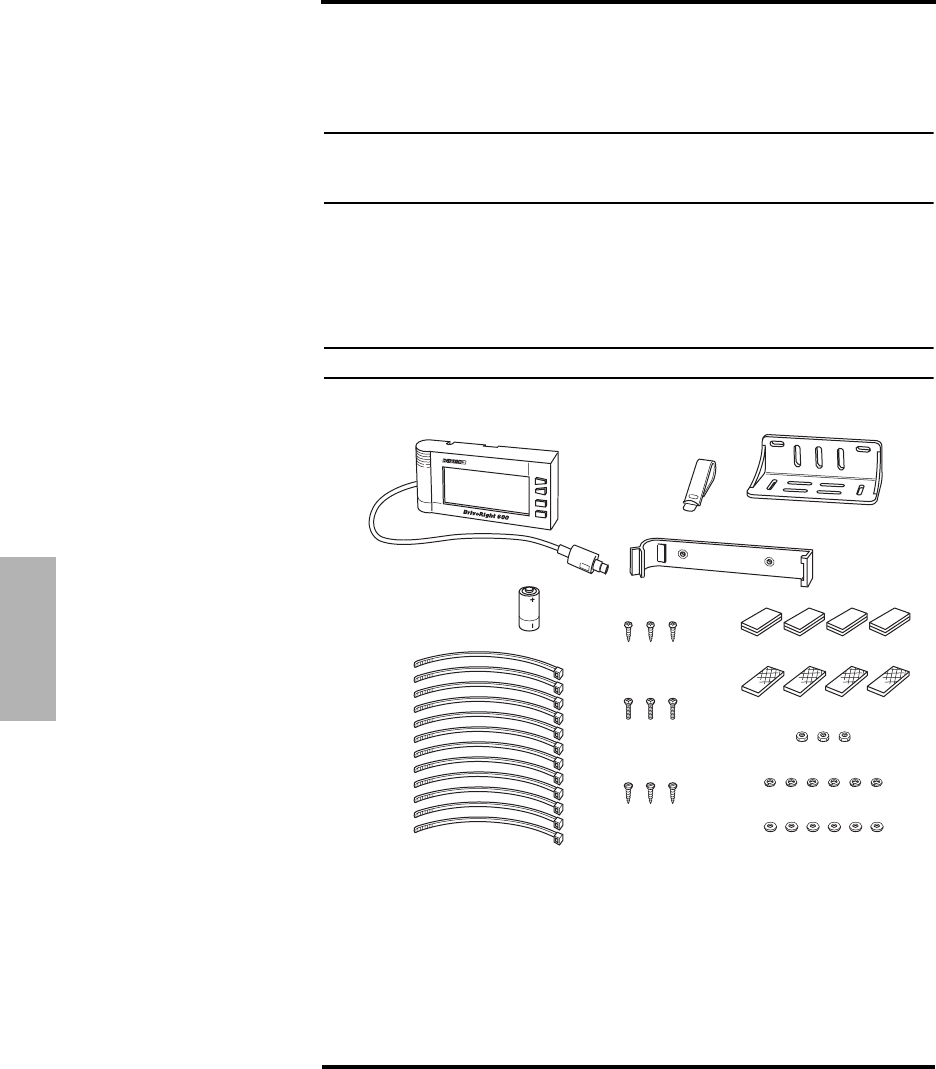
Your DriveRight OBD installation kit should come with all the
components shown below. Please make sure you have all listed items
before proceeding.
Note: Hardware includes spare pieces not required for all installation.
Console and Mounting Hardware
Mounting Bracket
Battery
(CR123
3V Lithium)
Visor Clip
Right Angle Adapter Bracket
Velcro
®
Tape (4 pair)
Double-Sided Foam Tape (4 strips
)
#6 x 1/2" Pan Head
Self-Tapping Screws (3)
#6 x 1/2" Flat Head
Self-Tapping Screws (3)
6-32 x 1/2" Flat Head
Machine Screws (3)
6-32 Nuts (3)
#6 Flat Washers (6)
#6 Split Lock Washers (6)
DriveRight Display
Tie Wraps (12)


