


9
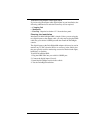
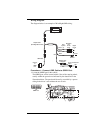
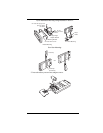
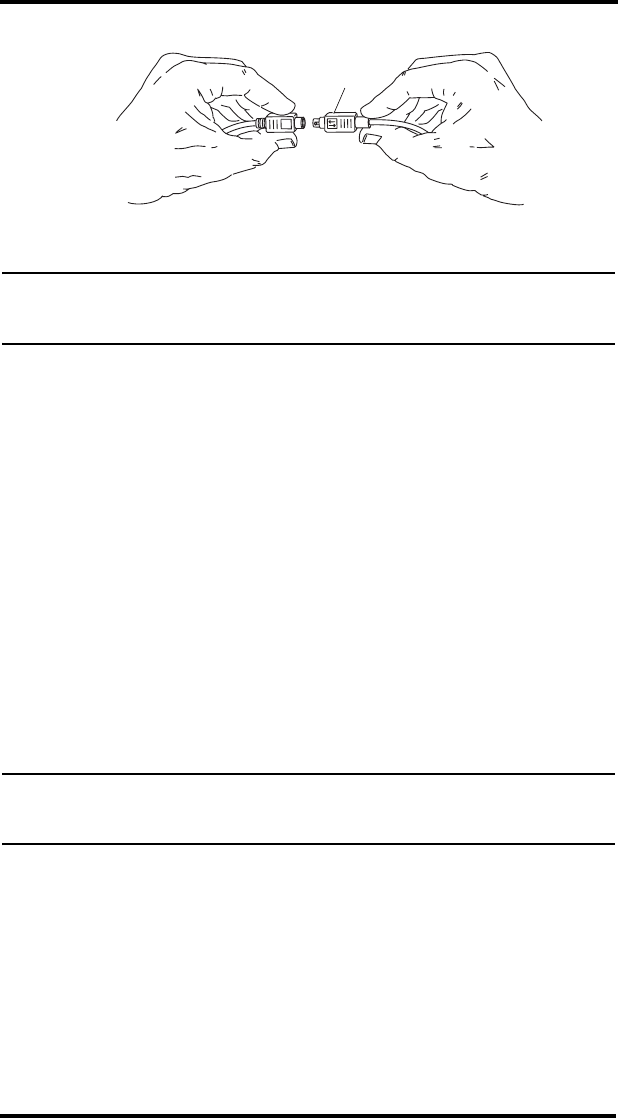
3. Connect the DriveRight console cable to the adapter cable.
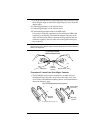
Note: To disconnect the cables, hold the both cables by the connector housing and pull
apart. The sliding housing on the console cable connector will release the lock
and allow the cables to be separated.
Once plugged in, the console should “wake-up” into the Current
Readings screen. If the display remains blank, make sure the battery
is properly installed in the unit. If it is, try pressing MODE. If the
screen remains blank after pressing MODE, press both MODE and
PLUS simultaneously. If it remains blank after that, check the
OBDII port connection.
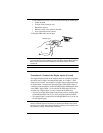
Procedure 4: Test the Installation
1. Take a test drive and verify that the console displays vehicle speed.
2. If the speed shown in the DriveRight console appears to be off,
check the console’s calibration. You can calibrate DriveRight in the
vehicle using the instructions in your DriveRight User’s Guide, but
you will have much better accuracy with the DriveRight OBD if you
calibrate it in the DriveRight software using the following settings:
• PPM (pulses per mile) = 75,000
• PPR (pulses per reading) = calculated by software
• Calibration Number = calculated by software
Note: If you are using DriveRight FMS 3.1 or later, just select the “OBD” installation
method in the Device Settings dialog box when you configure the DriveRight
console.
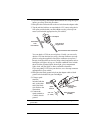
Sliding Connector
Housing
Hold cables as shown to connect. The connector housing on the console
cable slides back when you make the connection, allowing the cables to lock together.
Console CableOBD or Adapter Cable