


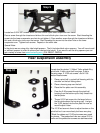
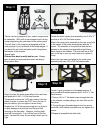

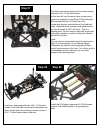

Insert the IRS precision ride height adjuster cams into
the rear alloy pod plates. Insert a 3/8” x ¼” flanged
bearing into each ride height adjuster and insert the
axle as shown. Install your favorite wheels and
measure the width of the car. Shim as necessary to
obtain a centered axle and a 200mm rear track width.
Special Note:
The DB10R is designed to work with IRS precision
ride height adjuster cams. We find too much size
variation in other cams and cannot guarantee they will
fit properly.
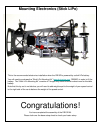
Step 23
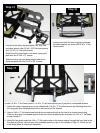
Install a 4-40 x ½” set screw into each flex plate.
Special note:
While these long set screws were initially designed
to be tweak screws in testing we found the nature
of the rear suspension system never lets the car
get tweaked.
Now, the set screws in the flex plates function as
roll stiffeners. If you want less roll in the rear of
you car, you can run them down so they just touch
the top of the lower chassis.
Under most conditions we run them so they are not
touching, or we do not install them at all.
Step 24
Step 25
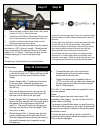
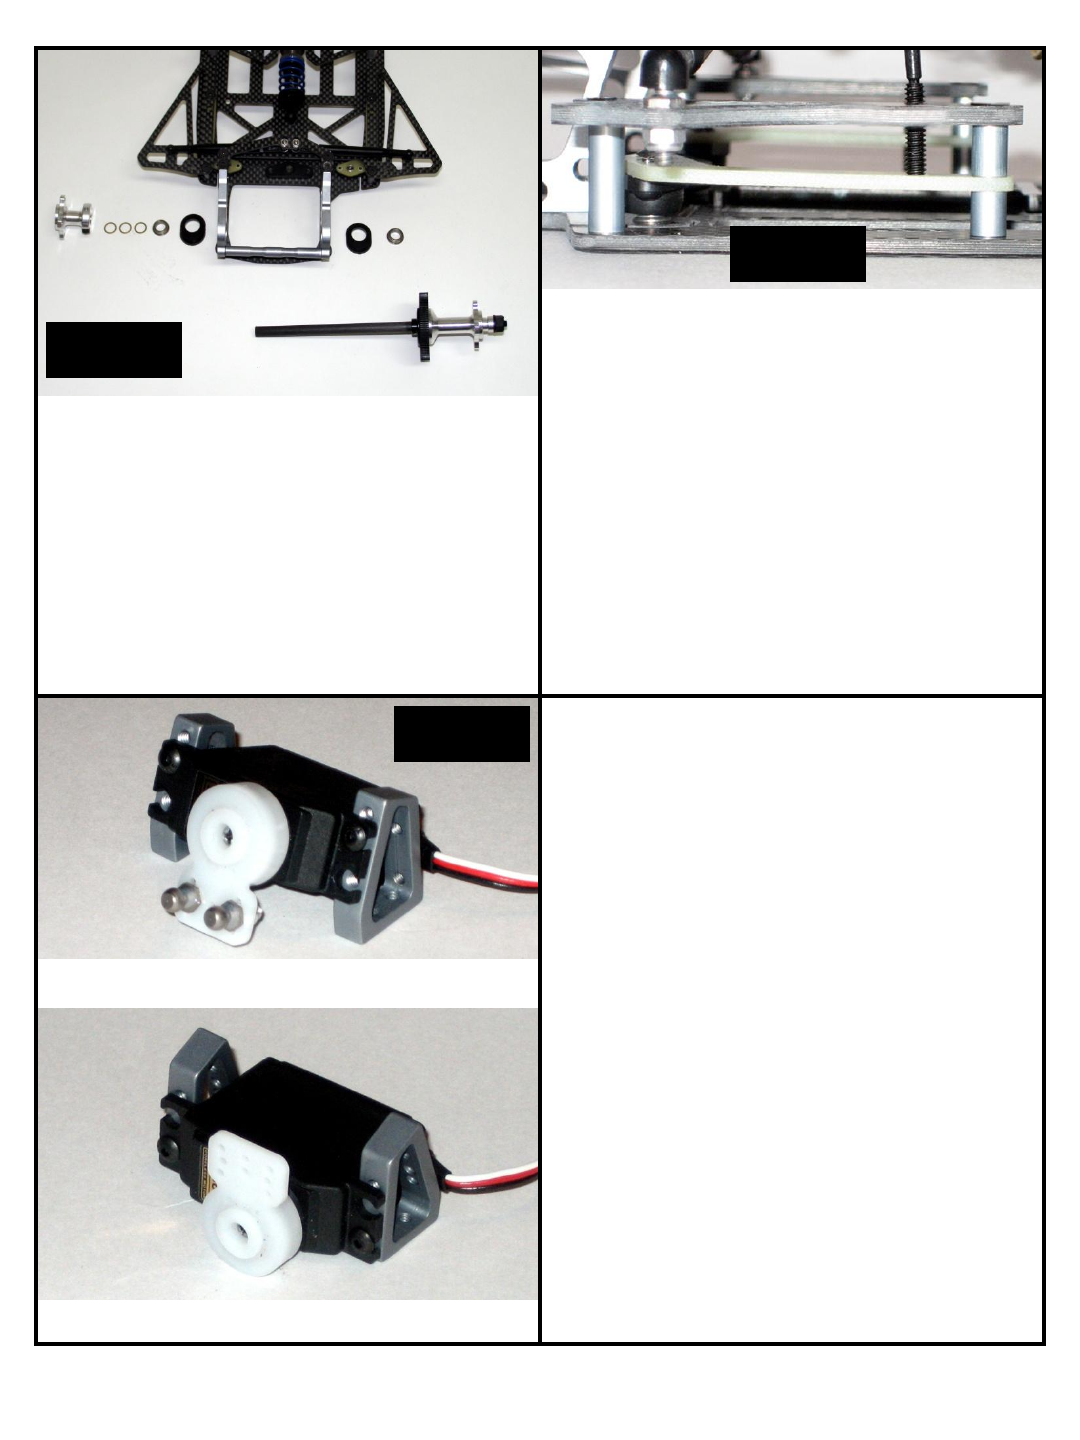
Angled Mounting
Flat Mounting
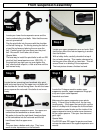
You have two servo mounting options with the
DB10R, Angled or Flat. The new BMI Servo
Mounts have holes to allow either mounting option.
The Reactive Caster front suspension used on the
DB10R is designed to function best with angled
servo mounting. The hardware supplied with this
kit is what you need for angled mounting.
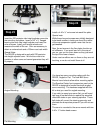
If you wish to mount your servo flat, you will need
two long off set ball studs to replace the standard
offset ball studs on your steering spindles. These
ball studs will correct the steering geometry and
eliminate the bump steer present if you did not use
them.
The servo is mounted to the servo mounts with two
4-40 x ¼” button head screws.