12
Chapter 2 Settings and Adjustments
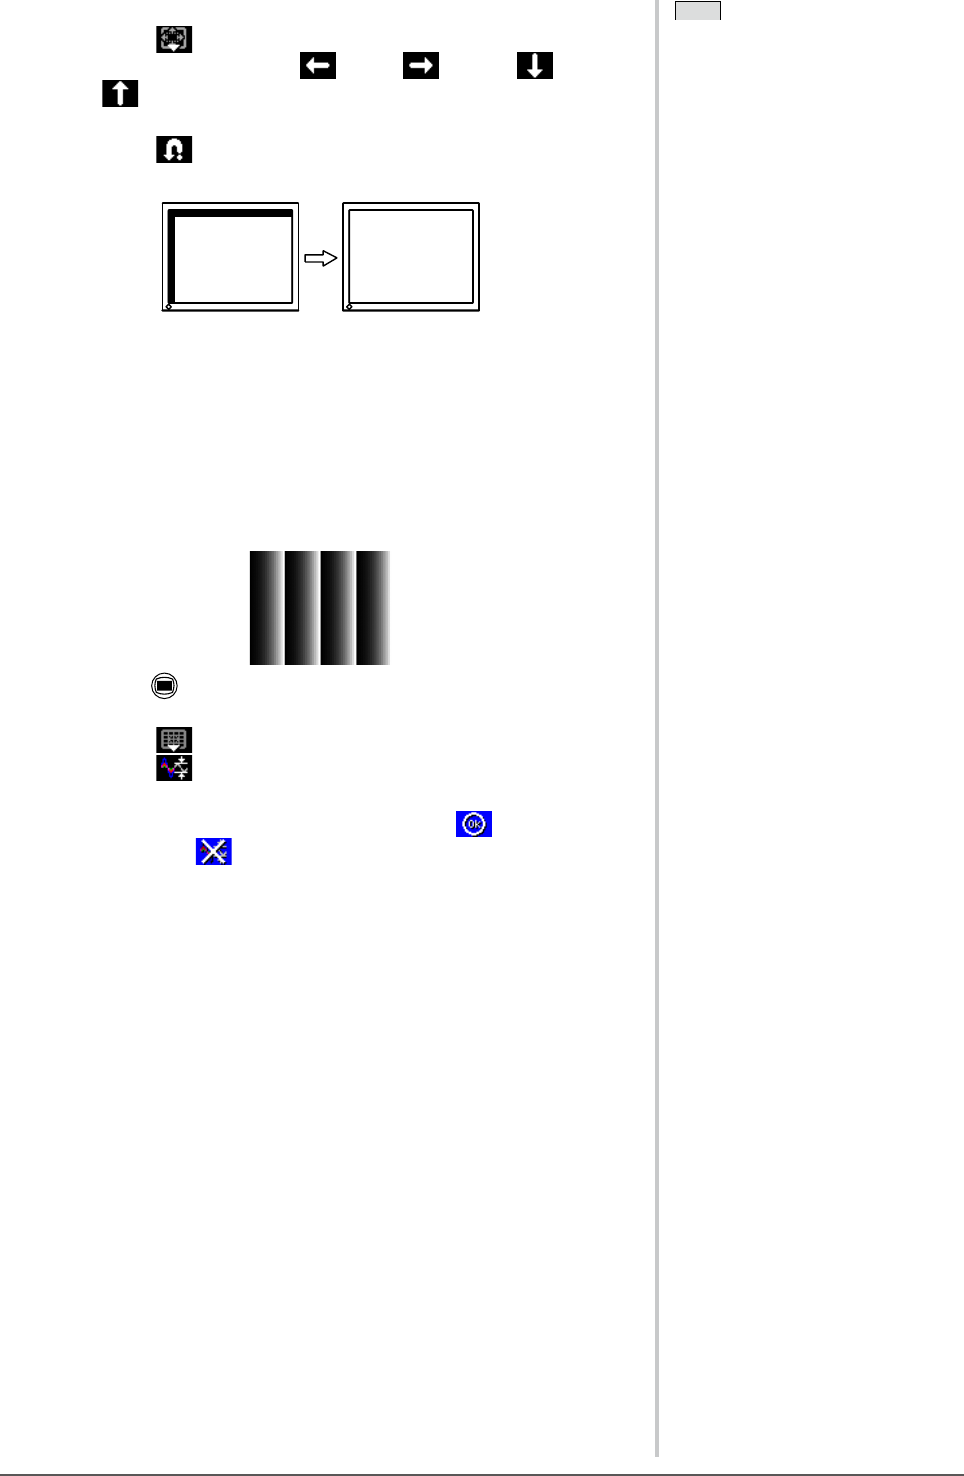
● To correct screen position [Position]
(1) Select
(Position).
(2) Adjust the position with (Left) / (Right) / (Down) /
(Up) to display the image properly in the display area of the
monitor.
(3) Select .
The adjustment is completed.
5
Adjust the color gradation.
● To adjust color gradation automatically [AutoRange]
Every
color gradation (0 to 255) can be displayed by adjusting the
signal output level.
(1) Display Pattern 2 in full screen on the monitor using the “Screen
AdjustmentUtility”orthescreenadjustmentpatternles.
(2) Press .
The adjustment menu appears.
(3) Select (Analog).
(4) Select (AutoRange).
Color gradation is adjusted automatically.
(5) Afterconrmingthescreenmessage,select (OK).
If you select (Undo), the monitor returns to the pre-adjusted status.
(6) Close the Pattern 2. When using the “Screen Adjustment Utility”,
close the program.
Note
• Since the number of pixels and the
pixelpositionsarexedontheLCD
monitor, only one position is provided
to display images correctly. The
position adjustment is made to shift
an image to the correct position.
• When vertical bars appear on the
screen after adjustment, go back to
“To eliminate vertical bars [Clock]”.
(Clock→Phase→Position)
