11
Chapter 2 Settings and Adjustments
3
Perform the AutoSize adjustment again with the analog screen
adjustment pattern displayed.
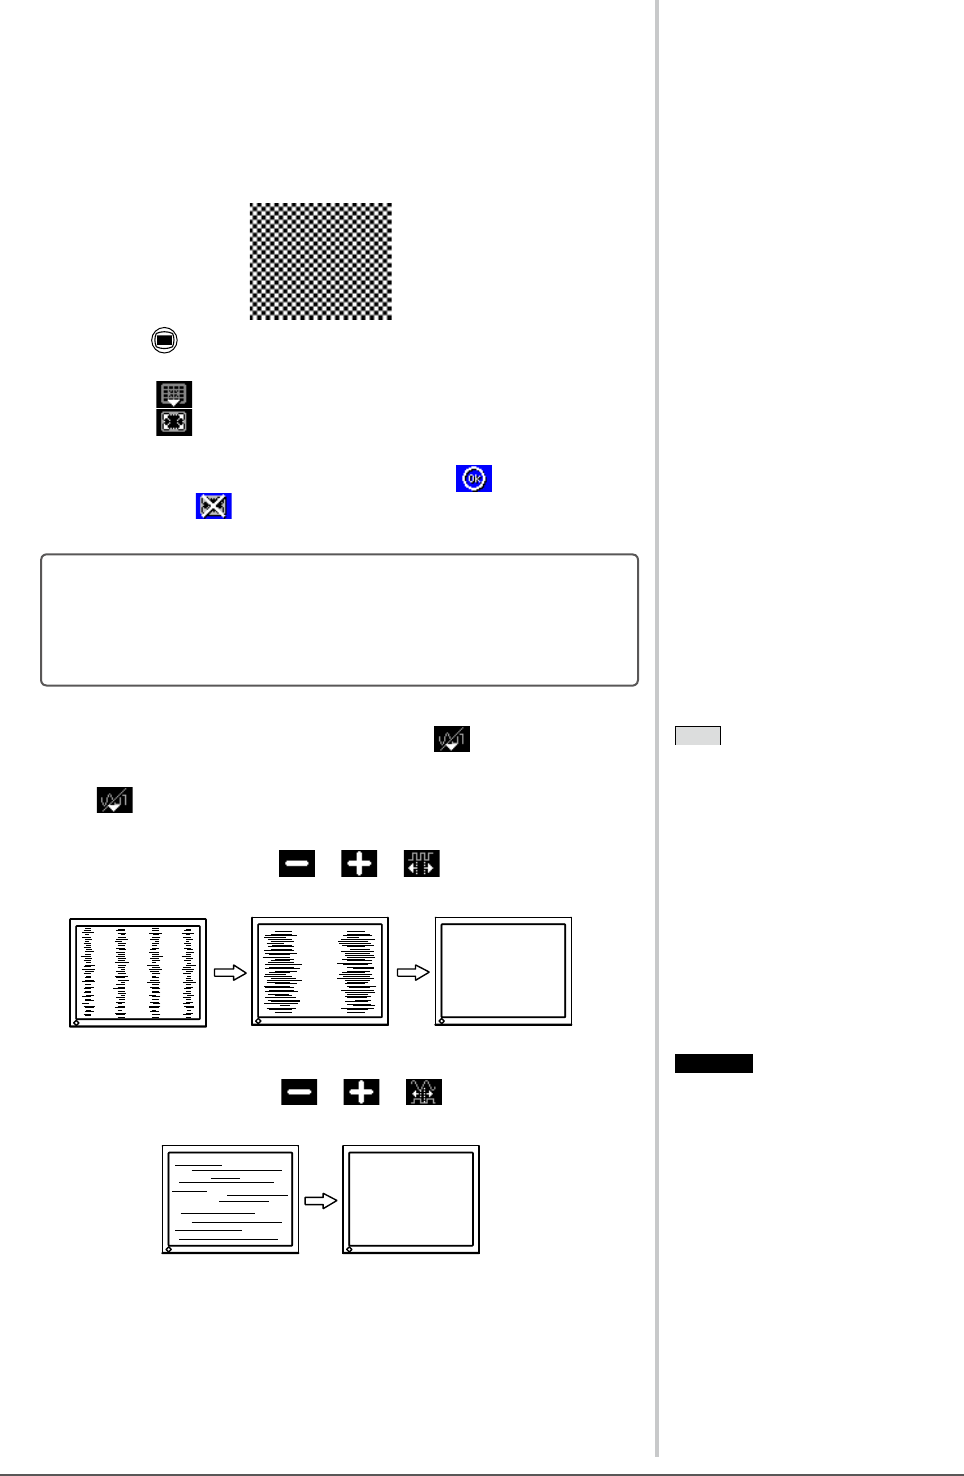
● Toadjustickering,screenposition,andscreensize
automatically [AutoSize]
(1) Display
Pattern 1 in full screen on the monitor using the “Screen
AdjustmentUtility”orthescreenadjustmentpatternles.
(2) Press .
The adjustment menu appears.
(3) Select (Analog).
(4) Select (AutoSize).
Flickering, screen position, and screen size are adjusted automatically.
(5) Afterconrmingthescreenmessage,select (OK).
If you select (Undo), the monitor returns to the pre-adjusted status.
If the screen is not displayed correctly even after adjusting in step
3 above, perform the adjustments according to the procedures on
the following pages. When the screen is displayed correctly, go to
step 5 “To adjust color gradation automatically [AutoRange]”.
4
Perform advanced adjustments by using (Manual) in the
adjustment menu.
Select
(Manual) to adjust the clock, phase and position, in this order.
● To eliminate vertical bars [Clock]
(1)
Adjust the clock with
or of (Clock) to eliminate
vertical bars.
● Toremoveickeringorblurring[Phase]
(1) Adjust the phase with
or of (Phase) to remove
ickeringorblurring.
Note
• Press the control button slowly so as
not to miss the adjustment point.
• Whenblurring,ickeringorbars
appear on the screen after adjustment,
proceed to [Phase] to remove
ickeringorblurring.
Note
• Press the control button slowly so as
not to miss the adjustment point.
• Whenblurring,ickeringorbars
appear on the screen after adjustment,
proceed to [Phase] to remove
ickeringorblurring.
Attention
• Flickering or blurring may not be
eliminated depending on your PC or
graphics board.
Attention
• Flickering or blurring may not be
eliminated depending on your PC or
graphics board.


