11
Installation
Chapter 4
24/48-Port 10/100 + 4-Port Gigabit Resilient Clustering Smart Switch with 2 Combo SFPs
(When you create your first user account, it will appear as
though you are editing the admin account; however, you
are only
replacing the admin account with the new account.
The admin account is not overwritten or deleted.)
Once you have created a user account, you can edit it
(change the user name and/or password) or delete it. If the
system contains only one user account and you delete that
account, the original admin account will reappear in its
place. This is because the system must always have at least
one account.
To add a new user, use the arrow keys to select Edit,
press Enter, then enter the new account’s user name and
password in the Username and Password columns, and
re-enter the password in the Password Again column to
confirm the password.
To delete an existing user account, use the arrow keys to
select Edit, press Enter, then delete the user name in the
Username column.
To save your changes, press Esc, use the arrow keys to
select Save, then press Enter.
Security Settings
The IP Configuration screen displays one option: Disable
Active Management Access Profile.
Security Settings
Selecting this option will prompt you to confirm that you
want to disable the active management access profile.
NOTE: This setting has no effect when
Management Access Rules are not defined.
IP Configuration
The IP Configuration screen displays three menu choices:
IP Address Settings, HTTP Configuration, and Network
Configuration.
IP Configuration
IP Address Settings
The IP Address Settings screen allows you to set the IP
information for the Switch.
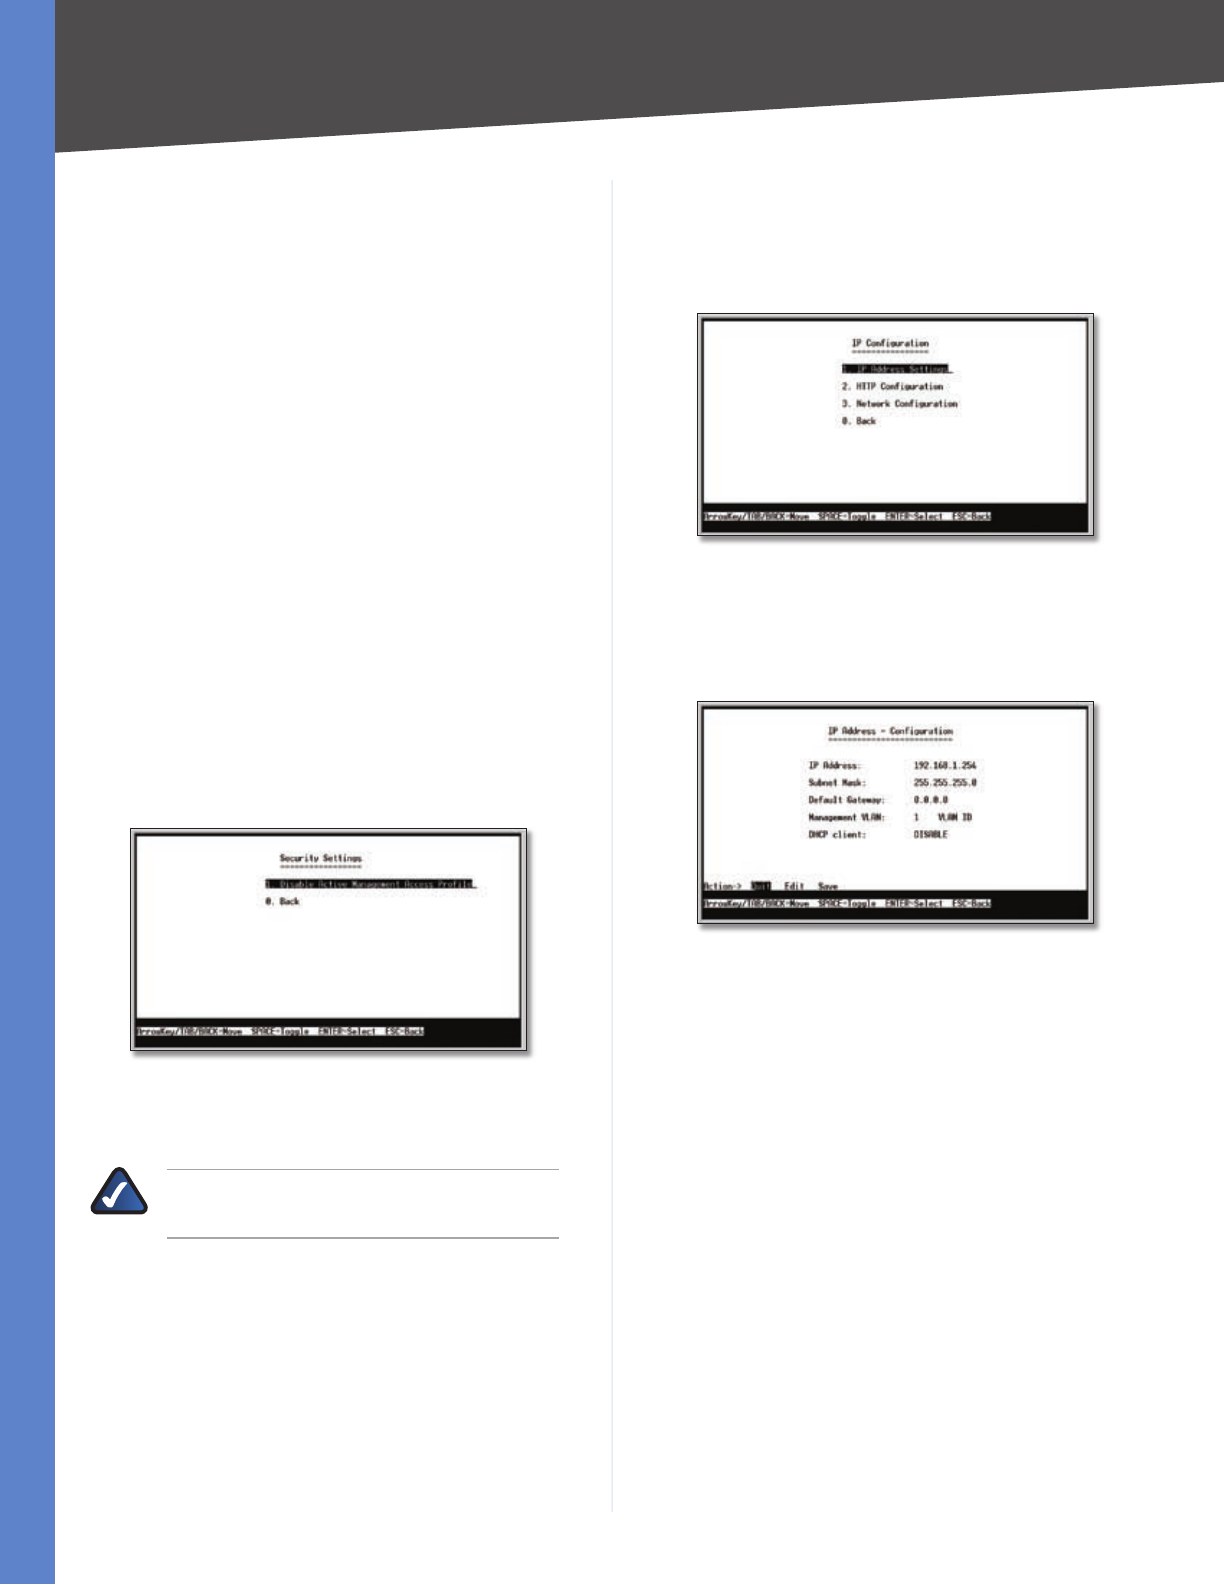
IP Address Configuration
IP Address This sets the Switch’s IP Address. The default
setting is 192.168.1.254. If you change the IP address,
verify that the address you enter is correct and does not
conflict with another device on the network.
Subnet Mask This combined with the IP Address defines
the Switch’s network address.
Default Gateway This defines the IP Address for the
default gateway of the network.
Management VLAN This is the ID number of the
Management VLAN.
DHCP Client The status of the DHCP client is displayed.
If you want the Switch to be a DHCP client, then select
ENABLE. If you want to assign an static IP address to the
Switch, then enter the IP settings and select DISABLE.
HTTP
The HTTP screen allows you to set the Hyper Text Transfer
Protocol server (web server) information for the Switch.


