Installation on Windows
Installation Guide 31
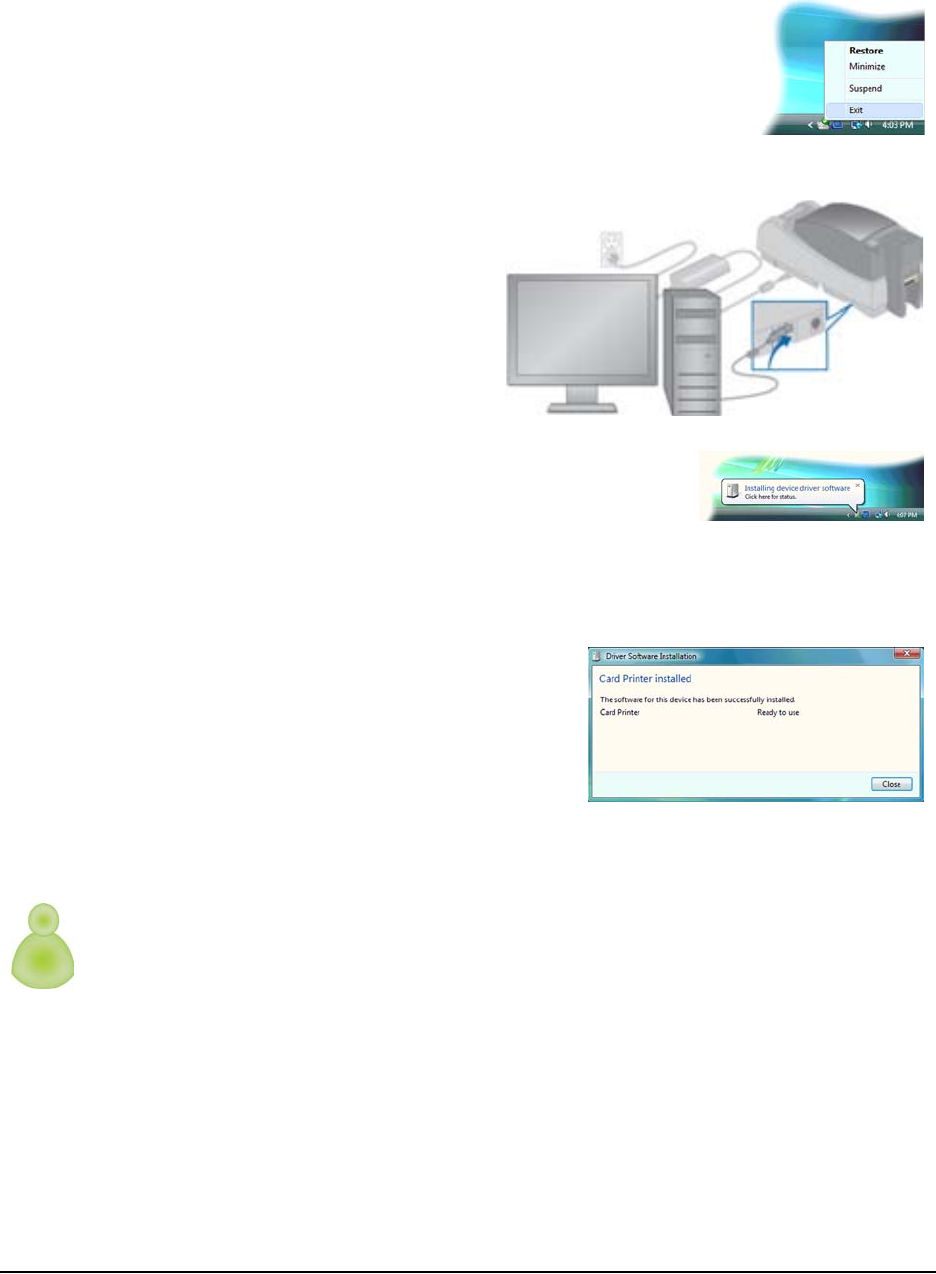
a Locate the icon for the Printer Toolbox in the system tray,
usually the lower right corner of the desktop.
b Right-click the icon to display the popup menu.
c Choose Exit.
5 Prepare the printer and power it on. See "Preparing the Printer".
6 Attach the flat end of the USB
cable to the USB port on the
PC or on a device connected
to the PC.
7 Attach the square end of the
USB cable to the printer.
8 The operating system detects
the new device. It might display a popup during
installation.
— If the operating system does not display a popup
within a few minutes, check the Printers window to
see if the icon for the new printer is displayed. At times, the software installs without
displaying the popup. If the Wizard does not appear and the icon is not present, see
"Installation Troubleshooting" for more information.
9 The operating system usually displays a
message when the printer has been
successfully installed.
10 The operating system usually uses the
existing driver files to install the driver for
this printer. Insert the driver CD only if
you are prompted for it.
Using more than one printer on a PC
When using more than one printer on a PC, keep the following in mind:
• Select the printer to use in the ID software or other application. Card jobs will be sent to
the selected printer even if more than one card printer is attached to the PC.
• When messages are displayed, the title bar of the message box displays the name of
the printer causing the message. Keep track of which printer has which name.
• Each printer has its own icon in the Printers window, and each printer has separate
Properties and Printer Preferences dialog boxes. Settings are not shared among
printers.
• The PC has a Printer Toolbox for each printer installed. Open each Printer Toolbox by
choosing Start > Programs > Card Printer > Printer name. When the Printer Toolbox is
open, the printer name appears in the title bar.


