


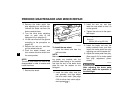
6-43
PERIODIC MAINTENANCE AND MINOR REPAIR
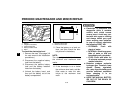
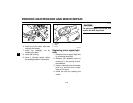
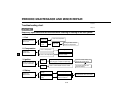
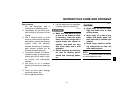
1
2
3
4
5
6
7
8
9
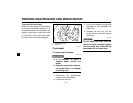
3. Install the axle nut, and then
lower the rear wheel so that it is
on the ground.
4. Tighten the axle nut to the speci-
fied torque.
5. Install the brake rod onto the
brake camshaft lever, and then
install the brake pedal free play
adjusting nut onto the brake rod.
6. Adjust the brake pedal free play.
(See page 6-24 for brake pedal
free play adjustment proce-
dures.)
EW000103
w
After adjusting the brake pedal
free play, check the operation of
the brake light.
Tightening torque:
Axle nut:
90 Nm (9.0 m·kg, 65 ft·lb)
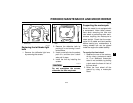
2. Remove the brake pedal free
play adjusting nut, and then dis-
connect the brake rod from the
brake camshaft lever.
3. Turn the drive chain adjusting
plate on each side of the
swingarm fully in direction a.
4. Lift the rear wheel off the ground
according to the procedure on
page 6-40.
5. Remove the axle nut, and then
pull the wheel axle out.
6. Push the wheel forward, and
then remove the drive chain from
the rear sprocket.
NOTE:
The drive chain does not need to be
disassembled in order to remove and
install the wheel.
7. Remove the wheel.
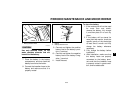
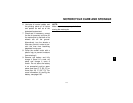
1
EAU03520
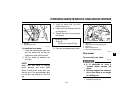
To install the rear wheel
1. Insert the wheel axle from the
left-hand side.
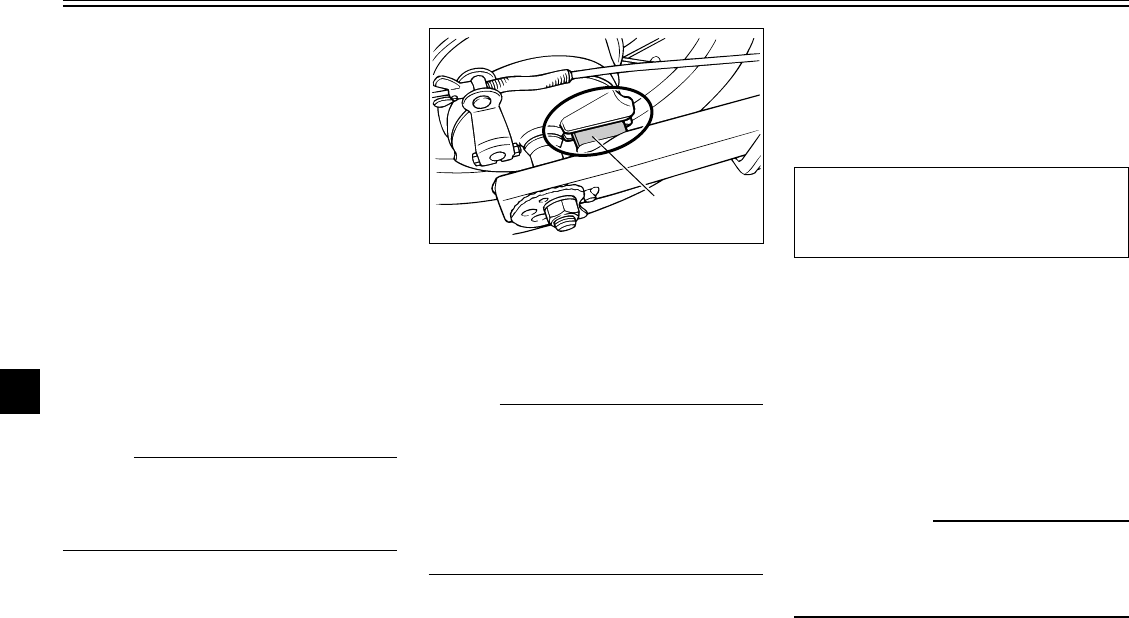
NOTE:
Make sure that the drive chain adjust-
ing plates are installed with the
punched sides facing to the outside
and that the slot in the brake shoe
plate fits over the retainer on the
swingarm.
2. Install the drive chain onto the
rear sprocket, and then adjust
the drive chain slack. (See page
6-28 for drive chain slack adjust-
ment procedures.)
1. Retainer