


20
•
TR AX X AS
DRIVING YOUR MODEL
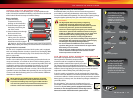
• Transmission: Remove, disassemble,
and clean the transmission
components. No grease is required
for the nylon gears. Refer to your
exploded view diagrams for help with
disassembly and reassembly.
• Motor: Remove the motor, clean
with aerosol motor cleaner, and re-oil
the bushings (Titan 380 motor) or
bearings (Velineon 380 motor) with lightweight motor oil. Be sure
to wear eye protection when using spray aerosol cleaners.
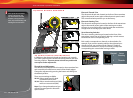
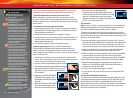
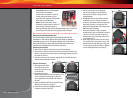
RECEIVER BOX: MAINTAINING A WATERTIGHT SEAL
Removing and Installing Radio Gear
The unique design of the receiver box allows the removal and
installation of the receiver without losing the ability to maintain a
watertight seal in the box. The patent-pending wire clamp feature
gives you the ability to also install aftermarket radio systems and
maintain the watertight features of the receiver box.
Removing the Receiver
1. Remove the 2.5x8mm screws that secure the wire clamp.
2. Remove the 2.5x8mm screws that secure the receiver box lid to the
chassis. Lift the lid up and toward you to disengage the lid’s tab from
its slot in the chassis.
3. You can now access the receiver. Unplug the servo cables from the
receiver and remove the receiver.
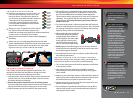
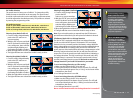
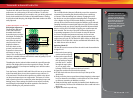
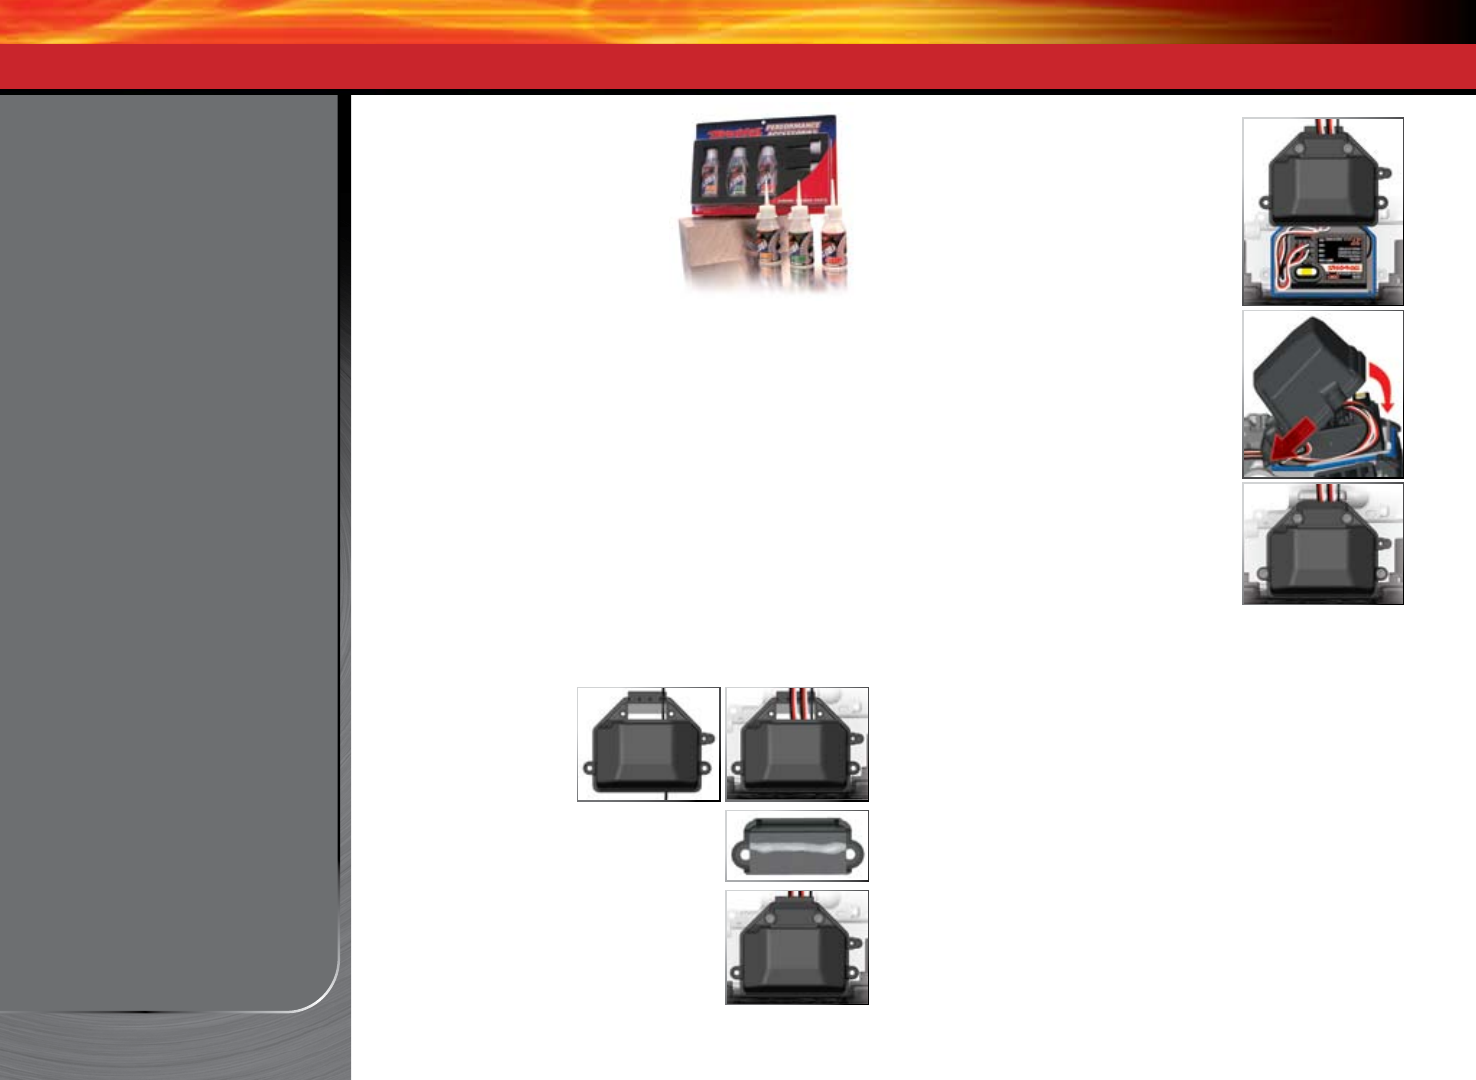
Receiver Installation
1. Route the antenna wire
out of the receiver box
cover (A). Place the cover
on the chassis.
2. Route the servo and
speed control leads into the receiver box cover.
Use the molded-in wire guides to align the
servo and speed control leads and antenna
wire (B).
3. Apply a small bead of silicone grease (Traxxas
part #1647) to the wire clamp (C).
4. Install the wire clamp and tighten the two
2.5x8mm screws securely (D).
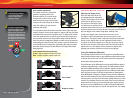
5. Lift the receiver box cover and plug
the servo and speed control leads into
the receiver (E). Refer to page 9 for the
wiring diagram.
6. Bundle the wires so they t beneath the
receiver box cover. You may secure the
receiver to the chassis with mounting tape
if you wish, but this is not required. The
excess wire beneath the cover will prevent
the receiver from rattling.
7. Make sure the blue O-ring is properly
seated into the groove around the receiver
cover base so the cover will not pinch or
damage the O-ring. Snap the receiver box
cover into place (F).
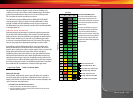
8. Inspect the cover to make sure the O-ring
is not visible. If it is, remove the cover and
reposition the O-ring. With the O-ring and
cover properly seated, install the 2.5x8mm
screws and tighten them securely (G).
A B
C
D
E
F
G