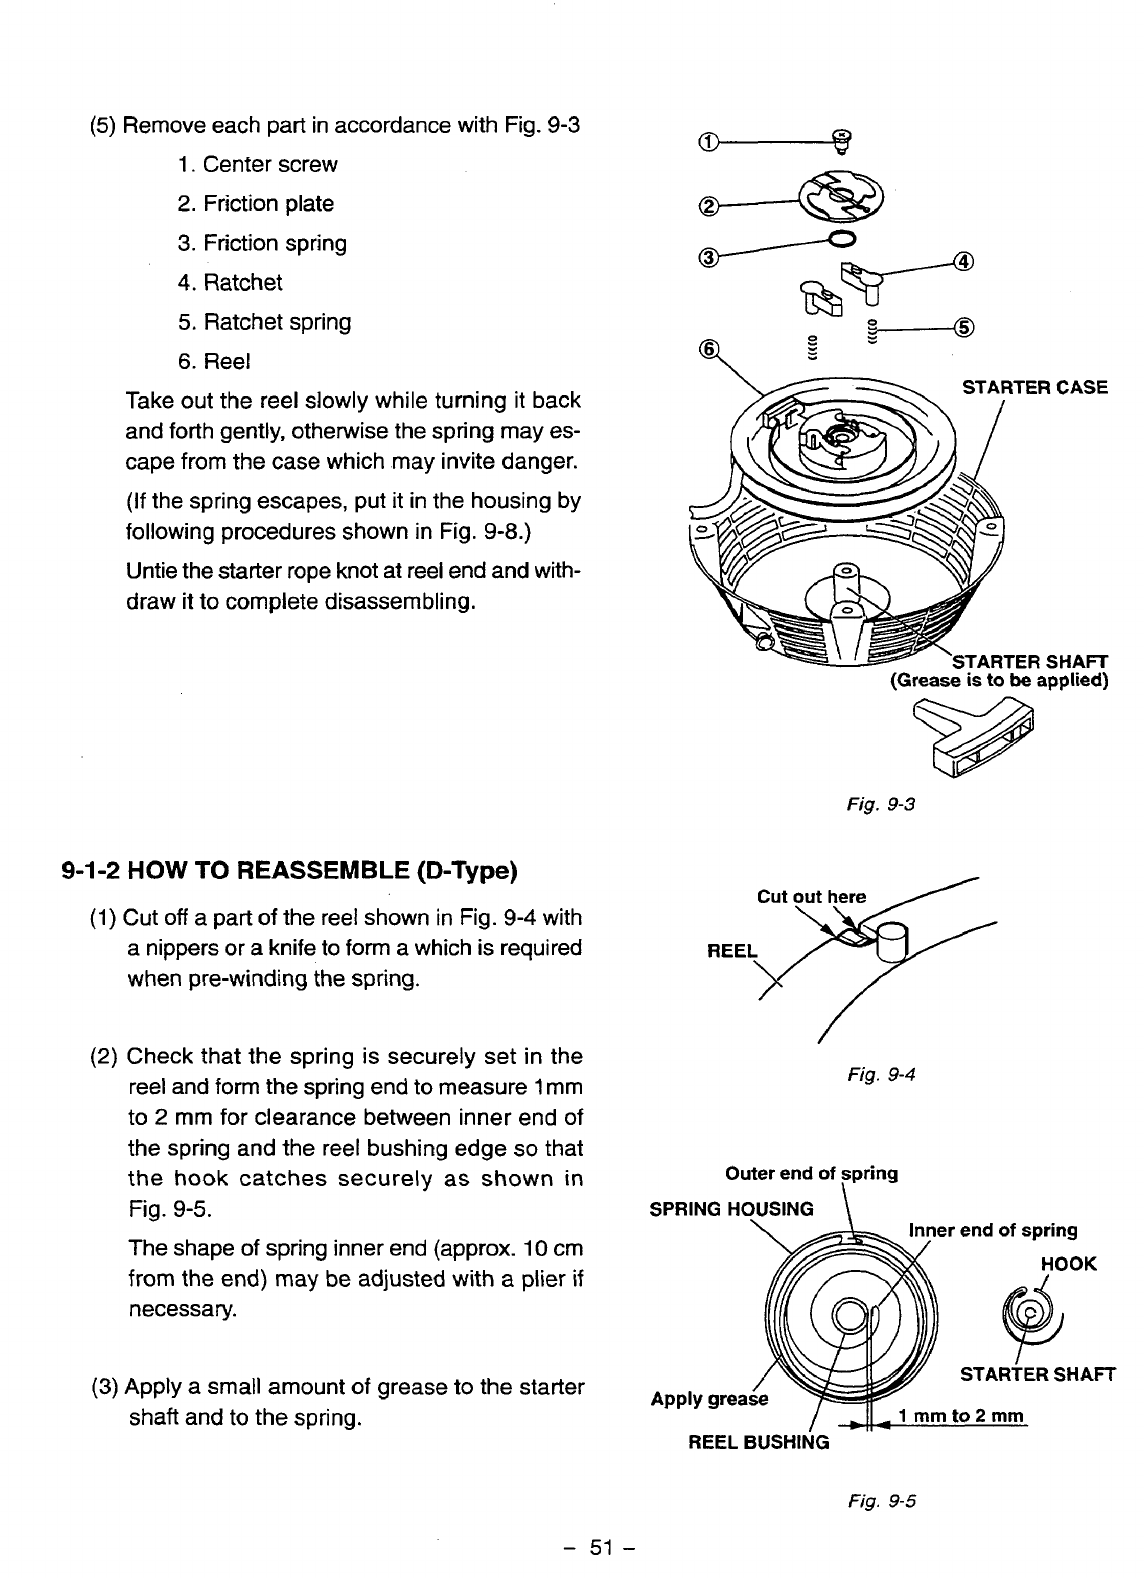
(5)
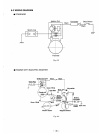
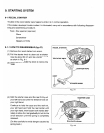
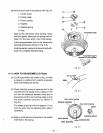
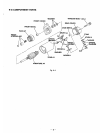
Remove each part in accordance with Fig.
9-3
1.
Center screw
2.
Friction plate
3.
Friction spring
4.
Ratchet
5.
Ratchet spring
6.
Reel
Take out the reel slowly while turning
it
back
and forth gently, otherwise the spring may
es-
cape from the case which may invite danger.
(If
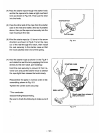
the spring escapes, put it in the housing by
following procedures shown in Fig.
9-8.)
Untie the starter rope knot at reel end and with-
draw
it
to complete disassembling.
9-1-2
HOW
TO
REASSEMBLE
(D-Type)
(1)
Cut
off
a part
of
the reel shown in Fig.
9-4
with
a nippers or a knife
to
form a which is required
when pre-winding the spring.
(2)
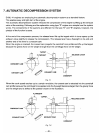
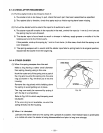
Check that the spring
is
securely set in the
reel and form the spring end to measure
1
mm
to
2
mm for clearance between inner end of
the spring and the reel bushing edge
so
that
the hook catches securely as shown
in
Fig.
9-5.
The shape of spring inner end (approx.
10
cm
from the end) may be adjusted with
a
plier
if
necessary.
(3)
Apply a small amount of grease
to
the starter
shaft and to the spring.
STARTER
SHAFT
(Grease
is
to
be
applied)
Fig.
9-3
Fig.
9-4
Outer
end
of
spring
SPRING HOUSING
\
er
end
of
spring
Apply
grea
REEL
BUSHING
Fig.
9-5
-
51
-


