20
Installing ActiveSync on your PC/notebook
Data synchronization helps you always keep your data on your Pharos Traveler GPS 535 and your
PC/notebook up to date when you work alternately with your PC/notebook and your Pharos Traveler
GPS 535.
The ActiveSync cable and the ActiveSync software are provided for data synchronization. ActiveSync
is already installed on your Pharos Traveler GPS 535. You need only install ActiveSync on your PC
or notebook.
You will find the ActiveSync program and the necessary driver on the Microsoft Getting Started CD.
► Insert the Microsoft Getting Started CD in the optical drive of your PC/notebook.
The installation program of ActiveSync will start.
► If the installation program of ActiveSync does not start automatically, you must double-click on
the Setup.exe file.
► Follow the instructions on the screen.
► Prepare the Pharos Traveler GPS 535 as described in the section "Start the Pharos Traveler
GPS 535 for the first time".
During the installation the software attempts to establish a connection to the Pharos Traveler GPS
535.
i
If you have not yet installed Outlook on your PC/notebook, you must install it on your
PC/notebook before the first data synchronization between your Pharos Traveler GPS 535
and your PC/notebook.
1
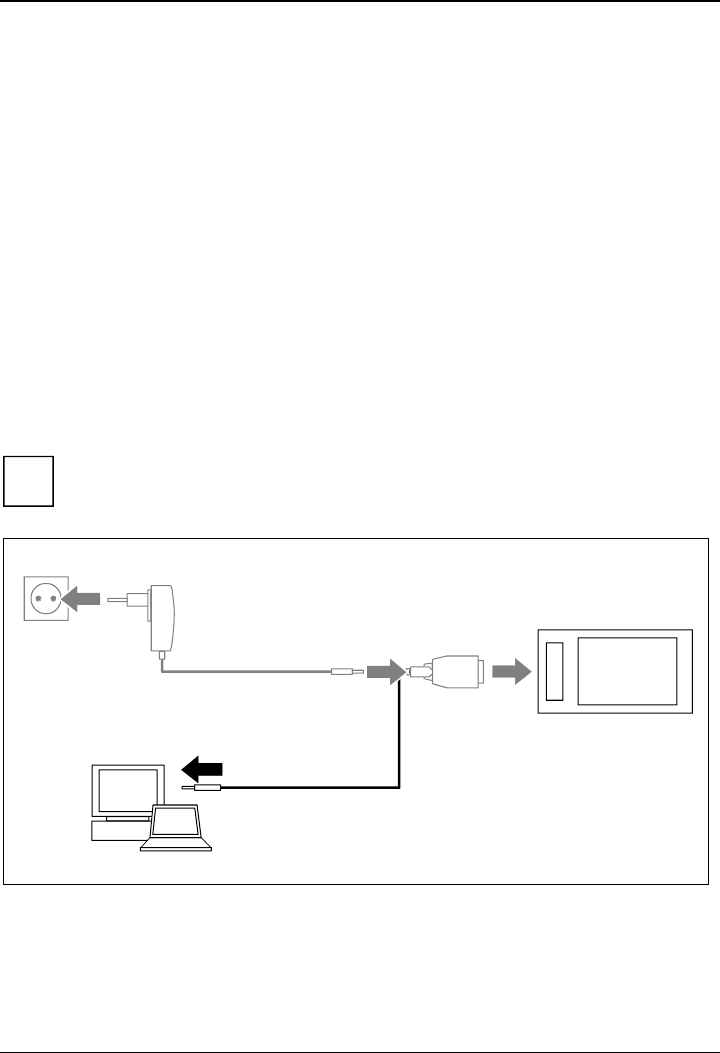
► Connect the ActiveSync cable to a USB port (1) of your PC/notebook.
The Pharos Traveler GPS 535 is now connected to your PC/notebook. The ActiveSync partnership
between your Pharos Traveler GPS 535 and your PC/notebook will be established.


