


Pelco Manual C1925M (3/99) 5
INSTALLATION
CAMERA MOUNTING
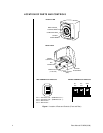
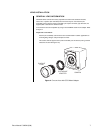
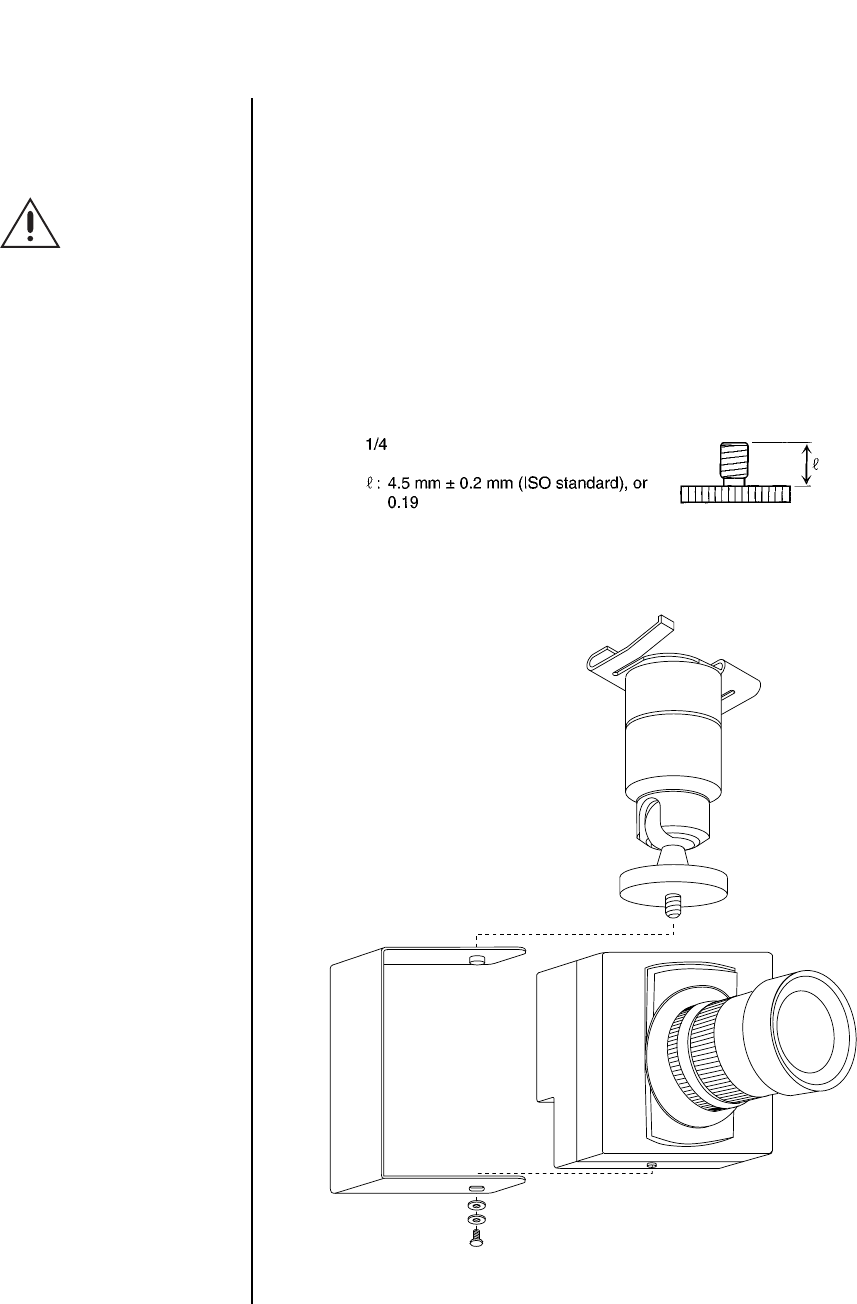
Mount the camera using a 1/4–20 mounting screw that does not exceed .197" (4.5 mm ±.2
mm) in length (refer to Figure 2).
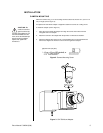
An optional CA1750 Mount Adapter is supplied to attach the camera to a ceiling mount.
To install the adapter (refer to Figure 3):
1. Place the camera inside the adapter and align the camera mount boss with the
elongated hole in the adapter.
2. Attach the camera to the adapter with the provided 1/4-20 bolt and washers.
3. Attach the adapter with camera to the 1/4-20 threaded stud on the installed mount
swivel head. Tighten the knurled nut on the mount against the adapter.
Figure 2. Camera Mounting Screw
7 in. (ASA standard)
-inch UNC (20 pitch)
Figure 3. CA1750 Mount Adapter
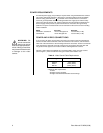
CAUTION:
Be
careful not to dam-
age the camera by
screwing the adapter too far
onto the threaded stud. As
soon as the stud threads ap-
pear through the adapter
captive nut, tighten the
knurled nut.