


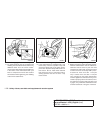
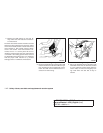
2. Position the child restraint on the seat. Al-
ways follow the child restraint manufactur-
er’s instructions
The back of the child restraint should be secured
against the vehicle seat back. If necessary, adjust
or remove the head restraint to obtain the correct
child restraint fit. See “Head restraint adjust-
ment” in this section. If the head restraint is re-
moved, store it in a secure place. Be sure to
install the head restraint when the child restraint
is removed. If the seating position does not have
an adjustable head restraint and it is interfering
with the proper child restraint fit, try another
seating position or a different child restraint.
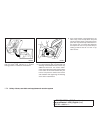
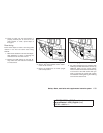
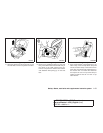
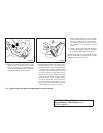
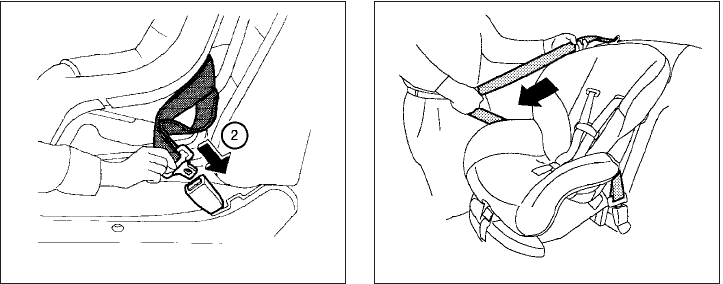
3. Route the seat belt tongue through the child
restraint and insert it into the buckle until you
hear and feel the latch engage. Be sure to
follow the child restraint manufacturer’s in-
structions for belt routing.
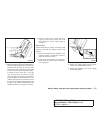
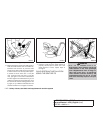
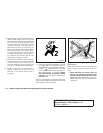
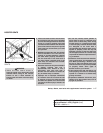
4. Pull on the shoulder belt until the belt is fully
extended. At this time, the seat belt retractor
is in the automatic locking mode (child re-
straint mode). It reverts to emergency lock-
ing mode when the seat belt is fully re-
tracted.
Front facing – step 3
WRS0680
Front facing – step 4
LRS0667
1-42 Safety—Seats, seat belts and supplemental restraint system
੬ REVIEW COPY—
2007 Quest (van)
Owners Manual—USA_English (nna)
02/27/06—debbie
੭