11
Display Preferences
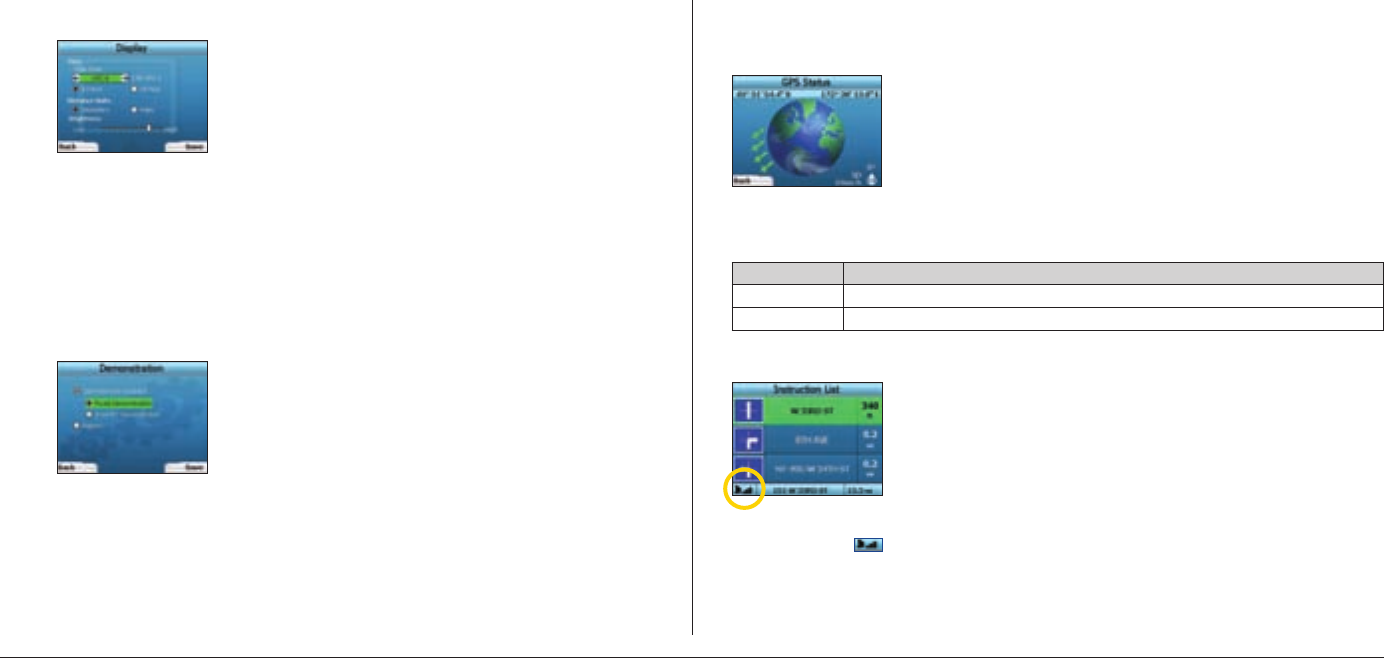
1. From the Preferences screen, select Display and press OK.
2. You can change the following display items in the same fashion as you did when first setting up your iCN 320.
• Time Zone
• 12 Hour/24 Hour clock
• Distance Units; i.e. whether your iCN 320 calculates distance in kilometers or miles (US English and UK English only).
3. You can also adjust Brightness settings. Use the 4-way toggle to select the Brightness control, and to move the pointer up and down.
4. Save your preferences by pressing the right Selection Button
.
Volume
You can change the volume at any time by using the volume buttons on the left-hand side of the front of your iCN 320.
Demonstrations
1. From the Preferences screen, select Demo and press OK.
2. Use the 4-way toggle to highlight Demonstration Enabled
and press OK.
• Select
Route Demonstration if you want your iCN 320 to display a route before you undertake your journey. You can use the 4-way toggle to
scroll through the Navigation screens as if you were driving the route. If your iCN 320 is receiving a GPS signal, it will calculate your trip from your
current location. Otherwise, it
will calculate your trip using your last recorded destination as the starting point.
• The Smart
Demonstration guides you through the functionality of your iCN 320. You can follow this demonstration to further familiarize
yourself with the product.
• Selecting Repeat will place the demonstration you have chosen on a continuous loop.
3. Save your preferences by pressing the right Selection Button.
4. To cancel demonstration mode, return to this screen, highlight Demonstration Enabled
and press OK. Select Save by pressing the right Selection
Button
.
5. GPS Status
Your iCN 320 works by receiving signals from the GPS. The GPS Status screen provides a visual representation of the information being received.
Latitude and longitude are displayed, along with a north-pointing compass, the heading in degrees and ground speed.
You can check the GPS Status at any time by pressing the left Selection Button on the Preferences screen or on any of the Navigation screens.
You can also open this screen by pressing the left Selection Button on the Go To screen when you have not programmed a trip into your iCN 320. If you have
programmed a trip, pressing this button will return you to the navigation screens.
The satellites available from your current position are shown in different colors:
Color Description
Yellow
A satellite that is being tracked, but not being used to fix your position
Green
A satellite that is being tracked and being used to fix your position
The globe in the GPS Status screen will appear grey if no GPS signal is being received.
You can determine your GPS Status at a glance in any of the Navigation screens.
The GPS Strength Indicator
will display between one and three bars to indicate the strength of the signal; the GPS Strength Indicator will display red
when no fix is available.


