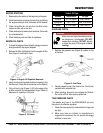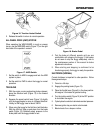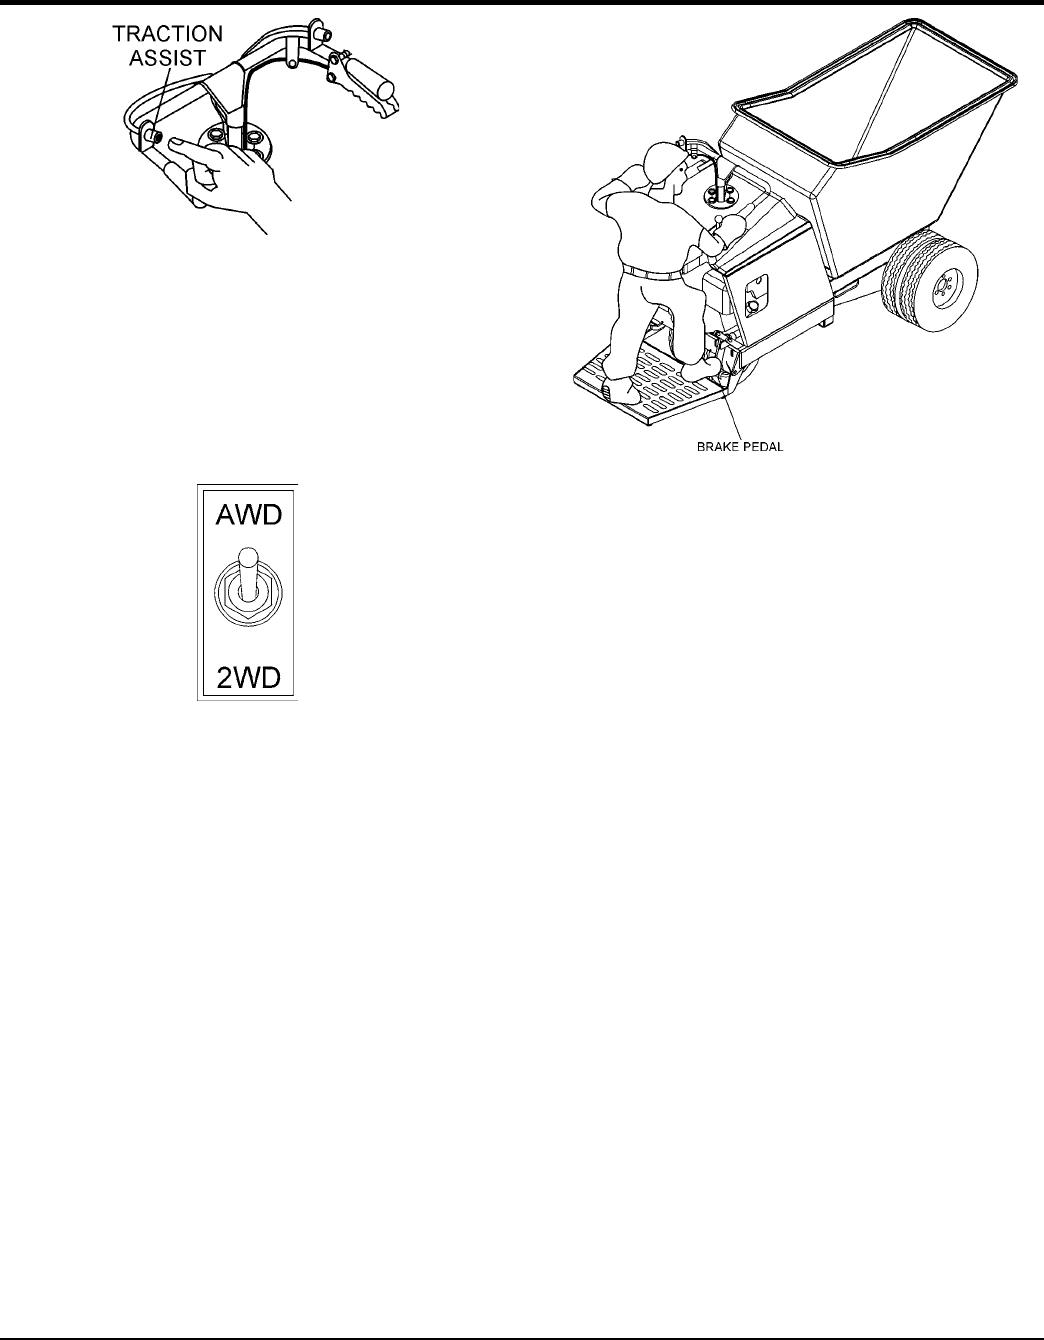
Figure 16. Traction Assist Switch
2. Release the switch to return to normal operation.
When operating the WBH16EAWD in rough or uneven
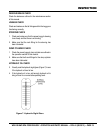
terrain, use the AWD/2WD switch (Figure 17) on the right
hand side of the operator's console.
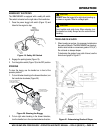
Figure 17. AWD Switch
1. Set the switch to AWD to engage and lock the AWD
system in place.
2. Set the switch to 2WD to return the buggy to normal
operation.
1. With the engine running and parking brake released,
place the direction lever (Figure 15) in the forward
direction.
2. Squeeze the speed control lever (Figure 14) slightly
until the buggy begins to move in a forward direction.
Initially, let the buggy travel at about 3 MPH.
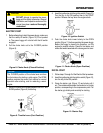
3. When using the buggy for the first time, test the brake.
With the right foot, step up and place it on the brake
pedal (Figure 18). Gradually apply pressure to the
brake pedal until the buggy comes to rest.
OPERATION
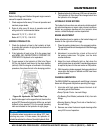
Figure 18. Brake Pedal
4. Test the brake at different speeds until you are
comfortable with stopping the buggy. If the brakes
do not seem to stop the buggy adequately, refer to
the maintenance section of this manual for brake
adjustment instructions.
5. When starting and stopping is confirmed to be
functioning properly, the buggy is ready for operation.
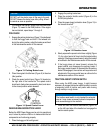
Correct shutdown is important to safe operation. Follow
these general steps:
1. Come to a full stop.
2. Engage the parking brake (Figure 13).
3. Place the throttle lever (Figure 9) in the slow position.
Idle engine 3-5 minutes for gradual cooling.
4. Turn the ignition switch (Figure 10) to the OFF position
to shut down the engine.
5. Cycle hydraulic controls to eliminate residual pressure.
6. Remove ignition key on electric start models.
7. Block wheels if on a slope or incline.


