


TABLE OF CONTENTS
TABLE OF CONTENTS
1.0 OVERVIEW ............................................................................. 1
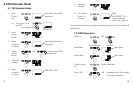
2.0 FEATURE LOCATIONS ............................................................ 1
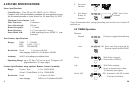
3.0 LCD DISPLAY SYMBOLS ....................................................... 2
4.0 PLT200 SPECIFICATIONS ...................................................... 3
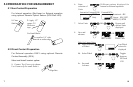
5.0 PREPARATION FOR MEASUREMENT .................................... 7
5.1 Non-Contact Preparation ............................................. 7
5.2 Direct Contact Preparation.......................................... 7
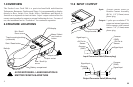
5.3 Connecting External Sensors ..................................... 8
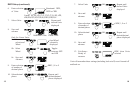
6.0 TACHometer Mode ................................................................ 9
6.1 TACHometer Setup ....................................................... 9
6.2 TACHometer Operation .............................................. 11
7.0 RATE Mode ........................................................................... 12
7.1 RATE Setup ................................................................. 12
7.2 RATE Operation .......................................................... 14
8.0 TOTALizer Mode .................................................................. 15
8.1 TOTALizer Setup ......................................................... 15
8.2 TOTALizer Operation .................................................. 18
9.0 TIMER Mode ......................................................................... 19
9.1 TIMER Setup ................................................................ 19
9.2 TIMER Operation ......................................................... 20
10.0 MAKING MEASUREMENTS .................................................. 21
10.1 Non-Contact Measurements ..................................... 21
10.2 Direct Contact Measurements .................................. 21
11.0 INPUT / OUTPUT .................................................................. 22
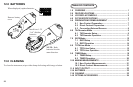
12.0 BATTERIES ........................................................................... 23
13.0 CLEANING ............................................................................ 23
14.0 OPTIONS /ACCESSORIES ................................................... 24
23
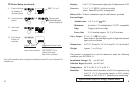
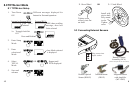
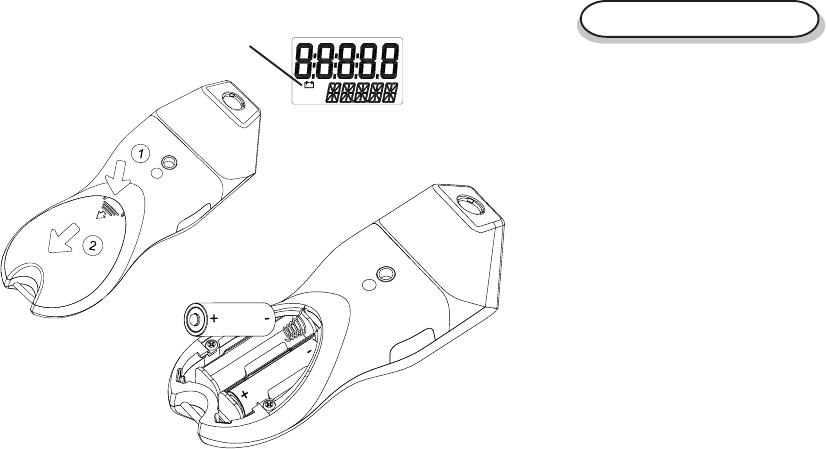
When displayed, replace batteries.
Remove battery
cover
Install two 1.5V
“AA” alkaline
batteries
NOTE: Both
batteries face the
same direction.
12.0 BATTERIES
13.0 CLEANING
To clean the instrument, wipe with a damp cloth using mild soapy solution.