


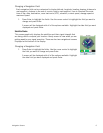
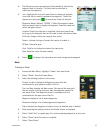

Create Menu 10
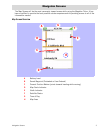
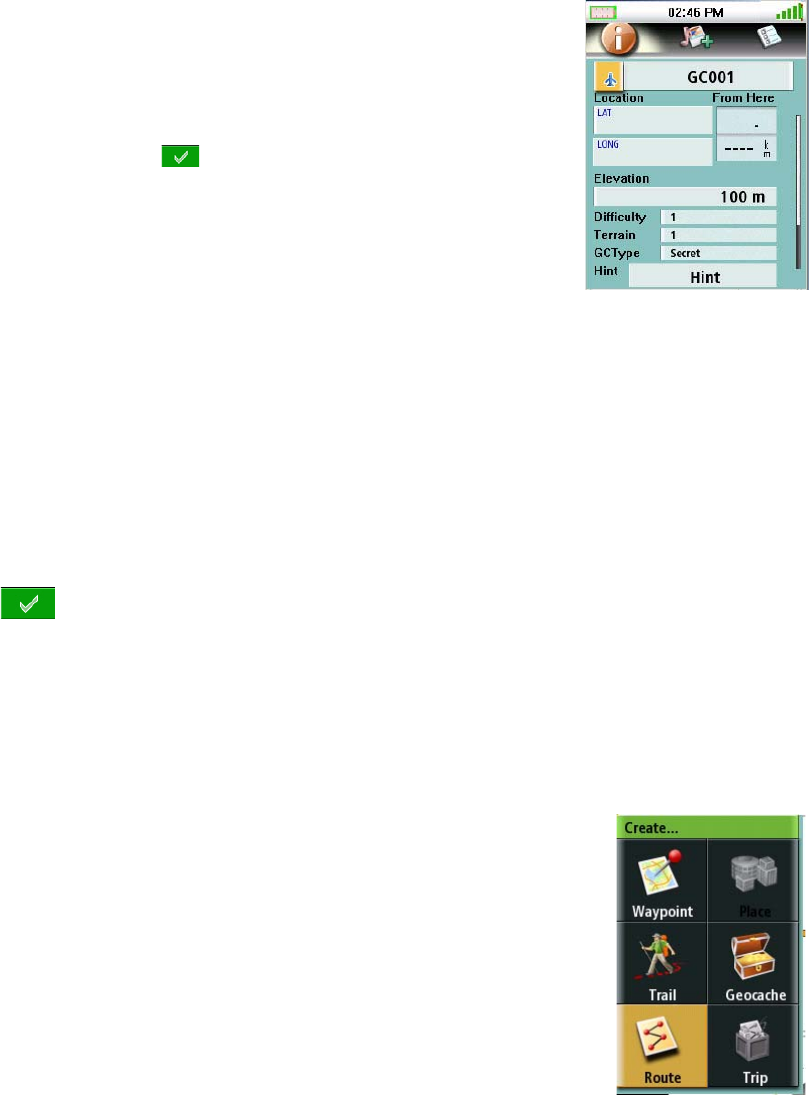
4. The Geocache screen provides the fields needed to identify the
waypoint and its location. The fields can be modified to
customize the waypoint.
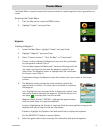
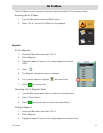
5. Icon: Highlight the icon and press Enter to display all possible
icons that can be used to represent the waypoint. Select the
desired icon and press to accept and close the window.
Geocache Name: (Default “GCXXX”). Select the waypoint name
field and press Enter to display the keyboard. Enter the name and
select the green button.
Location: Select the latitude or longitude fields and press Enter
to bring up the keyboard that can be used to enter the desired data.
Difficulty: Assign a difficulty rating to this cache.
Terrain: Indicate the type of terrain the cache is located in.
GCType: Geocache type.
Hint: Field for including hints about the cache site.
Date: Date the cache site was created.
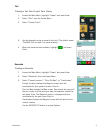
6. Select to accept the information and save the geocache waypoint.
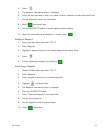
Route
Creating a Route
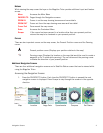
1. Access the Main Menu, highlight “Create” and press Enter.
2. Select “Route” from the Create Menu.
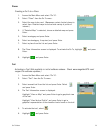
3. Select the starting location for the route.
Current Location displays the Waypoint screen with the
coordinates for your present location filled in.
Point on Map displays the Map screen. Pan around the map until
the pan cursor is at the point you want the waypoint created for
and press Enter. The Waypoint screen is displayed with the
coordinates for the pan cursor filled in.
Waypoint displays a list of saved waypoints.
Geocache displays a list of saved geocache waypoints.
Place displays the categories of places (only if a detailed map is loaded).
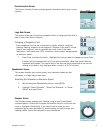
4. After selecting the starting location the Route Screen is displayed.
5. Select “Add Point” to repeat step 3 to continue adding waypoints to the route.
6. Select “Done” when the route is complete.
7. Select “Save Route”.