


Media 55
Media
Before using any of the media options you need install an optional SD card in the SD card slot located
on the right side of the Magellan Triton.
Taking a Photograph
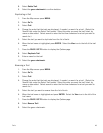
1. Press MENU.
2. Select View.
3. Select Media.
4. Select Take Photo.
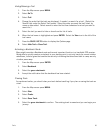
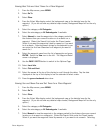
5. The View Finder screen is displayed. At the upper left portion of the display is the number
of photos that can be saved on the SD card.
To change the zoom levels: Use the Zoom – or + Zoom keys.
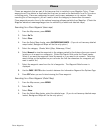
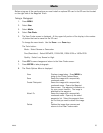
The Tools button:
Mode – Select Camera or Camcorder.
Size (Resolution) – Select 800x600, 1024x768, 1280x1024 or 1600x1200.
Quality – Select Low, Normal or High.
6. Press ESC to save changes and return to the View Finder screen.
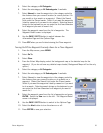
7. Press ENTER to take photograph.
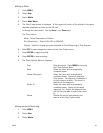
8. The Photo Options Menu is displayed.
View Displays image taken. Press MENU to
bring up the Photo Options Menu.
Save Saves the image with a sequentially
numbered name.
Create Photopoint Saves the image with a sequentially
numbered name. Opens the Waypoint
Save screen. The waypoint information is
for your current location. The image is
attached to the waypoint.
Attach To Saves the image with a sequentially
numbered name. Opens up the saved
waypoints list. Select the waypoint from
the list that you want to attach the image
to.
Delete Deletes the image from memory and
returns to the View Finder screen.