


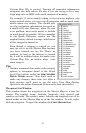

39
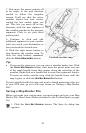
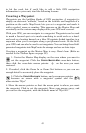
7. Now move the mouse pointer off
at an angle, in the new direction
needed to follow the irregular
terrain. You'll see that the active
corridor border box now rotates
around the last anchor point you
set. This lets you move off in any
direction, with the new segment of
the corridor attached to the previous
segments. Click to set your third
anchor point.
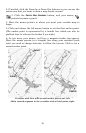
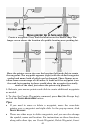
8. Continue to click and add
additional segments to your corridor
until you reach your destination or
have enclosed the desired area.
9. Click the right mouse button to
stop drawing the corridor map. To
close the map borders command,
click the
C
ENTER
M
ASTER
M
AP
button.
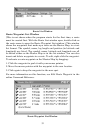
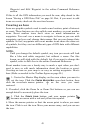
Tip:
• If you need to start over, you can erase a corridor border box. Click
the
C
REATE
M
AP
B
ORDERS
button, then move the pencil point over one
of the small handle boxes that appear along the centerline of the
corridor. Right-click on a handle box to erase that segment's border.
To erase an entire corridor map, click the handle boxes until the
map is gone, or click the
N
EW
M
AP
B
ORDER
F
ILE
button.
If you're satisfied with this map and want to finish processing it for use
in your GPS unit, go on to the next lesson on "Saving a Map Border
File."
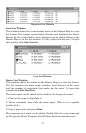
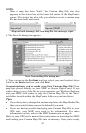
Saving a Map Border File
Before you make your custom map, you must name and save your Map
Border File. Here's how: (Refer as needed to the Toolbar figure on page
30.)
1. Click the
S
AVE
M
AP
B
ORDERS
button. The Save As dialog box
appears.
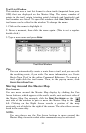
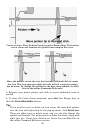
Finished corridor map.