


ENGLISH
20
MAINTENANCE WORK ON CHASSIS AND ENGINE »
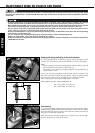
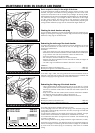
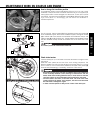
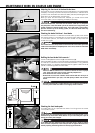
Checking and adjusting the steering head bearing *
Check steering head bearing for play periodically. To check, put the motorcycle
on a stand so that the front wheel is off the ground. Now try to move the fork
forward and backward. To adjust, loosen the 5 clamp screws [1] and [3] on
the upper triple clamp and tighten the blind screw [2] to 10 Nm. With a plastic
hammer, lightly tap on the triple clamp to release tension. Retighten the five
pinch bolts to 17 Nm.
– If the steering head bearing is not adjusted to be free of play, the motor-
cycle will exhibit unsteady driving characteristics and can get out of
control.
– Apply Loctite 243 to the clamp screw [3] to lock in place.
If you drive with play in the steering head bearing for longer periods, the bearings
and subsequently the bearing seats in the frame will be destroyed.
The steering head bearings should be regreased at least once a year
(e.g. Motorex Long Term 2000).
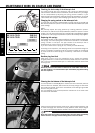
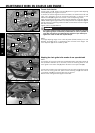
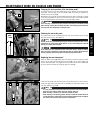
Mount the lower triple clamp, upper steering head bearing, protection ring,
O-ring, upper triple clamp and the blind screw.
Tighten the collar screw on the lower triple clamp to 60 Nm.
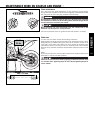
Mount the fork legs and tighten the clamp screws on the lower triple clamp
to 12 Nm in 3 stages.
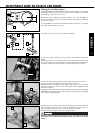
Adjust the steering head bearing without clearance (see: Checking and
adjusting the steering head bearing) and tighten the clamp screws on the upper
triple clamp to 17 Nm in 3 stages.
Secure the middle clamp screw [A] with Loctite 243.
Mount the front wheel fender and tighten the screws to 10 Nm.
Mount the hand brake cylinder and tighten the screws to 10 Nm.
Mount the starting number plate.
Mount the front wheel (see: Dismounting and mounting the front wheel).
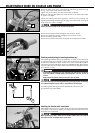
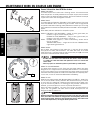
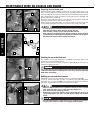
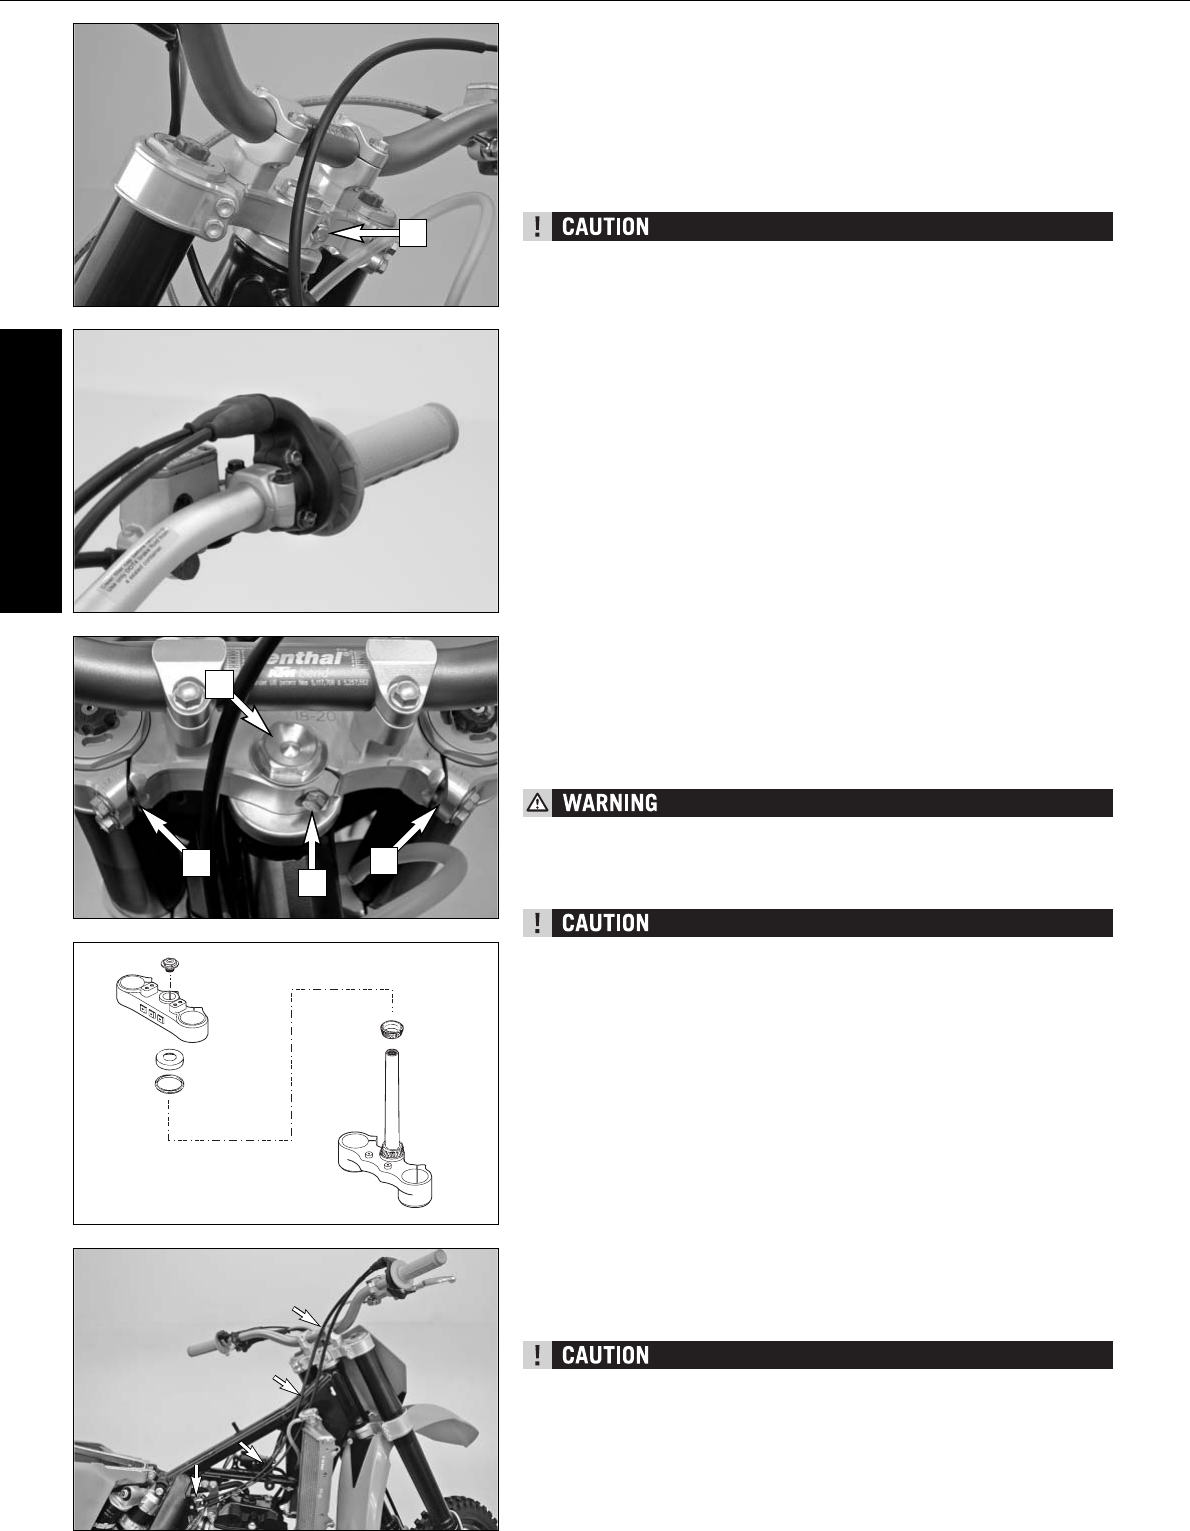
Checking the throttle cable installation
Both throttle cables must run parallel along the back of the handlebar down
to the frame. They must run directly on the right side of the frame above the
tank roller to the carburetor.
When mounting the tank, make sure the throttle cables stay on the side of
the frame and are not pressed down by the tank.
A
2
1
1
3