


Rev. G
p. 8 of 9
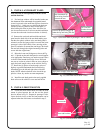
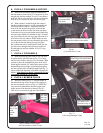
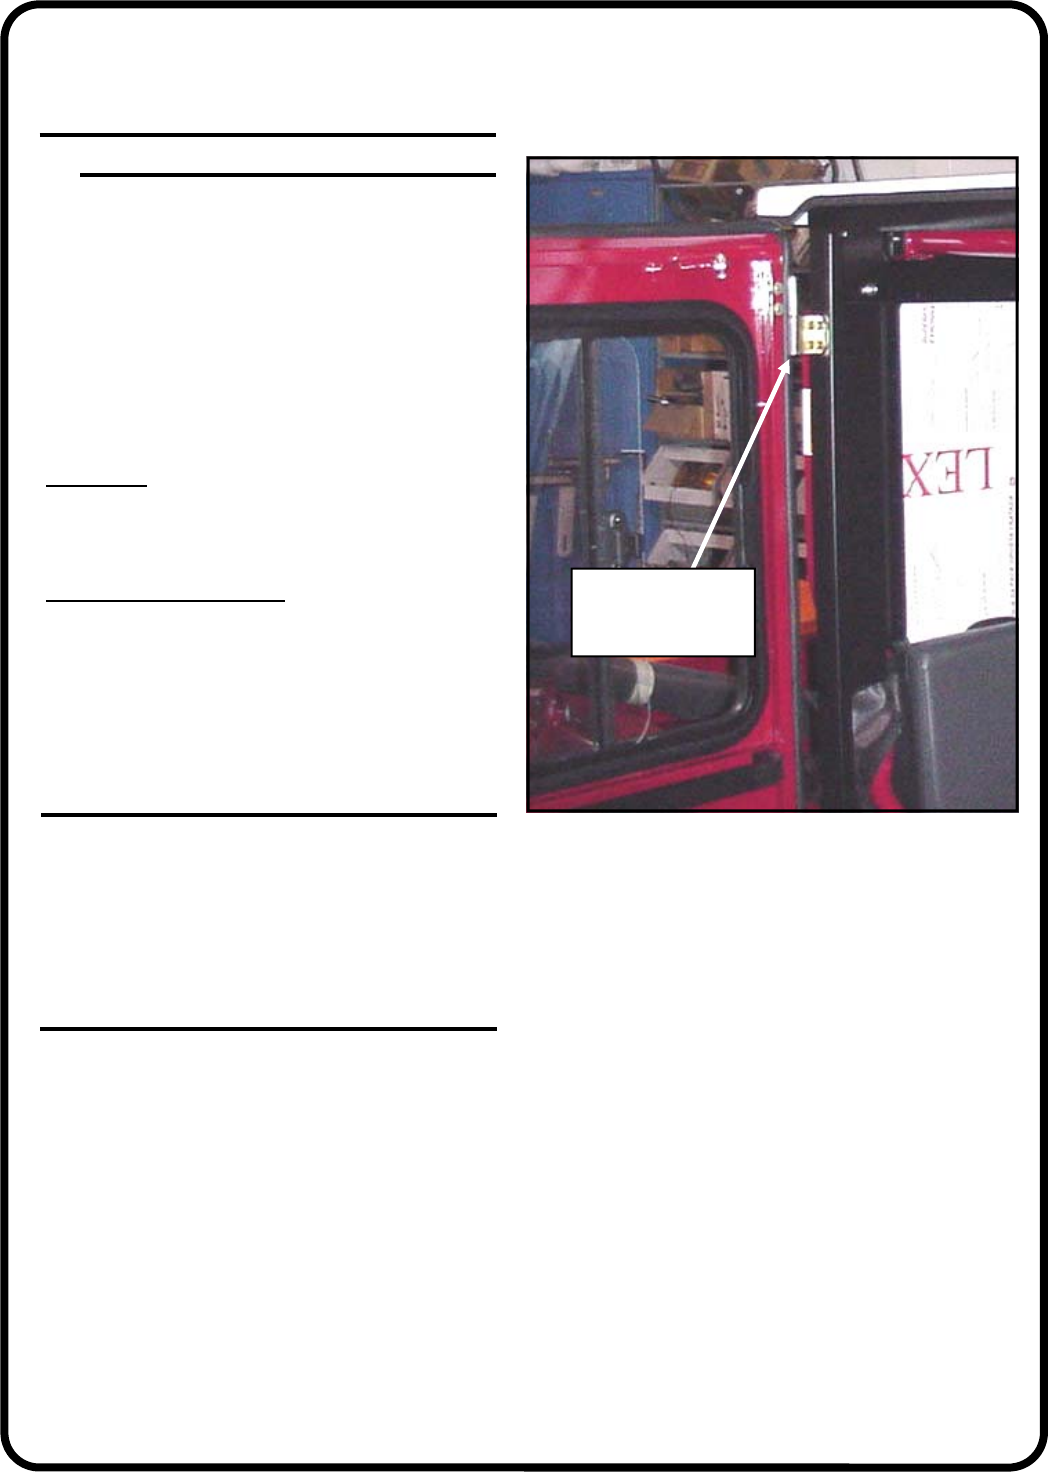
Fig. 13.1
(view from passenger’s side)
(hard sided door shown)
grease the pin hinges
that are fastened to
the side frames
13. INSTALL HARD SIDED DOORS OR
SOFT SIDED DOORS
Note: doors are sold separately from the cab kit.
13.1 Apply lubricant (preferably grease) to the pin
hinges mounted on the side frames as shown in Fig-
ure 13.1. With assistance, install the doors onto the pin
hinges by guiding both hinge sleeves onto their respec-
tive pin hinges. Work the doors back and forth until the
hinges are completely seated. Note: the hinges, inside
latch, and striker pin can be adjusted for proper en-
gagement. The rotary latch should be adjusted to get
two (2) “clicks” when latching.
CAUTION:
FOR SAFE OPERATION, DO NOT
DRIVE WITH DOORS OPEN. MAKE SURE
DOORS ARE CLOSED AND PROPERLY
LATCHED WHEN DRIVING.
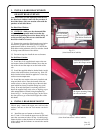
For Hard Sided Doors only:
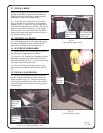
13.2 Install the vinyl coated cable door stops to the
mounting tabs located on the inside upper area of the
door and the side frame. Use the 5/16 x 3/4” long hex
head bolts, washers and locknuts. Note: locknuts can
be left one turn loose for free rotation of eyelets around
bolts.
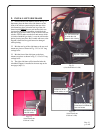
14. FINISHING TOUCHES
14.1 Install the supplied nut covers.
14.2 Install 1 1/8” Heyco plugs in the front of the
side frames at the front mounts (4 places).
15. CARE AND MAINTENANCE
15.1 Check and tighten hardware after 40 hours of
operations. Periodically inspect and tighten hardware
for the remainder of the unit’s life.
15.2 Wash the painted surfaces of the unit with com-
mercial automotive cleaning products.
15.3 Clean windows with glass cleaner.
15.4 Vinyl components should be washed with a mild
solution of warm soapy water.
15.5 Clear vinyl can be easily scratched. Be careful
cleaning frost or snow from windows. Do not roll cur-
tains in cold weather. The windows become stiff and
may crack. Keep windows clean.