Rev. G
p. 4 of 9
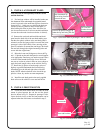
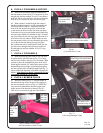
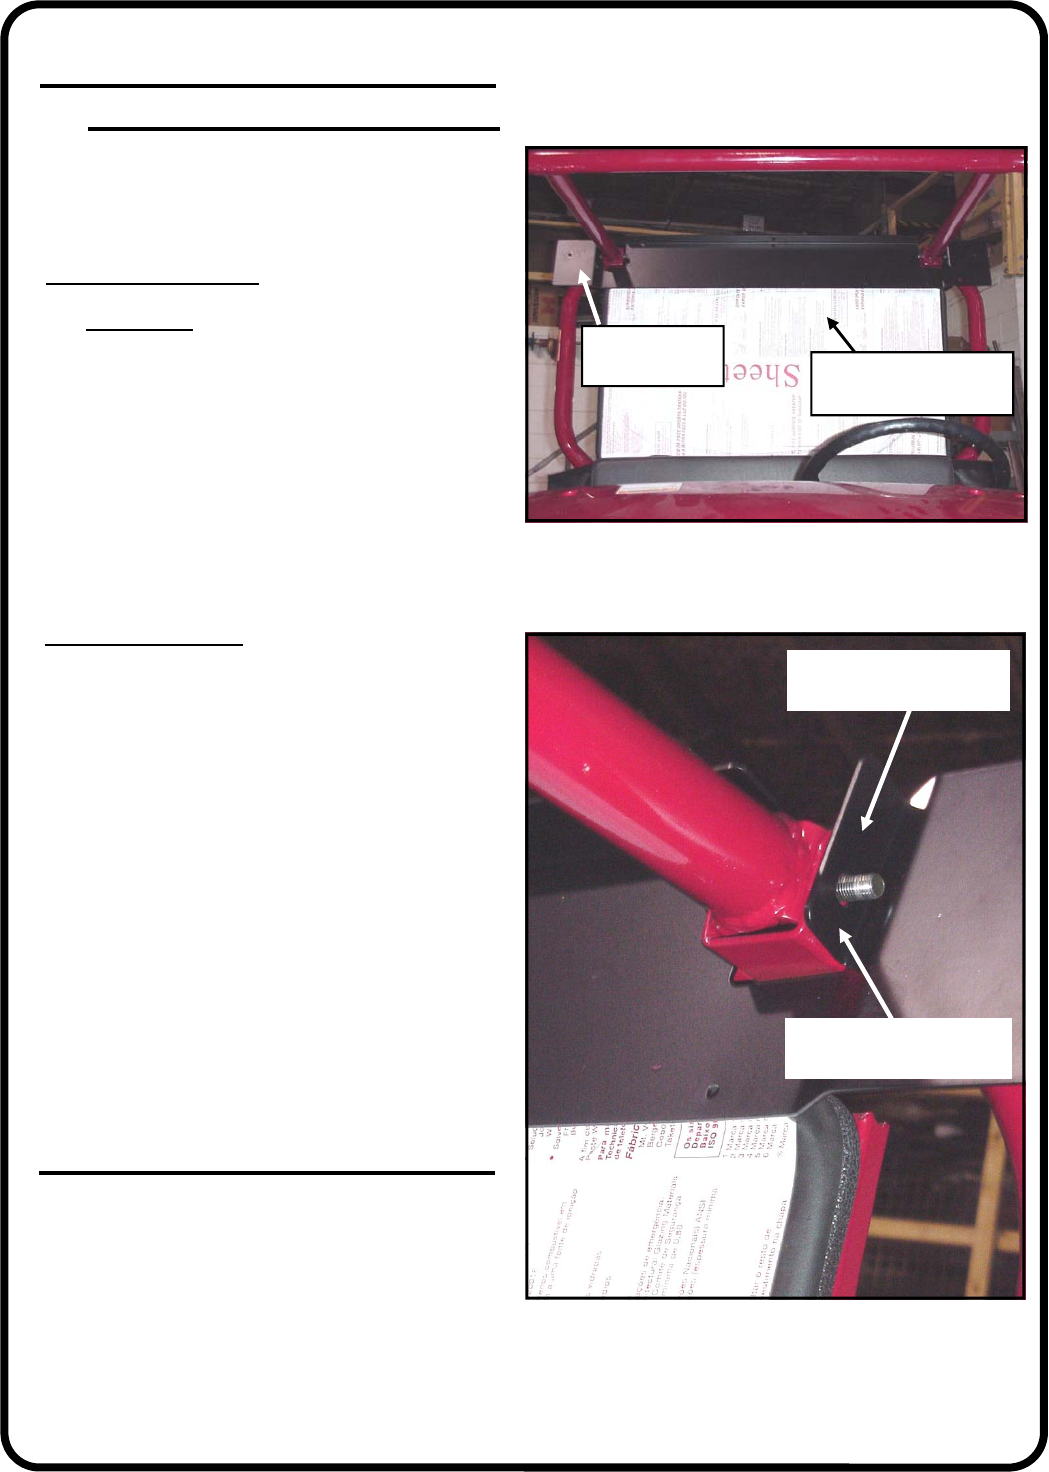
remove this protective
film before installation
rear roof mount
shown in place
Fig. 3.2
(view from front of vehicle)
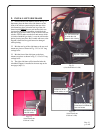
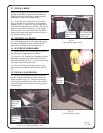
Fig. 4.1
(view from front driver’s side of vehicle)
90 degree mounting flange
on rear roof mount
locknuts to be installed
against this flange surface
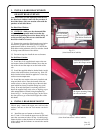
3. INSTALL HARD REAR WINDOW
OR SOFT REAR CURTAIN
Note: these items are sold separately from the cab
kit. Hard rear windows come with the purchase of
hard sided doors. Soft rear curtains come with the
purchase of soft sided doors.
For Hard Rear Window:
3.1 CRITICAL:
Make sure the sheetmetal filler
underneath the expanded metal screen has the
small bent lip pointing forward as shown in Fig. 1.1
on the previous page (this acts as a shelf for the
hard rear window to rest on).
3.2 Remove the protective film from the rear window
and install it up against the inside surface of the ex-
panded metal screen as shown in Fig. 3.2. NOTE: the
bulb rubber on the perimeter of the rear window should
be facing toward the front of the vehicle.
3.3 Proceed to step 4 to install the rear roof mount.
4. INSTALL REAR ROOF MOUNT
Vehicle prep.: remove the upper rear cab bar bolts,
washers, and nuts so the rear roof mounts can be in-
stalled.
4.1 Install the rear roof mount as shown in Fig-
ures 3.2 and 4.1. Re-install the upper rear cab bar hard-
ware that was removed above in step 4 (vehicle prep.).
Orient the bolts so that the heads are towards the inside
of the vehicle and the locknuts are towards the outside
of the vehicle.
For Soft Rear Curtain:
3.4 Install the six (6) supplied stud snaps to the rear
roof mount. Orient so that the locknuts are on the out-
side of the cab and the snaps are on the inside of the
cab.
3.5 Install the supplied adhesive-backed hook (rough)
velcro to the inside surface of each rear leg. Note: ad-
hesive-backed velcro should be applied to a clean, dry
surface at room temperature.
3.6 Install the rear curtain to the newly installed stud
snaps and hook velcro. Note: the bottom of the rear
curtain velcros to the top inside edge of the anti-draft
panel which has factory installed mating loop (soft)
velcro. If an anti-draft panel is not being used, then
install the supplied loop (soft) velcro as high up as pos-
sible underneath the forward facing sheetmetal lip
shown in Fig. 1.1 on the previous page. Cut the velcro
into four pieces to go on the left and right sides of the
bolt heads.


