


Engine Oil
Page 30 2005 HUV4213 Gasoline Vehicle Owner’s Manual
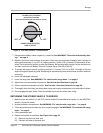
NOTE: An oil drip guard can be used to prevent excess oil from dripping into the engine base place. Use
an empty quart (1 liter) container and cut the bottom off at an angle, then slide the open area of the
container up and under the oil filter prior to removal. Position the port of the plastic container so oil
will be directed into the oil pan (Figure 20). A drip guard can be made by folding a piece of card-
board, thin metal, or plastic under the oil filter, forming a channel to direct the filter port oil into the
drain pan.
Dispose of used oil according to the environmental laws and regulations for your area.
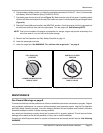
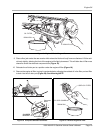
12. Use a clean rag and wipe the oil filter mounting bracket surface clean where the oil filter gasket seats.
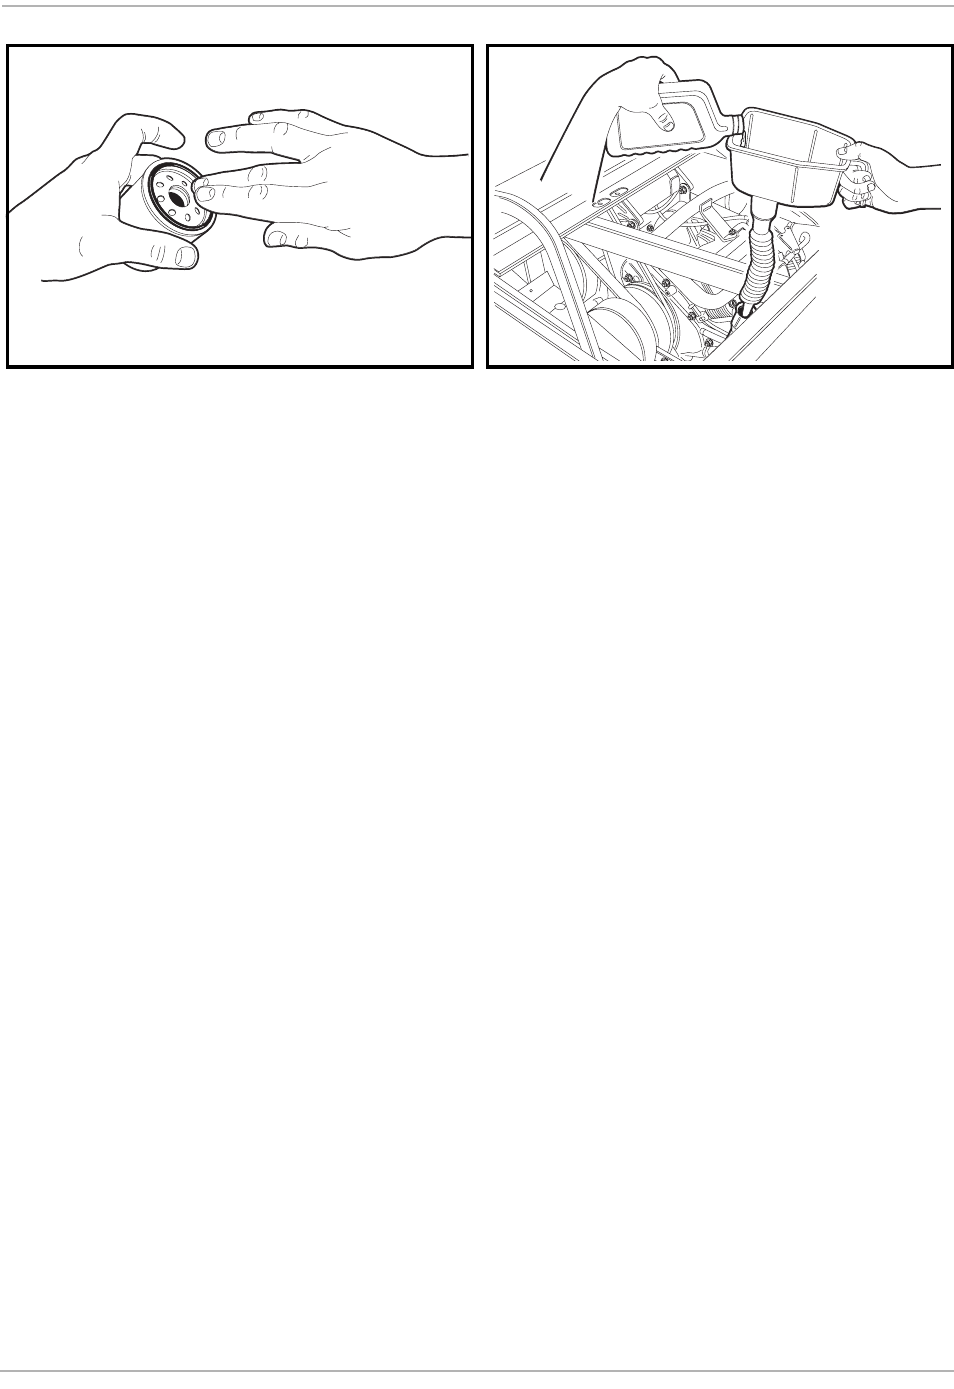
13. To help seal the new oil filter to the oil filter mounting bracket, apply a light coat of white lithium NLGI
Number 2 grease (Dow Corning
®
BR2-Plus or equivalent) or new engine oil to the rubber seal around
the outside surface of the filter before attaching it to the oil filter port (Figure 21). Install the new oil filter
(P/N 603 00 00-06) onto the engine oil filter port. See following NOTE.
NOTE: Use only Husqvarna oil filters (P/N 603 00 00-06) designed for this engine.
14. Tighten the oil filter by hand 2/3 turn after gasket contact. Do not use a band wrench or channel lock plier
to tighten.
15. Lower the vehicle and remove the floor jack from under the rear of the vehicle.
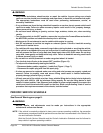
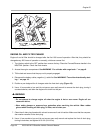
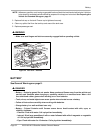
16. Remove the dipstick and add engine oil into the dipstick port. Use a funnel or pour spout to direct the oil
into the dipstick port (Figure 22). With filter change, the engine requires 38 ounces (1.12 liters) of oil per
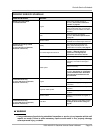
change. Refer to oil viscosity guidelines for selection of oil grade (Figure 23). Replace the dipstick.
17. Connect the battery cables, positive (+) cable first, and tighten terminals to 20 ft-lb (27.1 N·m). Coat ter-
minals with Battery Terminal Protector Spray (P/N 603 00 00-03).
18. Lower the cargo bed. See WARNING “For vehicles with cargo beds...” on page 8.
19. With the Forward/Reverse handle in the NEUTRAL position, start and run the engine for a few minutes.
Observe both the drain plug and the oil filter from under the vehicle and watch for oil leaks. If leaks
appear, begin with step 1 and repeat the appropriate step for either or both items to correct the problem.
20. Remove the dipstick and check the engine oil as a final step. Replace the dipstick.
Figure 21 Coat Rubber Seal Figure 22 Add Engine Oil