


7
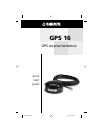
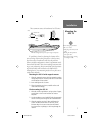
Installation
If a problem is found, try altering the location of the
unit or wiring. Often moving the receiver a few feet away
from the source of interference will solve the problem.
When a suitable confi guration is found, a permanent instal-
lation should be made. Select the mounting location accord-
ing to your preferences. Keep in mind that from this mount-
ing location cables will be routed to the NMEA 0183
listening device. Since mounting needs will vary, here are a
couple basic methods:
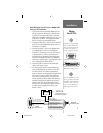
Mounting the GPS 16 with magnetic mount:
1. Align the magnetic mount, with the protective coating
facing away from the unit base, with the 3 screw holes
on the bottom of the receiver.
2. Insert and tighten the 3 screws.
3. Place the receiver on a clean, metallic surface and
route cable accordingly.
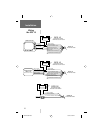
Flush mounting the GPS 16:
1. With the receiver upside down, using a piece of paper,
punch holes at the 3 screw locations to create a
template.
2. Use the template to mark and drill holes large enough
for the screw to pass through at the marked location.
3. Align the receiver over the 3 holes and fasten the
screws. The M4 thread inserts for the GPS 16 are
8.10mm deep. Do not use screws that will thread
into the receiver any deeper, as this may damage the
receiver.
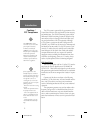
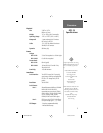
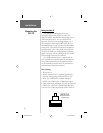
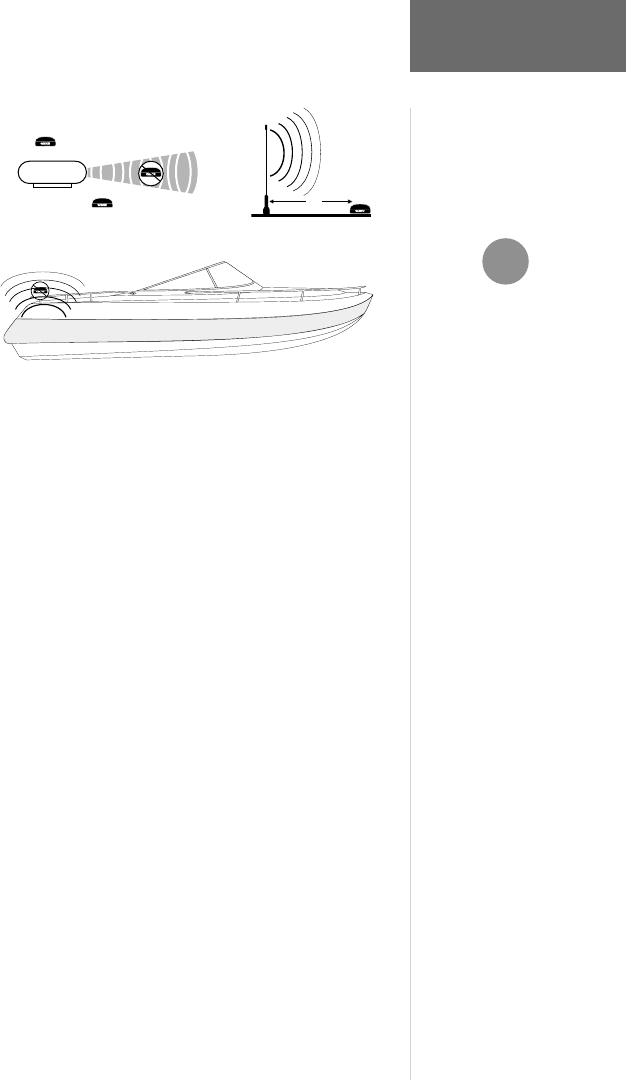
Three common sources of interference for GPS units
are:
Radar
ABOVE- OK
BELOW- OK
EMI
S
S
J
A
Y
H
A
W
K
3'
VHF Radio Antenna
Radar
EMI (Electromagnetic Interference) from engine components
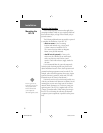
When routing the power/data
cable, try to avoid:
• Sharp edges which may cut the
cable.
• Routing the cable parallel to
other power lines.
• Excessively twisting, straining
or bending the cable.
Mounting the
GPS 16
I
GPS16 QSG.indd 1/7/02, 4:08 PM7