


9
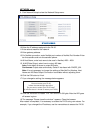
NETWORK setup
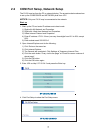
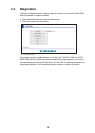
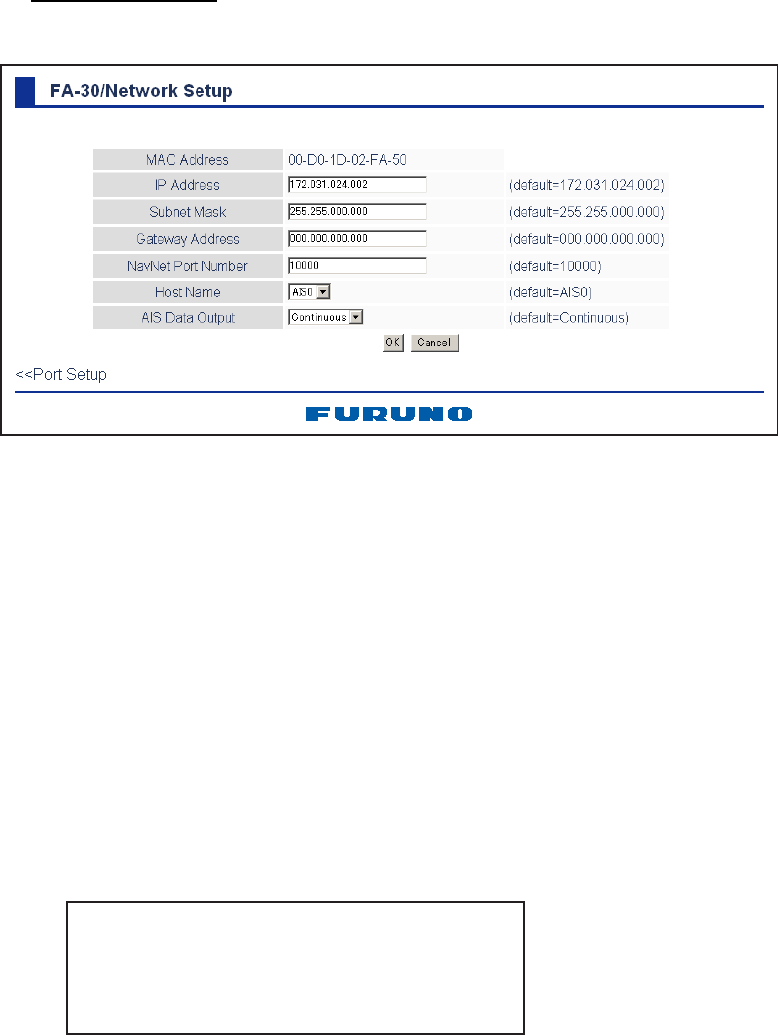
9. Click Network Setup to show the Network Setup menu.
10.Enter the IP address assigned to the FA-30.
11.Enter subnet mask for the network.
12.Enter gateway address.
13.For NavNet connection,
enter NavNet port number at NavNet Port Number. Enter
ten-thousandths and one-thousandths
places.
14.At Host Name, enter
host name to be used in NavNet, AIS0 - AIS9.
15. At AIS Data Output, select how to output AIS data.
Auto: Auto-detect of where to output AIS data.
Continuous: Output data continuously. Select if interfaced with FAISPC_MX
.
Note: It is not necessary to change the settings of NavNet Port Number, Host
Name and AIS Data Output. Connection is available without adjusting them.
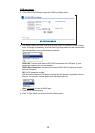
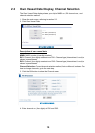
16.Click the OK button to finish.
17.If you changed a setting, the message below appears.
18.Click the Yes button to restart. "ER" LED on the FA-30 lights. After the LED goes
off access is given.
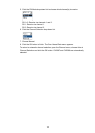
19.The message “Please close the window.” appears. Close the browser.
After restart is completed, it is necessary to access the FA-30 using new values. For
example, if you changed the IP address, use the new address to access the FA-30.
172.031.024.002
255.255.000.000
000.000.000.000
(default=172.031.024.002)
You must restart your FA-30
before the new settings take effect.
Do you want to restart your FA-30 now?
(It will take about 1 minute to restart your FA-30).