


Page 12 of 21©2002 Edelbrock Corporation
Rev. 10/02
Brochure No. 63-0144
Catalog #70406
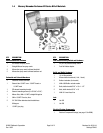
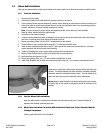
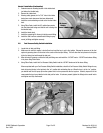
Nozzle 2 Installation (Continuation)
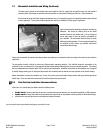
1. Determine nozzle mounting location in the intake boot
just before the throttle body.
2. Remove the intake boot.
3. Wearing safety glasses, drill a 7/16” hole in the intake
boot where nozzle placement has been determined.
4. Install the nozzle mounting nut and collar into the intake
boot.
5. Using Teflon Paste, install the 90º outlet nitrous nozzle
into the intake boot being sure that the exit is facing into
the throttle body.
6. Install the intake boot.
7. Install the remaining 30 nitrous jet into the nozzle fitting.
8. Install the 3AN line from solenoid outlet fitting to spray
nozzle jet fitting and tighten securely.
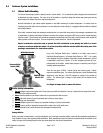
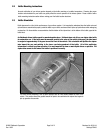
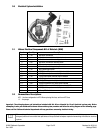
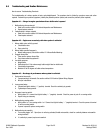
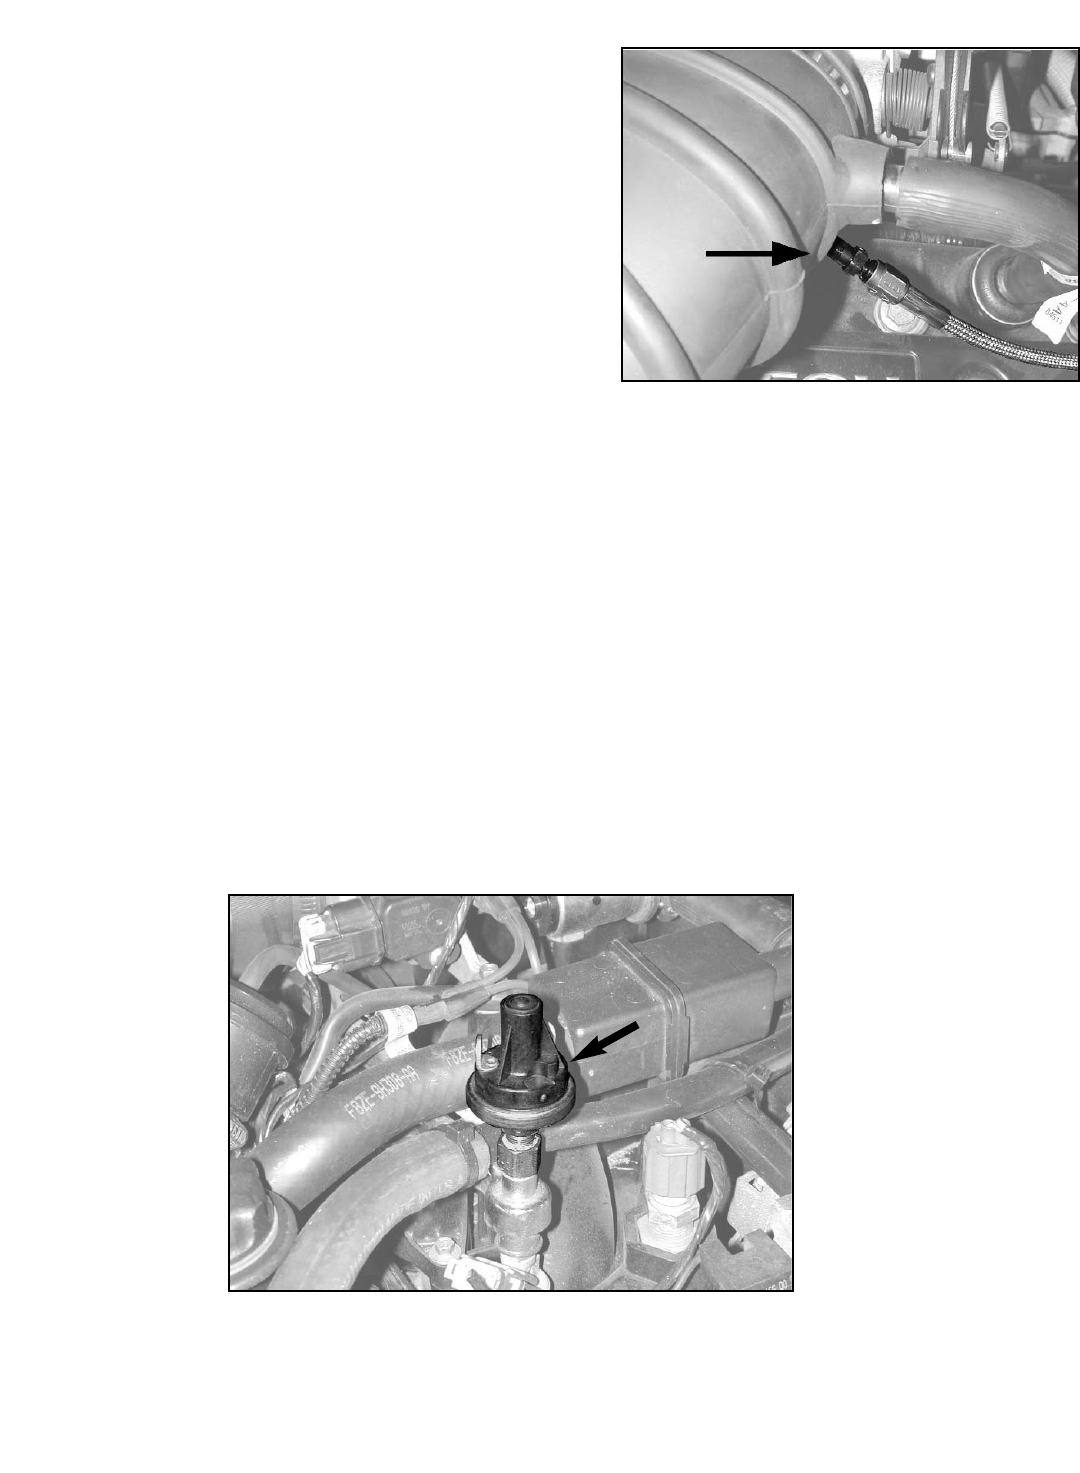
2.8 Fuel Pressure Safety Switch Installation
1. Locate fuel rail test port fitting.
2.
Make sure the vehicle’s engine is shut off and cool and the key is not in the ignition
. Release the pressure in the fuel
system by pressing down on the valve in the center of the test port fitting. This will allow the fuel pressure to drop due
to the fuel being bled out through the test port.
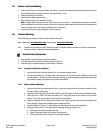
3. After relieving all pressure, remove the test port fitting core and install the 1/16”NPT male x 1/8”NPT female brass fitting
in its place using Teflon Paste.
4. Using Teflon Paste, install the Fuel Pressure Safety Switch into the 1/8”NPT female end of the brass fitting.
When completed with your Fuel Pressure Safety Switch installation, check the Fuel Pressure Safety Switch fittings for any
leaks by turning the key in the igntion to the “on” position but not starting the car. When the key is in the “on” position,
you should hear the fuel pump prime the system which in turn pressurizes the fuel system. Carefully inspect all of the
components that you have installed on the test port for leaks. If leaks are present, tighten the fitting but be careful not to
over tighten and strip the threads.
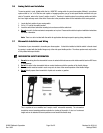
90-degree
Nitrous
Nozzle Outlet
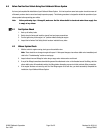
Pressure
Switch