the worldwide standard for time. This makes the sys-
tem’s clock very accurate once the appropriate time zone
and daylight savings information is set.
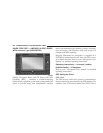
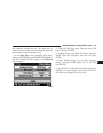
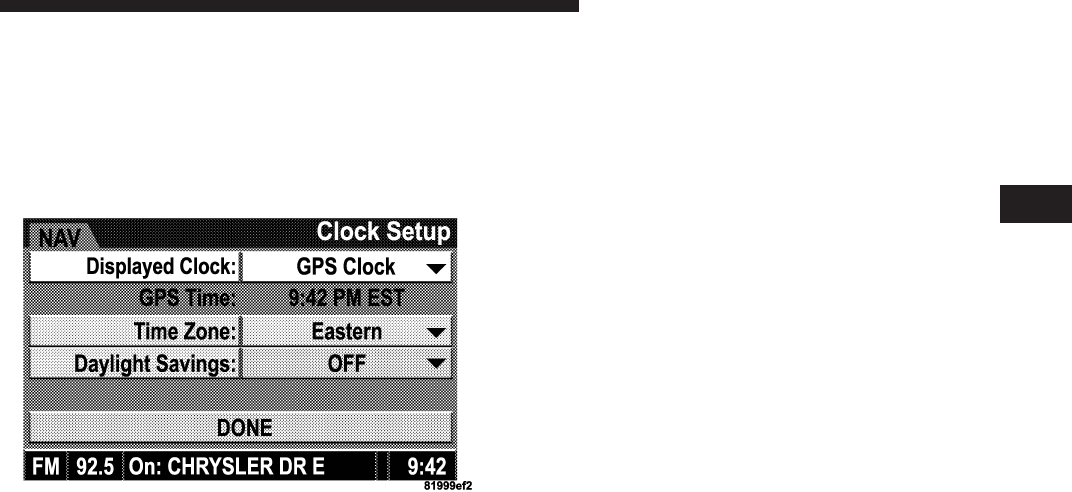
1. At the Main Menu screen, highlight “Clock Setup”
and press ENTER OR press and hold the TIME button on
the unit’s faceplate for three seconds. The Clock Setup
screen appears.
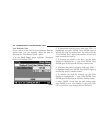
2. To show the GPS clock, select “Displayed Clock: GPS
Clock” and press ENTER.
3. To adjust the time zone, Select “Time Zone” and press
ENTER. Select the appropriate time zone and press
ENTER.
4. To turn daylight savings on or off, select “Daylight
Savings” and press ENTER. Select “On” or “Off” and
press ENTER.
5. Select DONE to exit from the clock setting mode. Press
ENTER to save your changes. If you press CANCEL or
NAV then your changes will not be saved.
UNDERSTANDING YOUR INSTRUMENT PANEL 225
4


