


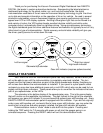

4
MOUNTING KITS INTO ORIGINAL DASHES
When installing the display system into the original bezel, several steps must be taken to
prepare the bezel. The first is to remove the cluster from the dashboard and all instrumentation
from the bezel. You should essentially be left with a bare chrome or metal bezel. Remove all
felt inserts from the back side of the bezel that sit between the lens and the chrome.
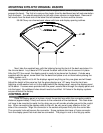
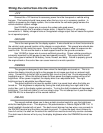
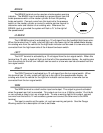
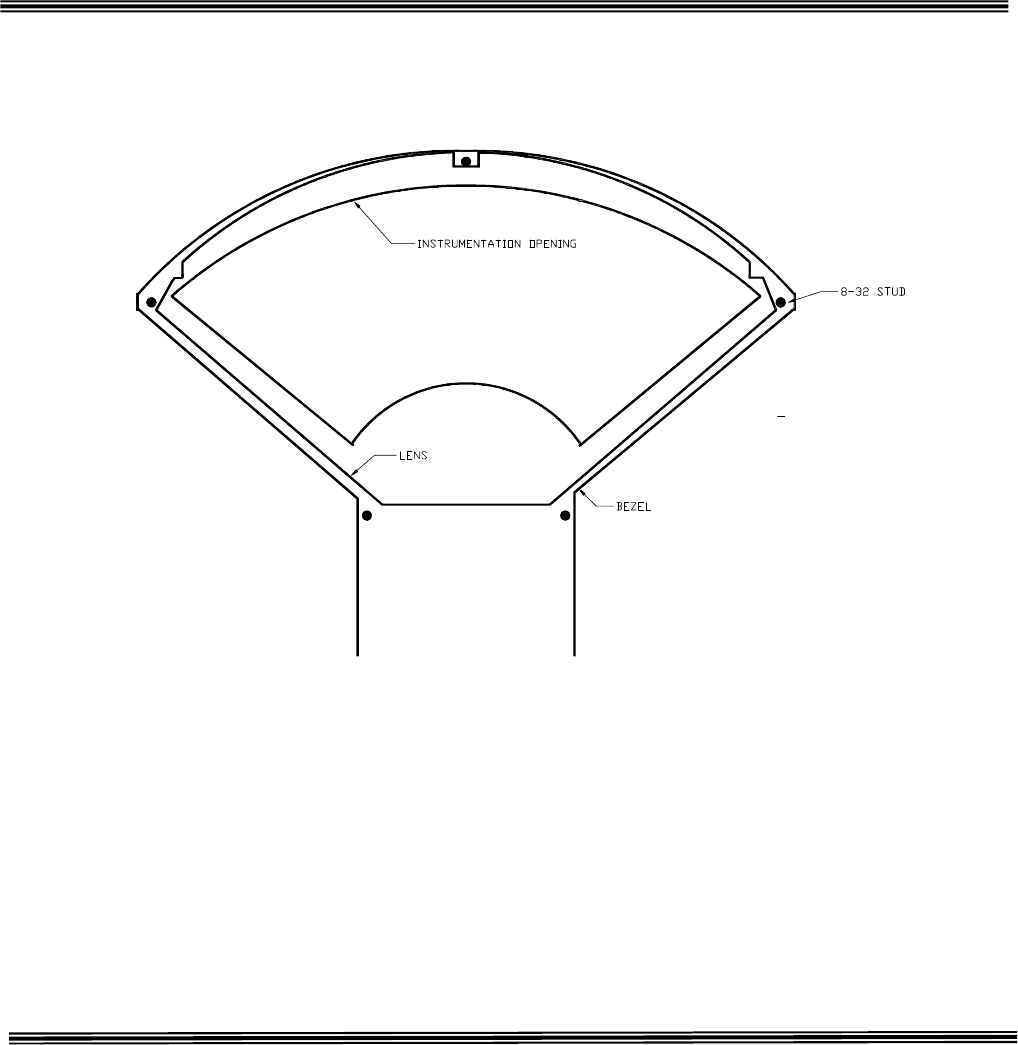
55-56 Chevy car chrome bezel shown with lens and display opening outlines.
Next, take the supplied lens, with the lettering facing the front of the dash and place it in
the chrome bezel. Lay a bead of RTV around the back side of the lens to secure it in place.
After the RTV has cured, the display panel is ready to be placed on the bezel. If studs were
supplied with the panel, screw them into the bezel and place a nut on them before placing the
display system on it.
Be very careful not to hit the displays against anything as they are glass and will break.
Adjust the height of the panel so that the glass displays are 1/8" away from the front lens.
Applying a lock washer and nut to the studs behind the display panel, secure the display panel
to the bezel. If screws were provided with the panel, secure them through the display panel and
into the bezel. No additional holes should need to be drilled. All holes in the display systems
are pre-drilled at the factory.
CONTROL BOX
Once the display panel is in place, mount the control box within the connecting cable's
distance (approximately 3 feet) and secure to the underside of the dashboard. This case does
not have to be mounted to metal, but by doing so you will provide a better ground to the control
box. When connecting the display cable to the unit, be very sure to pay attention to the "up"
side of the connector. Align the connector in the socket and press firmly into the control box.
The connector locks will secure the connector. Some systems also have a 2-wire connector
from the display panel that must also be connected. This plugs in next to the flat gray cable.