


Introduction
Thank you for purchasing a Firstech system for your vehicle. In order to truly enjoy the benefits of this system, we recommend that you thoroughly review the
following manual. Please note that this manual applies to the 2 Way - 4 Button Liquid Crystal Display Remotes, regardless of whether you purchased the alarm
only, starter only or alarm/starter combination. This manual also supports your 1 Way Fiancé remotes that may be included with your system. There are certain
features listed in this manual that may not be available for your system. There may also be features listed in this manual that require additional installation or
programming before they are active. If you have any questions, please contact the original place of purchase. For further information you may also contact our
customer support center by calling 888-820-3690.
Warranty Coverage
Caution: The Manufacture’s warranty will be voided if this product is installed by anyone other than an authorized Firstech dealer. For complete warranty details
visit www.compustar.com or the last page of this manual. Firstech remotes carry a 1 year warranty from original date of purchase.
Warranty registration can be completed online by visiting www.compustar.com. Please complete the registration form within 10 days of purchase. We do not
include a mail in warranty registration card with each unit - registration must be done online. To verify that an authorized dealer installed your system, we highly
recommend that you keep a copy of the original proof of purchase, such as the dealer invoice in a safe place.
5 By Firstech, LLC By Firstech, LLC 4
!
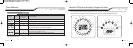
Quick Reference
When servicing or loaning your vehicle to others, the system should be placed in Valet Mode. Valet Mode prevents the system from remote starting and disables
all alarm functions.
IMPORTANT: While in Valet mode the remote will still control power lock and unlock systems. The parking lights will not flash.
The system can be put into valet one of three ways:
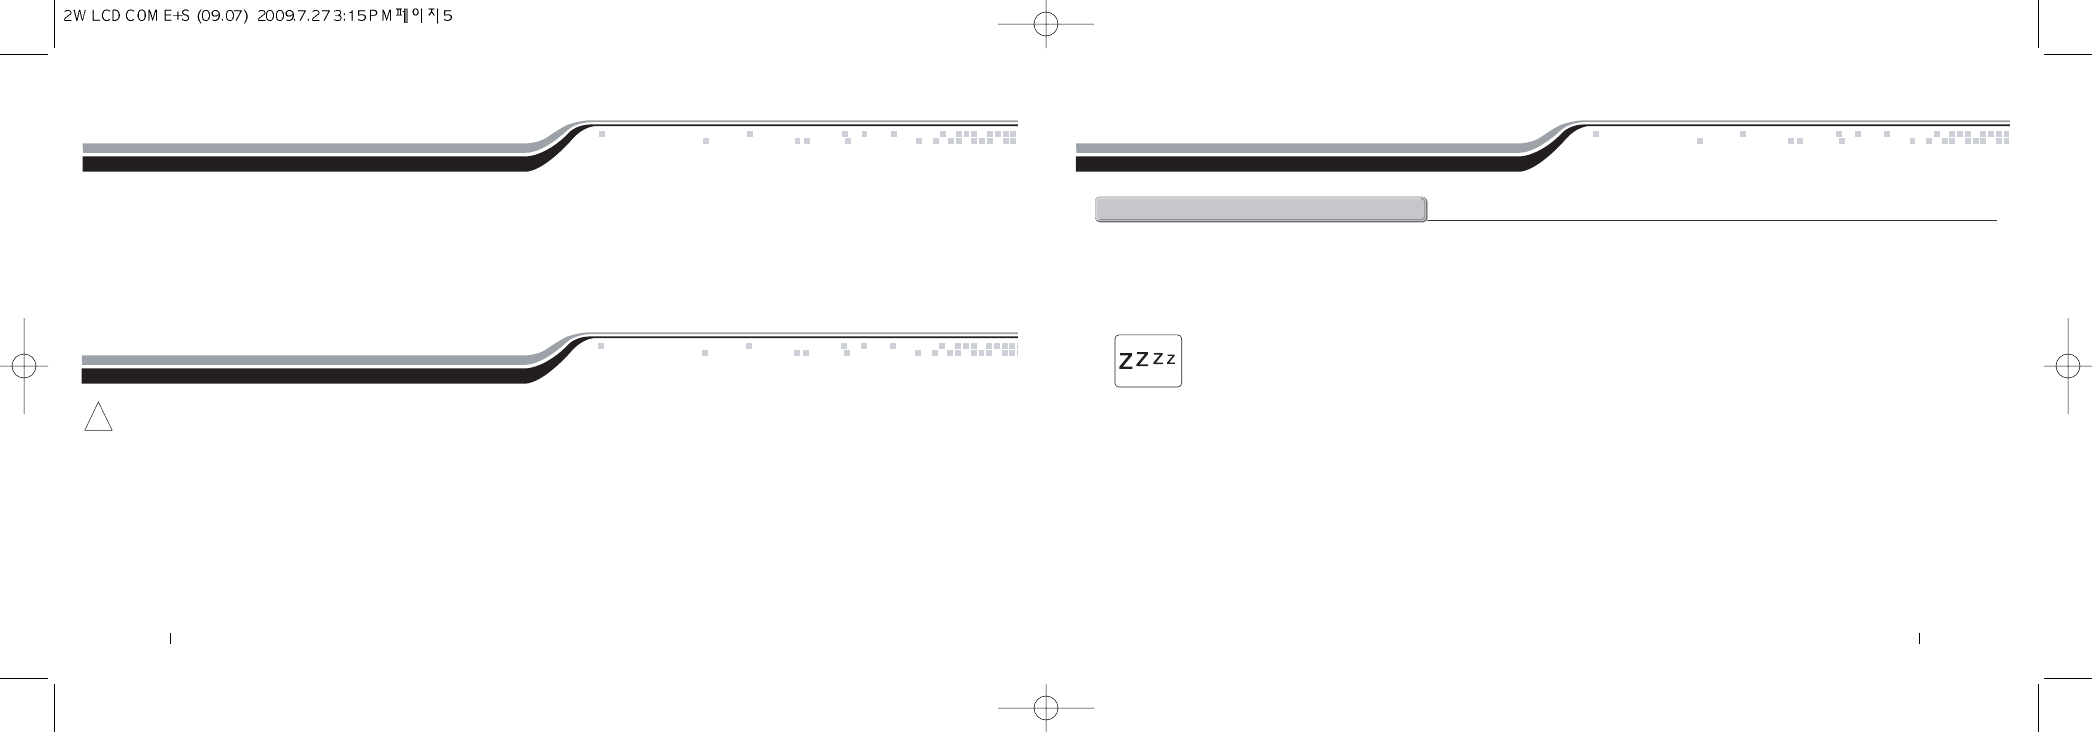
1. Turn the vehicle’s key to the ignition “on” position and tap buttons (I + III) simultaneously for 0.5 second. The parking lights will flash once and
the LCD will display Z’s above the vehicle image to confirm the system is in valet mode. Repeat this process to take the system out of valet mode.
The parking lights will flash twice and Z’s will disappear to confirm the system is out of valet mode.
2. If you do not have your remote control, you can put the system into valet by turning the ignition key “on” and then “off” five times within 7 seconds. The
parking lights will flash once to confirm the system is in valet mode. Shortly after the first flash, the parking lights will flash twice. A remote control is required to
take the system out of valet mode.
3. If your system is set up for a secure valet option (optional), you will not be able to put the system into valet until the proper code has been entered to the
secure valet switch. The secure valet switch is the small button with bright blue LED on the front and if installed is the only way to override the alarm and/or
remote start. Until programmed, the default code is (3, 3).
v@m