


3
About Installation
NOTE: This manual assumes the installer possesses skill in the proper use of hand and power tools, knowledge
of local building and fire codes, and a familiarity with the environment behind the wall or ceiling in which the
speakers will be installed.
Read this manual completely before beginning the installation. Have a plan for each step of the entire installa
-
tion. If you have any doubts about how to proceed, consult a professional installer. Please keep your manual in a
safe place in case you need to refer to it later.
The grille and frame of the PRi speaker can be painted to match its surroundings. If you plan to paint your
speakers, see the information in the “Painting the PRi Speakers” section at the end of this manual.
WARNING: Always turn off the amplifier or receiver when connecting speakers or any other components to the
system.
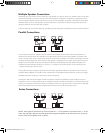
Speaker Installation Locations
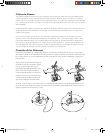
When selecting installation locations you must take into account both mechanical and acoustical factors. The
pivoting tweeter of the PRi665 and PRi685 helps them produce excellent sound even when they are installed in
less than ideal locations.
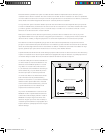
The mechanical factors have to do with the structural parts inside
the ceiling. If you are installing the speakers in new construction it is
easy to take this into account. Simply select the installation locations
before the wall board goes up. In retrofit installation things are more
complicated. First, you must know the locations of the ceiling rafters
to be sure the installation location is between them. An electronic
stud finder can help locate the ceiling rafters. You must also know
the depth of the rafters to be sure there is enough room above the
ceiling for the speakers.
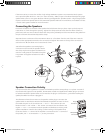
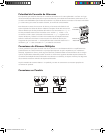
The locations of heating outlet ducts and electrical fixtures can help indicate where there may be obstructions in
the ceiling. As a final check, before cutting the hole for installation, drill a small hole at the center of the instal
-
lation location. Insert a long, bent piece of wire and move it around to confirm that there are no obstructions
behind the chosen location.
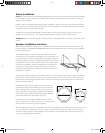
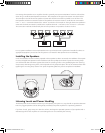
Installation in drop ceilings is easy since ceiling tiles can be
removed for access to the installation location. Just be sure
there is adequate room above the ceiling grid to accommo
-
date the speakers. See the Mounting Depth specifications on
the preceding page. Optional drop ceiling support brackets
are available. Their use is described on page 10.
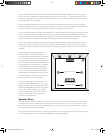
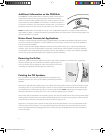
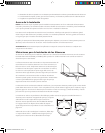
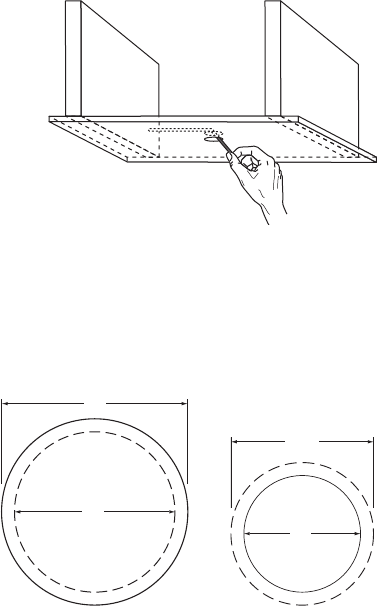
In addition to the area for the installation cutout you must
allow an additional 1” of clearance around it. This ensures that
there is room for the mounting clamps to deploy.
Also remember that you must run speaker wires from the amplifier to the installation location. This is easy
in new construction installations. It is also easy in drop ceiling installations once the wire is in the area
above the ceiling grid. In retrofit installations wire routing is more difficult. Be sure to take this into ac
-
count when planning your installation.
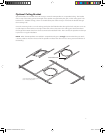
PRi685 / PRi85Sub PRi665
9
15
/16"
229mm
12
3
/8"
314mm
14
3
/8"
365mm
11
15
/16"
280mm
142-002648-D OWNERS MANUAL PRI.i3 3 10/4/07 3:26:38 PM