Installing to the Rack (Using MB-531)
12
CAUTION
• For safety, do not connect the connector for peripheral
device wiring that might have excessive voltage to this
port. Follow the instructions for this port.
• When an optional LAN cable is connected, use a
shield type cable to prevent miss-operation due to
noises.
• The connection speed may be affected by the network
system. This unit does not guarantee the
communication speed or quality of 10BASE-T/
100BASE-TX.
f HDMI input connector
Input connector for HDMI signals.
HDMI (High-Definition Multimedia Interface) is an
interface that supports both video and audio on a single
digital connection, allowing you to enjoy high quality
digital picture and sound. The HDMI specification
supports HDCP (High-bandwidth Digital Content
Protection), a copy protection technology that
incorporates coding technology for digital video signals.
Note
Use HDMI compliant cable (optional) with HDMI logo.
g EJECT button
While sliding this button, remove the AC adaptor.
h Tripod socket hole (1/4-20UNC, 3/8-16UNC)
When using a tripod, secure it to the monitor with this
hole.
i AC adaptor attachment
The monitor can also be operated with AC power by
attaching the AC adaptor.
j DC 12V IN jack (XLR-type, 4-pin)
Connects the DC 12V external power source to use the
monitor.
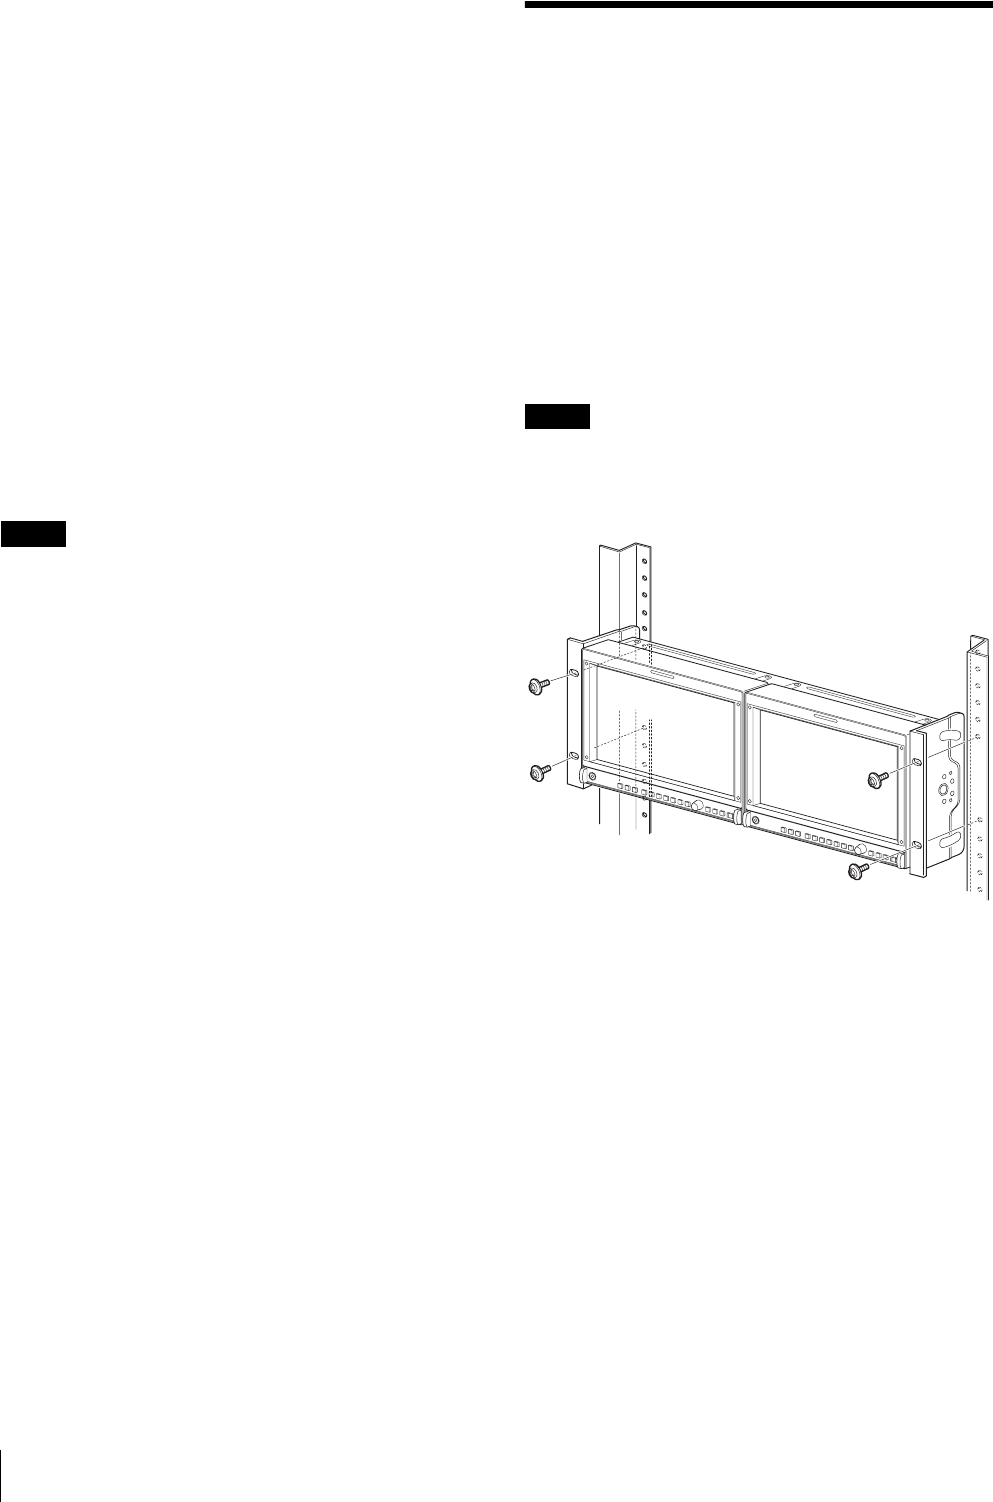
Installing to the Rack
(Using MB-531)
You can attach up to two monitors to the rack by using
the optional MB-531 Mounting Bracket.
1
Attach the mounting bracket to the monitor.
For details on attaching the mounting bracket,
refer to the Mounting Instructions of the MB-531.
2
Attach the unit to the rack with four screws.
Note
The screws are not supplied. Prepare screws according
to the rack.


