just before charging to mix the solution. DO NOT OVER
FILL THE BATTERY.
FIGURE 41
9. Check the Air Pressure on Tires: Front
12-15
PSI and
Rear 6-8 PSI.
EVERY 100 HOURS OR ONCE A YEAR
SERVICE
1. Remove the Spark Plug. clean or replace and set the gap
at
,030.
DO NOT SAND BLAST PLUGS, AS THE AB-
RASIVE PARTICLES LEFT ON THE PLUG MAY DAM-
AGE THE ENGINE. Plugs may be cleaned by scraping or
wire brushing and washing in a solvent.
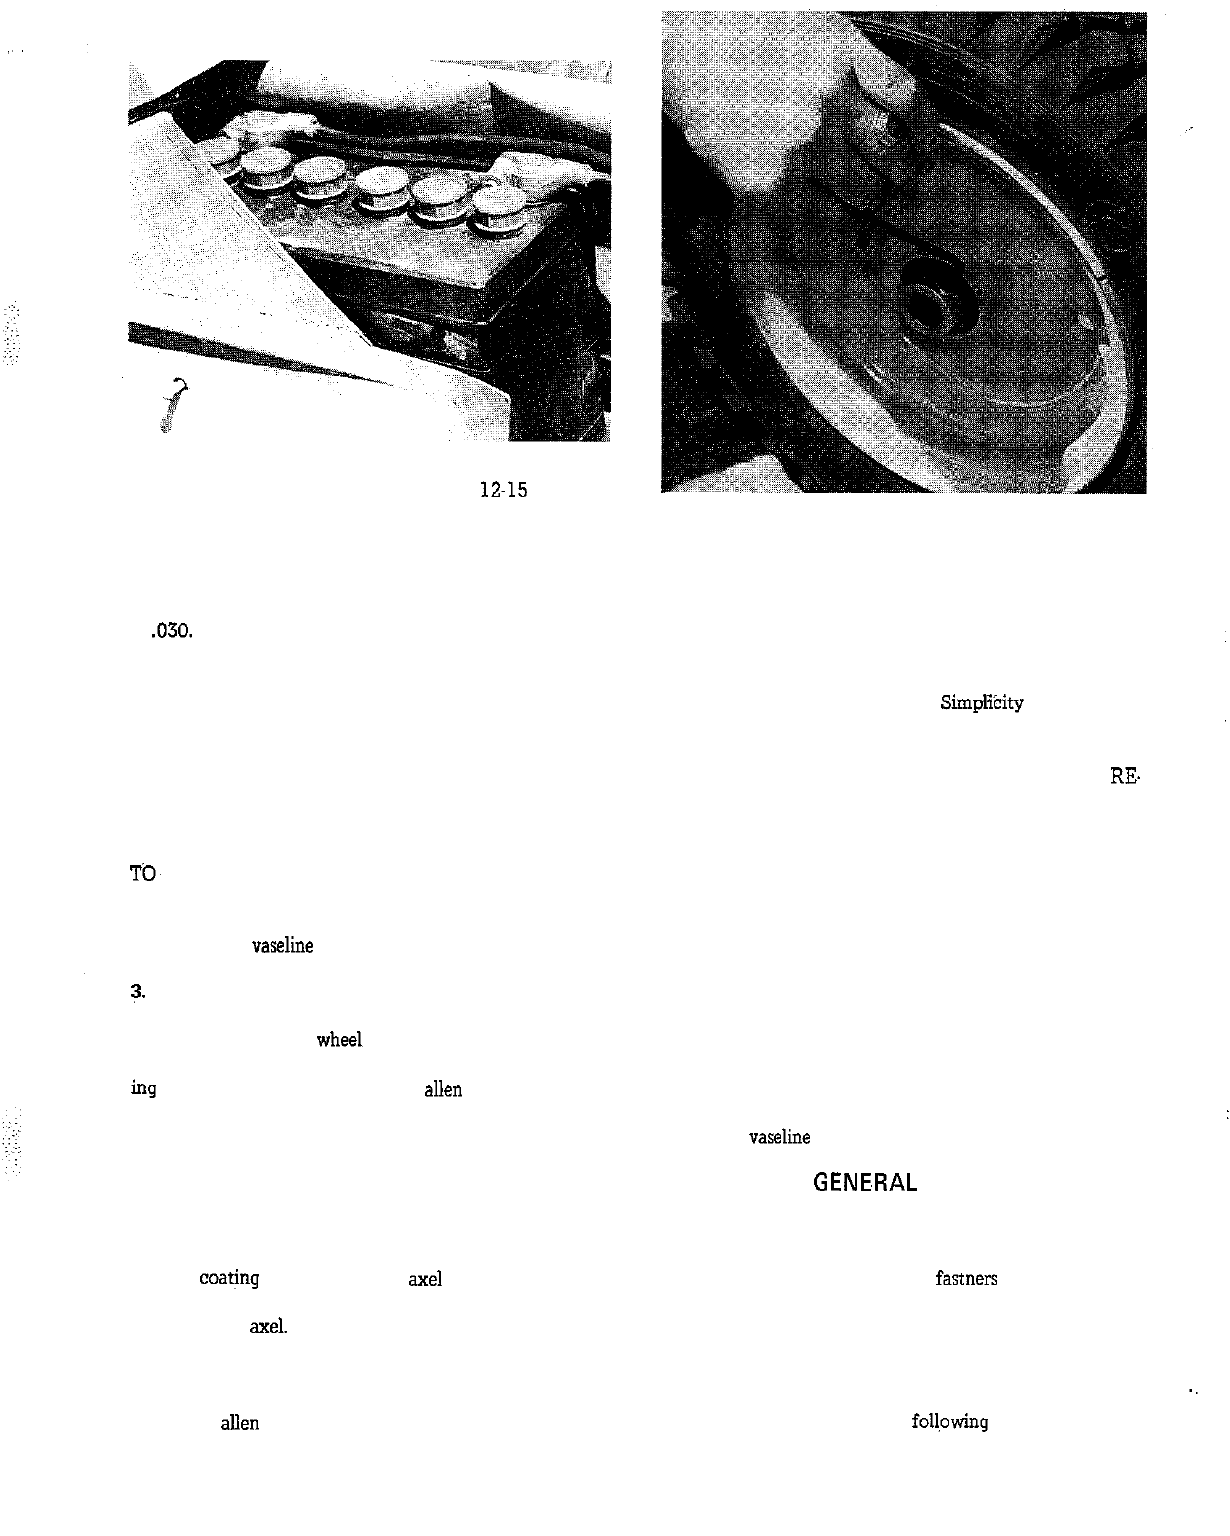
2. Remove the Battery Cables. ALWAYS REMOVE THE
NEGATIVE “GROUND” CABLE FIRST AND REPLACE
it last. Clean the battery with soap and water to remove all
dirt, oil and corrosion from battery surface. DO NOT AL-
LOW FOREIGN MATERIAL OR CLEANING SOLUTION
TO. GET INSIDE BATTERY. Clean the terminals and
cable clamps with a wire brush. Replace and tighten snug-
ly. After tightening, coat the terminals and clamps liberally
with grease or
vaseline to inhibit corrosion.
3.
Clean and Repack the Front Wheel Bearings. Before at-
tempting to remove the wheel, block or jack the front
of the tractor so the
wheels
you are to work on is not
supporting the tractor. Remove the grease cup by pry
ing off with a screw driver. Use an allen wrench to loosen
the set collar. Remove the set collar, outer bearing, wheel,
and inner bearing. It is best to keep the two bearings separ-
ate, so you can put them back in their original place. Wash
the bearings, shaft and wheel bearing housing with a suit-
able solvent and wipe dry. Inspect the seal at the inner
wheel. Replace it if damaged. Using the palm of your hand
force a good quality wheel bearing grease into the bearings.
‘Place a
coating of grease on the
axe1
where the seal will
turn. Replace the inner bearing and the seal and slide the
wheel on the axel. Replace the outer bearing and the set
collar. Spin the wheel slowly and press in on the set collar
to set the bearings. Be sure the seal on the inside of the
wheel is properly seated. Hold in on the set collar and
tighten the
allen screw securely. Replace the grease cup.
18
FIGURE 42
Battery Replacement: A dead battery or one too weak to
start the engine may not necessarily mean the battery
needs to be replaced. The voltage regulator or generator
may not be charging it properly. If there is any doubt what
is causing the problem, see your
Simplibity dealer. If you
need to replace the battery, proceed as follows:
1. Disconnect the battery cables, (REMEMBER TO RE.
MOVE THE NEGATIVE “GROUND” CABLE FIRST),
and remove the old battery from the tractor.
2. Wash the battery mounting area and clamps with soap
and water. Remove corrosion from cable ends with a wire
brush. Check the new battery to be sure it is filled with the
special electrolyte to the rings or marks and the vent holes
in the filler caps are open.
3. Carefully place the new battery in the tractor. Fasten
the battery hold down clamp and connect the cables.
CONNECT THE ( + ) POSITIVE CABLE FIRST.
4. After tightening the cable clamps, put a liberal coat of
grease or
vaseline on them to inhibit corrosion.
GENE,RAL REPAIR
To prevent rusting, sand off and paint any parts which be-
come chipped or damaged. Apply a good rust preventative
to all bare metal parts. Keep all
fastners
and guards tight-
ened securely.
OFF SEASON STORAGE
When the tractor is to be stored without use for a period
of one month or longer, the
foll.owing
precautions should


