10. Select Done.
You see a confirmation screen.
11. Do one of the following:
• Select Options to enter a fax speed for the entry.
• Select Done.
12. Select OK to return to the Add/Edit Contacts screen.
13. Do the following as necessary:
• To create additional entries, select Speed Dial Setup and repeat the steps above.
• To create a group dial entry, select Group Dial Setup.
• To edit an existing entry, select Edit Contacts, select the entry, and change the information.
• To delete an entry, select Delete Contacts, select the entry, select Proceed, and confirm the
deletion.
Parent topic: Setting Up Speed/Group Dial Lists Using the Product Control Panel
Related tasks
Printing Your Speed Dial List
Printing Your Speed Dial List
You can print your speed dial list for easy reference.
1. Load paper in your product.
2. Press the home button, if necessary.
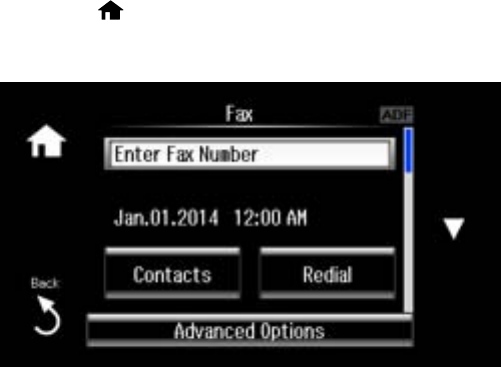
3. Select Fax.
215
