Quick Reference Guide 11
Desktop Computer — Front View
1
cover release latch This latch allows you to open the computer cover.
2
padlock ring Insert a padlock to lock the computer cover.
3 voltage selection switch
(may not be available on
certain computers)
Your computer is equipped with either an auto-sensing voltage selector or a manual
voltage-selection switch. Computers with an auto-sensing voltage selector do not have
a voltage selection switch on the back panel and can automatically detect the correct
operating voltage.
To help avoid damaging a computer with a manual voltage-selection switch, set the
switch for the voltage that most closely matches the AC power available in your
location.
NOTICE: In Japan, the voltage selection switch must be set to the 115-V position
even though the AC power available in Japan is 100 V.
Also, ensure that your monitor and attached devices are electrically rated to operate
with the AC power available in your location.
4 power connector Insert the power cable into this connector.
5 back-panel connectors Plug serial, USB, and other devices into the appropriate connector.
6 card slots You can access connectors for any installed PCI and PCI Express cards.
89
3
5
1
4611 10
2
7
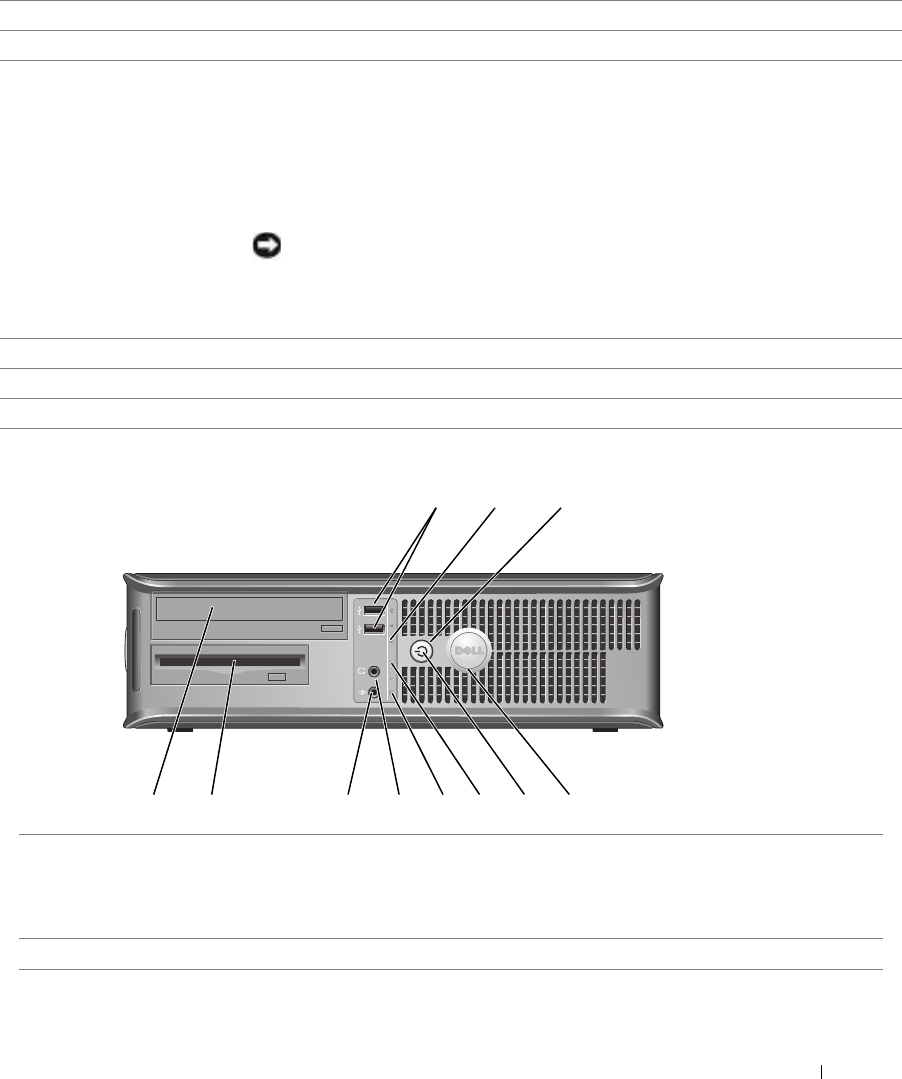
1 USB 2.0 connectors (2) Connect USB devices such as a mouse, keyboard, memory key, printer, joystick,
and computer speakers into either of the USB connectors.
It is recommended that you use the back USB connectors for devices that typically
remain connected, such as printers and keyboards.
2 LAN indicator light This light indicates that a LAN (network) connection is established.


