Installing System Components 71
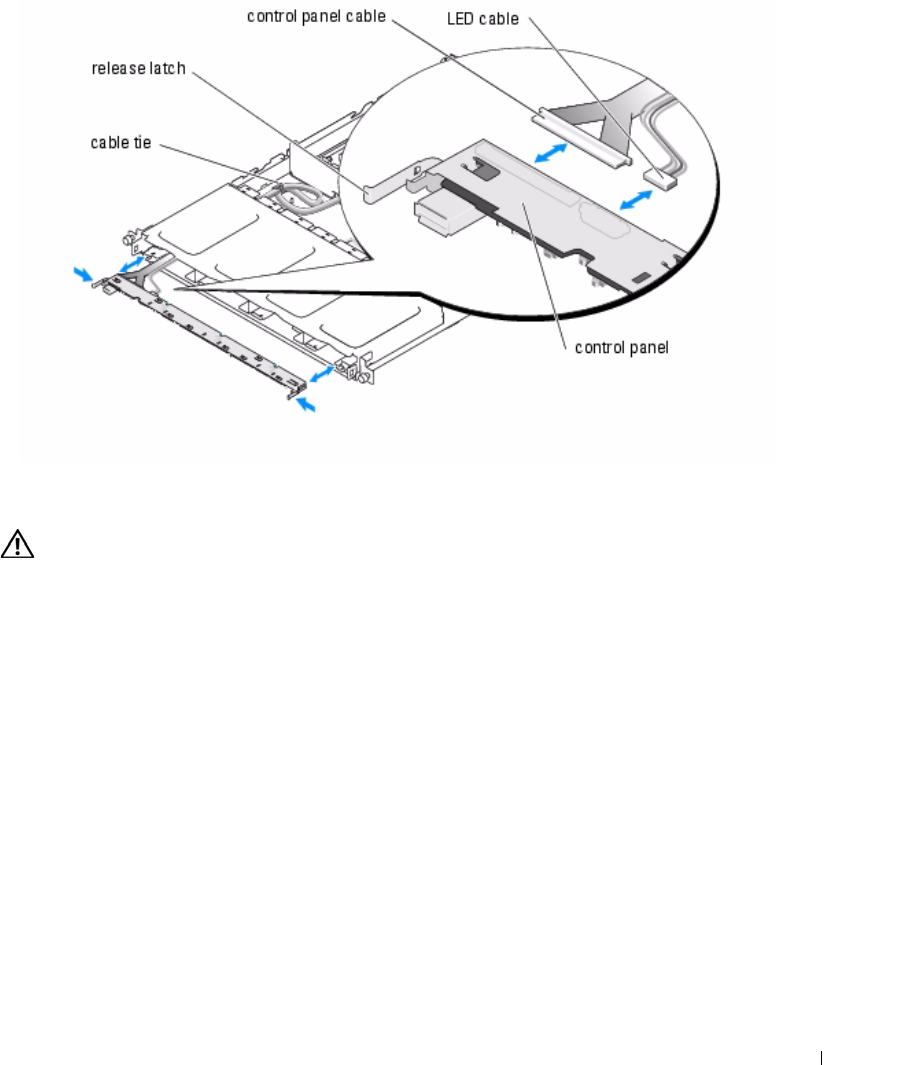
Figure 6-13. Control Panel Removal
Installing the Control Panel
CAUTION: See your System Information Guide for complete information about safety precautions,
working inside the computer, and protecting against electrostatic discharge.
1
Align the control panel and connect the control panel and LED cables to the control panel.
2
Carefully slide the control panel into the system until the release latches click. See
Figure 6-13.
3
Replace all of the hard drive carriers in the system at their labeled locations.
4
Close the system.
a
Ensure that you did not leave tools or parts inside the system.
b
Place the cover over the sides of the chassis, and slide the cover forward.
c
Tighten the two captive screws at the back of the system to secure the cover.
5
Reconnect the system to the electrical outlet, and turn on the system.
6
Replace the bezel.
a
Push the latches on the bezel inward.
b
Place the panel on the front of the system and release the latches.
D3835bk0.book Page 71 Monday, August 24, 2009 4:34 PM
