


PERIODIC MAINTENANCE AND MINOR REPAIR
6-14
1
2
3
4
5
6
7
8
9
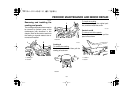
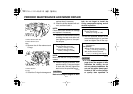
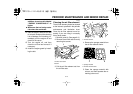
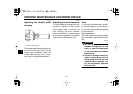
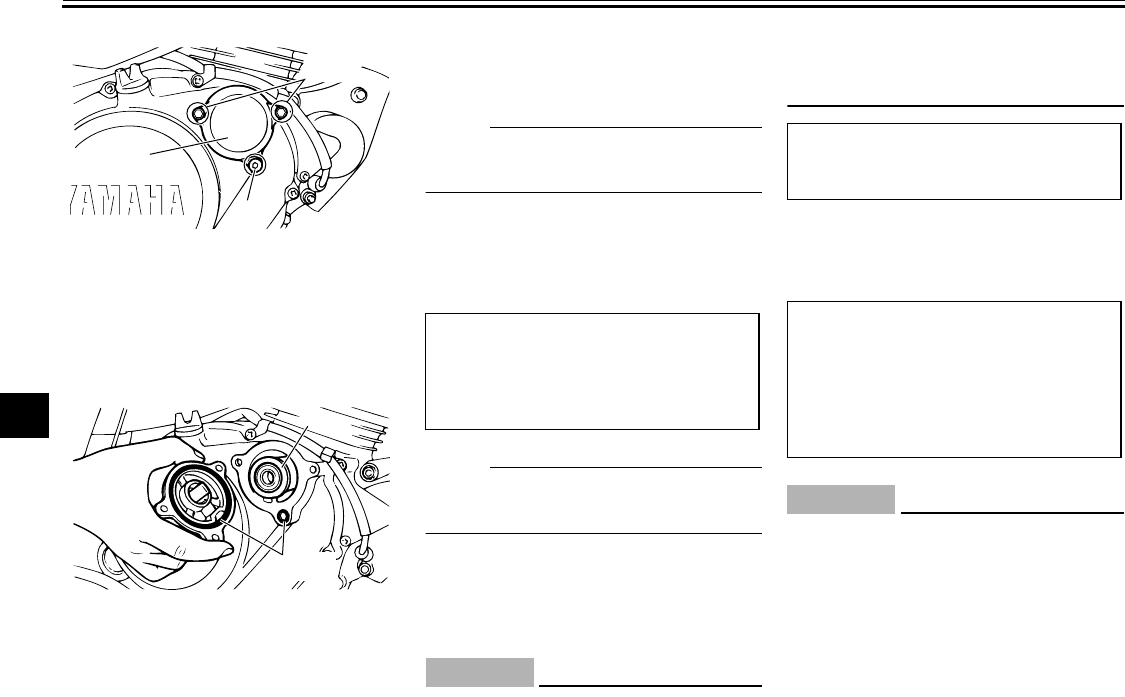
8. Remove the oil filter element and
O-rings.
9. Check the O-rings for damage and
replace them if necessary.
10. Clean the oil filter element with sol-
vent, and then install it.
NOTE:
Check the oil filter element for damage
and replace it if necessary.
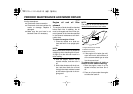
11. Install the oil filter element cover by
installing the bolts and drain bolt,
then tightening them to the speci-
fied torques.
NOTE:
Make sure that the O-ring is properly
seated.
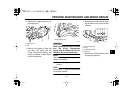
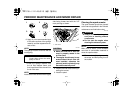
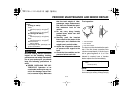
12. Install the engine oil strainer, com-
pression spring, O-ring and engine
oil drain bolt, and then tighten the
drain bolt to the specified torque.
CAUTION:
ECA10420
Before installing the engine oil drain
bolt, do not forget to install the
O-ring, compression spring, and oil
strainer in position.
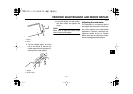
13. Add the specified amount of the
recommended engine oil, and then
install and tighten the oil filler cap.
CAUTION:
ECA11620
●
In order to prevent clutch slip-
page (since the engine oil also
lubricates the clutch), do not
mix any chemical additives. Do
not use oils with a diesel speci-
fication of “CD” or oils of a high-
er quality than specified. In
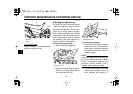
1. Oil filter element drain bolt
2. Oil filter element cover
3. Bolt
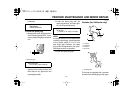
1. Oil filter element
2. O-ring
2
1
3(×2)
1
2(×2)
Tightening torques:
Oil filter element cover bolt:
10 Nm (1.0 m·kgf, 7.2 ft·lbf)
Oil filter element drain bolt:
10 Nm (1.0 m·kgf, 7.2 ft·lbf)
Tightening torque:
Engine oil drain bolt:
43 Nm (4.3 m·kgf, 31 ft·lbf)
Recommended oil:
See page 8-1.
Oil quantity:
Without oil filter element removal:
1.00 L (1.06 US qt) (0.88 Imp.qt)
With oil filter element removal:
1.10 L (1.16 US qt) (0.97 Imp.qt)