


Maintenance
56
NOTE:
● If a torque wrench is not available when you
are installing the drain screw, finger tighten
the screw just until the gasket comes into
contact with the surface of the drain hole.
Then tighten 1/4 to 1/2 turn more. Tighten
the drain screw to the correct torque with a
torque wrench as soon as possible.
● Apply grease to the apron retaining bolts
before tightening them.
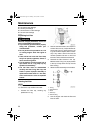
5. About adding the engine oil, refer to the
step 3 to 6 on the above oil changing pro-
cedures with the oil changer.
EMU29112
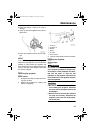
Checking wiring and connectors
● Check that each grounding wire is properly
secured.
● Check that each connector is engaged se-
curely.
EMU29120
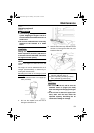
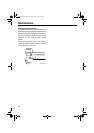
Exhaust leakage
Start the engine and check that no exhaust
leaks from the joints between the exhaust
cover, cylinder head, and body cylinder.
EMU29130
Water leakage
Start the engine and check that no water
leaks from the joints between the exhaust
cover, cylinder head, and body cylinder.
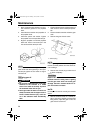
EMU29140
Engine oil leakage
Check for oil leaks on the around the engine.
NOTE:
If any leaks are found, consult your Yamaha
dealer.
EMU29153
Checking power trim and tilt system
WARNING
EWM00430
● Never get under the lower unit while it is
tilted, even when the tilt support lever is
locked. Severe injury could occur if the
outboard motor accidentally falls.
● Make sure no one is under the outboard
motor before performing this test.
1. Check the power trim and tilt unit for any
sign of oil leaks.
2. Operate each of the power trim and tilt
switches on the remote control and en-
gine bottom cowling (if equipped) to
check that all switches work.
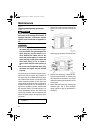
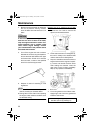
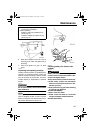
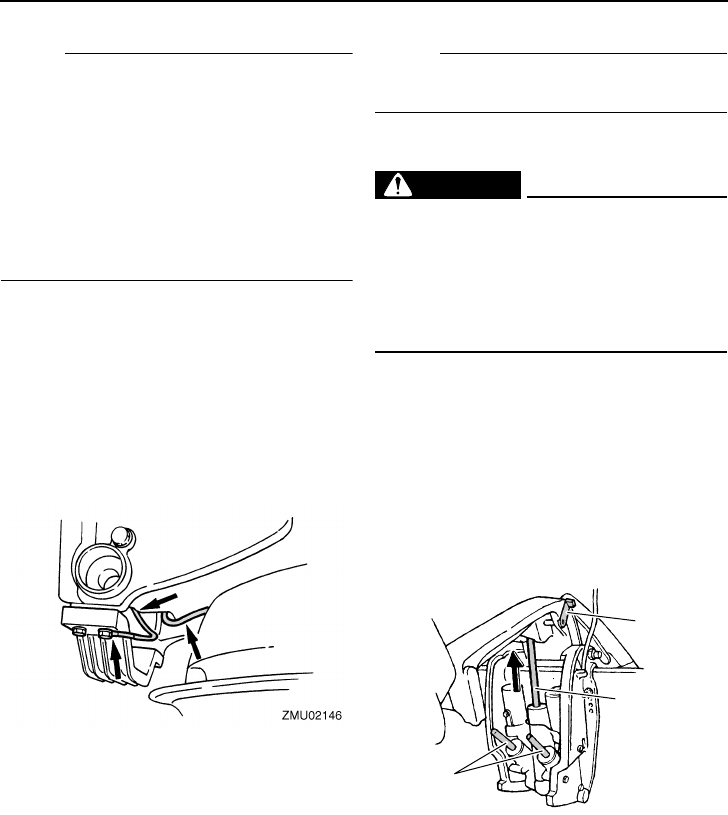
3. Tilt the outboard motor up and check that
the tilt rod and trim rods are extended
completely.
4. Use the tilt support lever to lock the motor
in the up position. Operate the tilt down
switch briefly so the motor is supported
by the tilt support lever.
1. Tilt rod
2. Tilt support lever
3. Trim rods
1
ZMU01940
3
2
U6P212E0.book Page 56 Monday, June 6, 2005 4:23 PM