13
Whistler WGPX-635/650
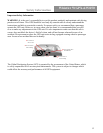
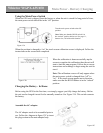
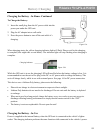
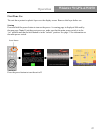
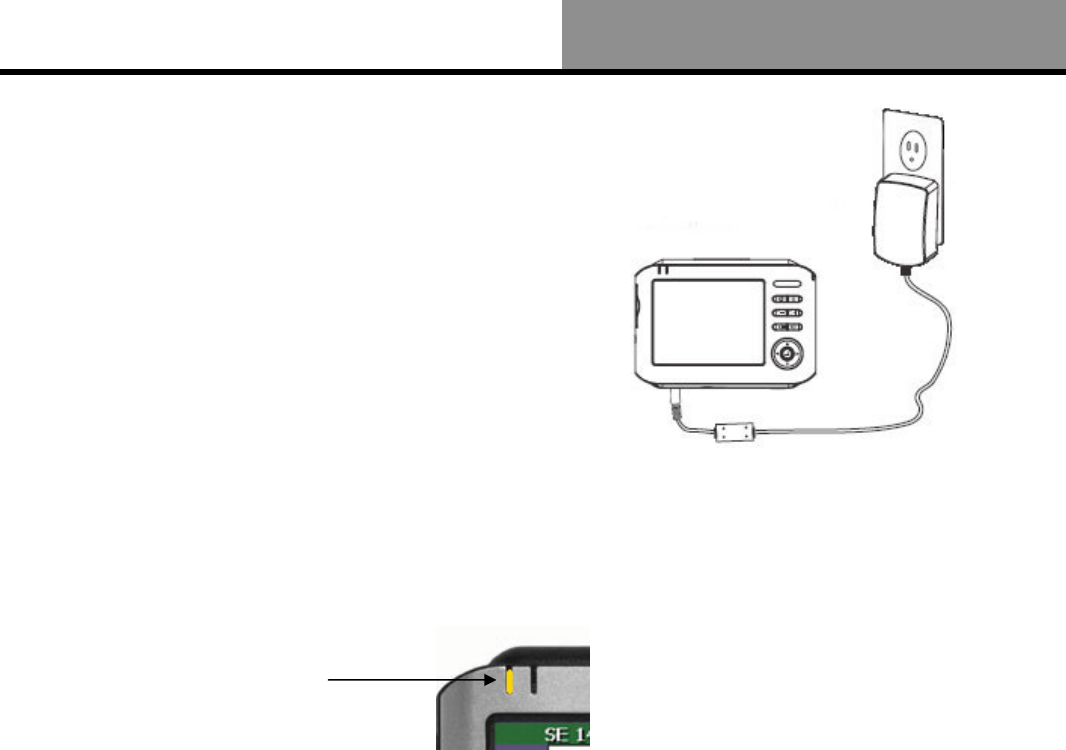
Charging Indicator
Figure 13B
Charging the Battery - In Home -Continued
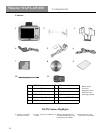
To Charge the Battery:
1. Insert the small plug from the AC power cable into the
power port under the GPS unit.
2. Plug the AC adapter into a wall outlet.
3. Press the power button to turn off the unit while it’s
charging.
When charging starts, the yellow charging indicator light will flash. Please wait for the charging
to complete (this might take several hours). The indicator light will stop flashing when charging is
complete.
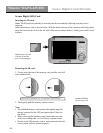
While the GPS unit is in use the charging LED will turn Red when the battery voltage is low. It is
recommended to turn the unit off or plug in the DC or AC power cable to charge the battery! The
unit will charge slowly while in use with external power. See page 16 for DC power connection.
This device uses a Lithium-Poly battery, please note the following:
• Please do not charge in a hot environment or expose to direct sunlight.
• Lithium-Poly batteries do not need to be discharged. Do not wait until the battery is depleted
to recharge.
• When not in use for a long period, charge the battery every two weeks to prevent excessive
discharge affecting battery performance or simply turn the master switch to the “OFF”
position.
• The battery is not user replaceable. Do not open the unit!
Charging the Battery - In Car
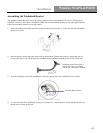
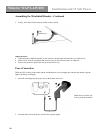
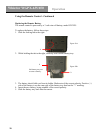
Power is supplied to the internal battery when the GPS unit is connected to the vehicle’s lighter
socket. The charging indicator performs the same function while connected to the vehicle’s power.
Battery Charging
2
1
Figure 13A


