


Non-Skid Pad Installation:
• Select a location on the dash or center
console (remember the unit needs to be
able to “see” the sky).
• Clean the selected area with an isopropyl
pad to clean off any waxes or polishes.
• Remove the Non-Skid Pad from its
packaging.
• Place the Non-Skid Pad onto this area.
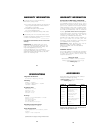
Power Connection
The RLC-100 includes two power jacks. One
jack is for powering the unit and the other to
share power with another 12 volt device such
as a radar detector.
We offer a power cord to connect to a
majority of Laser-Radar detectors. See the
accessories section for ordering this cord.
INSTALLATION
8
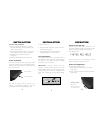
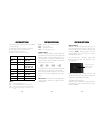
12 Volt Input
12 Volt Output
To power the unit:
• Plug the small end of the power cord into
the unit’s power jack.
• Plug the large end into the vehicle’s
cigarette lighter or 12 volt outlet.
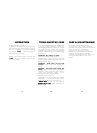
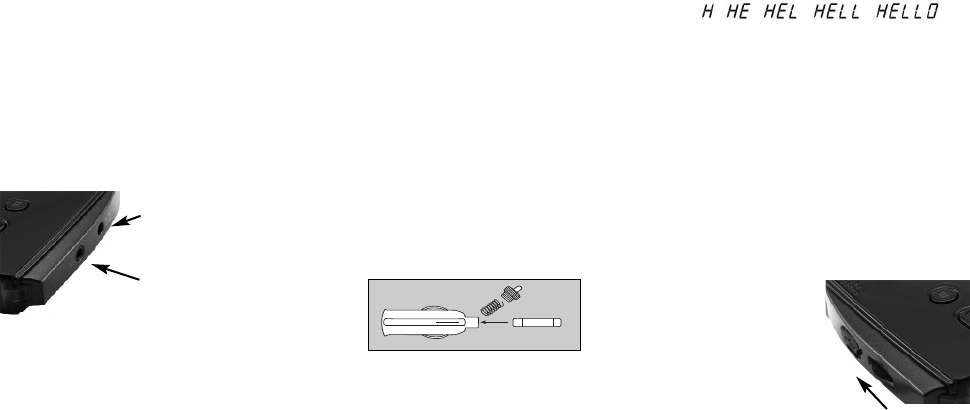
Fuse Replacement
The lighter socket plug is equipped with a
replaceable 2 amp 3AG fuse located behind
the silver tip. To replace the fuse, carefully
unscrew the tip of the plug.
IMPORTANT: Unscrew slowly. The tip
contains a spring which may fly out when
disassembling. Insert the new fuse with the
spring and screw on the tip. Retighten the
screw cap occasionally, it may loosen during
use.
9
Unscrew the tip of the lighter socket plug
carefully when replacing the 2 amp fuse.
INSTALLATION
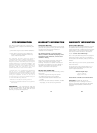
Power On and Self Test
Each time your RLC-100 is turned on, an
automatic self-test sequence confirms that the
speaker and visual displays are functional.
The display shows:
To turn the unit on or off, press the on/off
button located on the power cord.
Audio Level Adjustment
To change the audio level:
• Move Volume button back to increase
audio level.
• Move Volume button forward to decrease
audio level.
OPERATION
10
Volume control:
Move in the
direction of arrow
to increase audio