


INSTALLATION
9
INSTALLATION
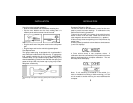
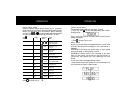
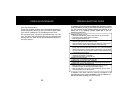
Visor Mounting (optional accessory )
• Slide the visor bracket into the bracket mounting slot.
• Clip the visor bracket onto the visor making sure it is
relatively level and has a clear view of the ro a d .
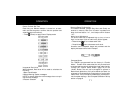
Power Connection
• Plug the small end of the power cord into the unit’s power
j a c k .
• Plug the large end into the vehicle’s cigarette lighter.
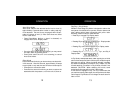
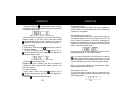
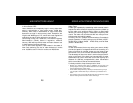
Fuse Replacement
The lighter socket plug is equipped with a replaceable 2
amp 3AG fuse located behind the silver tip. To replace the
fuse, carefully unscrew the tip of the plug. (I M P O RTA N T:
U n s c r ew slowly. The tip contains a spring which may fly out
when disassembling.) Insert the new fuse with the spring and
s c rew on the tip. With use, screw cap on plug may loosen.
Retighten occasionally.
U n s c rew the tip of the lighter socket plug carefully when replacing the 2 amp
f u s e .
8
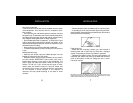
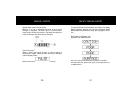
Insert into bracket mounting slot. Do not bend this
section of bracket.
Slide on view
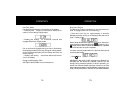
Compass Calibration Set-up
The unit will need to be calibrated in order for the com-
pass to provide accurate readings. To calibrate the unit,
perform the following procedure:
1. Mount the unit level in the center of the vehicle’s wind-
shield in which it will be used. Make sure there are no
other magnetic sources near the detector (i.e., speaker).
2. Select a large clear area (parking lot or field) without any
power lines.
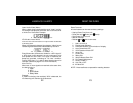
3. While parked, press both volume buttons simultaneous-
ly until unit displays:
4. Drive vehicle slowly in two complete circles. If
calibration does not automatically finish press both volume
buttons simultaneously to complete calibration. The unit
will beep twice and display:
Note: If unit mounting is relocated in the vehicle, (i.e.,
visor to windshield mounting or dash mounting), or if the
unit is moved to another vehicle, you must recalibrate the
compass.