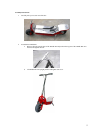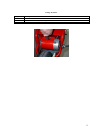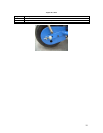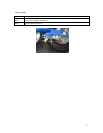
Change the Rear Tire
• Tools Required:
- Phillips screwdriver
- 8mm wrench
- 2 x 16mm wrench
Step Description
1 Ensure power switch is in the "off" position before beginning any work on the scooter.
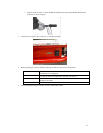
2 Remove screw holding brake shield in place located next to the left side of the rear tire. This bolt connects
the brake shield to the frame. There is also a Phillips screw on the opposite side of this bolt.
3 Remove the axle bolts located on both sides of the rear tire.
4 Loosen the brake adjustment bolt. Do not completely remove this bolt. It should loosen to the point where
the line traveling through the “brake spring” can be removed. Next remove the chain from the tire sprocket.
Once this has been completed, the rear tire and hub can be removed from the scooter.
5 Let all of the air out of the tire. Next, remove the Allen bolts from the rim of the tire. The rim will split
into 2 pieces. Once apart, replace the old tire with the brand new tire you have just received. Reassemble
the rim back onto the tire.
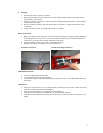
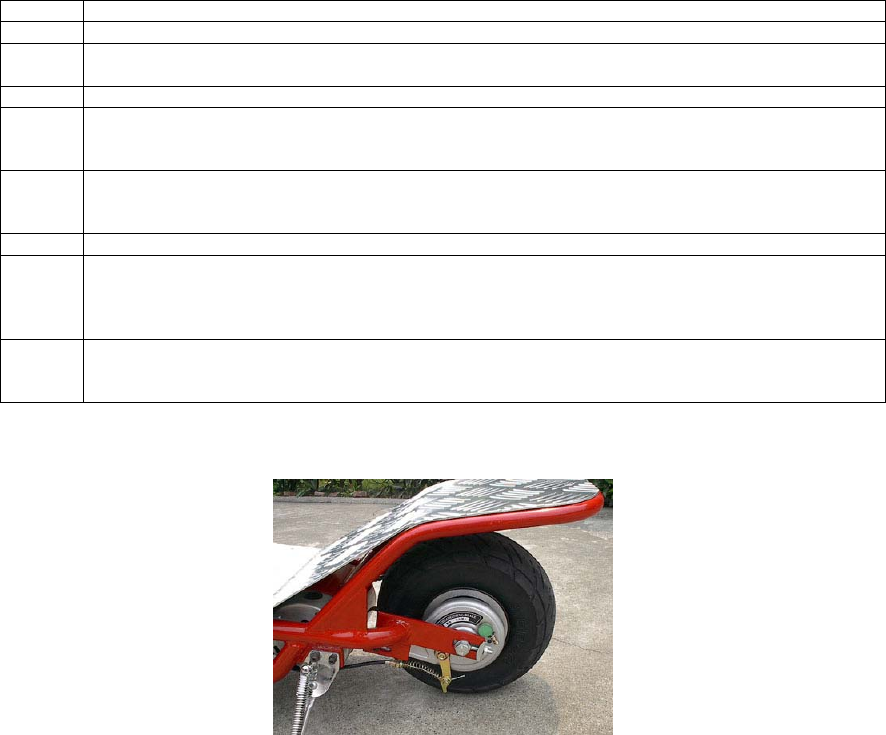
6 Place the brake shield back on the wheel’s axle. Then place the two ¾” washers on the axle.
7 Insert the “L”-shaped bracket onto the brake shield. The hole for this bracket is located farthest from the
wheel axle on the bracket itself. The bracket should be placed on the “tire-side” of the shield (as opposed to
the outer side). (Wheel shown as removed to better display “L”-shaped bracket). Next, place the brake
spring back into its original setting.
8 Insert the brake line through the “L”-shaped bracket and through to the brake adjustment bolt. Pull the line
tighter to get a “stiffer” brake response. Please test the brake at low speeds before using. If your brakes are
too tight, loosen the adjustment bolt once again and adjust the brake wire accordingly.
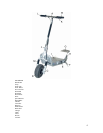
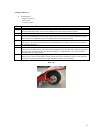
Rear Tire
8


