181-1269-14 Power Sport Recreational Application Operator’s Manual Page 21
D. Cleaning/Replacing Air Cleaner
Your engine has an air cleaner which helps prevent
premature engine wear and failure. NEVER run engine
without complete air cleaner installed on engine. Your air
cleaner’s filter(s) periodically needs to be cleaned or
replaced. To do this, you first need to determine the type of
air cleaner on your engine. Your engine will be equipped
with one of the following air cleaners; Type A, B, C, D or E.
See Figure 42 thru Figure 46. Follow instructions for the air
cleaner type that resembles your model.
NOTE
Contact your Authorized Tecumseh Servicing Dealer for
Tecumseh Air Cleaners.
I. Servicing Foam Pre-Filters
Clean foam pre-filter every 3 months or every 25 operating
hours. Clean daily if used in extremely dusty conditions.
After removing the pre-filter, follow these cleaning
instructions below:
1. Wash in warm water and detergent solution then press
(DO NOT twist) until all dirt is removed.
2. Rinse thoroughly until water is clear.
3. Wrap in a clean cloth and press (DO NOT twist) until
completely dry.
NOTE
DO NOT oil a foam pre-filter.
4. Replace foam pre-filter onto paper filter.
II. Servicing Paper Filters
Paper filters cannot be cleaned and must be replaced once
a year or every 100 operating hours; more often if used in
extremely dusty conditions. Replacement filters are
available at an Authorized Tecumseh Servicing Dealer.
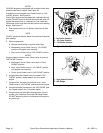
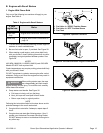
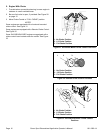
Follow the instructions next to the drawing of your air
cleaner to remove and replace it.
NOTE
DO NOT put oil on or clean a paper filter.
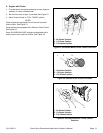
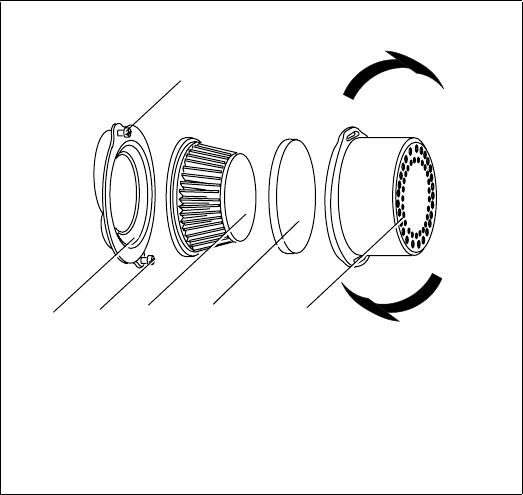
E. Type “A” Air Cleaner
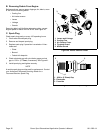
1. Loosen cover screws. See Figure 42.
2. Turn cover counterclockwise and remove from base.
3. Remove optional foam pre-filter, if provided, from
cover. Inspect for dirt or debris accumulation. If either is
present see "I. Servicing Foam Pre-Filters"
instructions.
4. Remove paper filter from base. Inspect filters for
discoloration or dirt accumulation. If either is present,
see "II. Servicing Paper Filters" instructions.
5. Clean inside of base and cover thoroughly.
6. Install new paper element into base.
7. Install optional foam pre-filter into cover.
8. Turn cover clockwise and attach to base.
9. Tighten screws securely.
Figure 42. Type “A” Air Cleaner Assembly
1. Base
2. Cover Screws
3. Paper Filter
4. Foam Pre-Filter (Optional)
5. Cover
45132
2


