


19
SECTION 3 – MAINTENANCE
3.1 INTRODUCTION
To retain the quality of the Turf Cruiser™/Trail Cruiser™
utility vehicle, use genuine SNAPPER replacement parts
only. Contact a local SNAPPER dealer for parts and
service assistance. For the correct part or information,
always mention the model and serial number. SNAPPER
recommends returning the utility vehicle to an authorized
SNAPPER dealer annually for inspection and addition of
any new devices, which might upgrade the safety of the
machine. For the nearest SNAPPER dealer in your area,
check the Yellow Pages under the heading “LAWN
MOWERS”. For engine parts and service, look for the
engine manufacturer’s dealers under the heading,
“ENGINES – Gasoline”.
3.2 SERVICE - AFTER FIRST 5 HOURS
Routine maintenance is important to the performance
and life of your vehicle. Service performed properly and
at the recommended interval is essential. Refer to
Section “MAINTENANCE SCHEDULE” in this manual
and in the Engine Owner’s Manual. Carefully complete
all of the recommended service procedures.
IMPORTANT: Before working under a raised cargo
bed, the bed must be empty and the prop rod securely
latched.
3.2.1. Change Engine Oil
NOTE: The ServiceMinder is programmed to remind
operator to change oil after first 8 hours of use. Should
you choose instead to change oil after the first 5 hours
of operation, simply disregard the ServiceMinder
message.
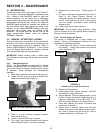
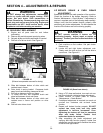
1. Raise empty cargo bed and secure with prop rod.
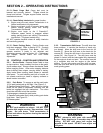
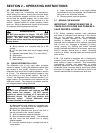
2. Locate oil drain plug on engine at bottom front
center of crankcase. See Figure 3.1.
FIGURE 3.1
3. Place a 2 quart minimum capacity container
under the drain plug.
4. Loosen or remove oil fill cap on engine.
5. Turn drain plug counter-clockwise and remove.
Allow sufficient time for oil to drain completely.
6. Reinstall the oil drain plug. Torque plug to 12
ft-lb.
7. Fill engine crankcase to proper level with new oil.
Refer to the Engine Owner’s Manual for
crankcase capacity and oil specifications. Do not
overfill. The machine must be on a level surface
and the dipstick unthreaded when checking
engine oil level.
8. Lower cargo bed and latch securely.
IMPORTANT: Any oil spilled during draining or filling
must be cleaned off of the machine before operating.
Dispose of drain oil properly.
3.2.2. Service Engine Air Cleaner
The engine is equipped with a large capacity air
cleaner. Service and replacement intervals will vary
depending on operating conditions.
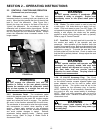
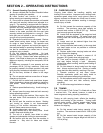
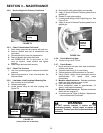
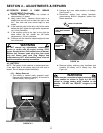
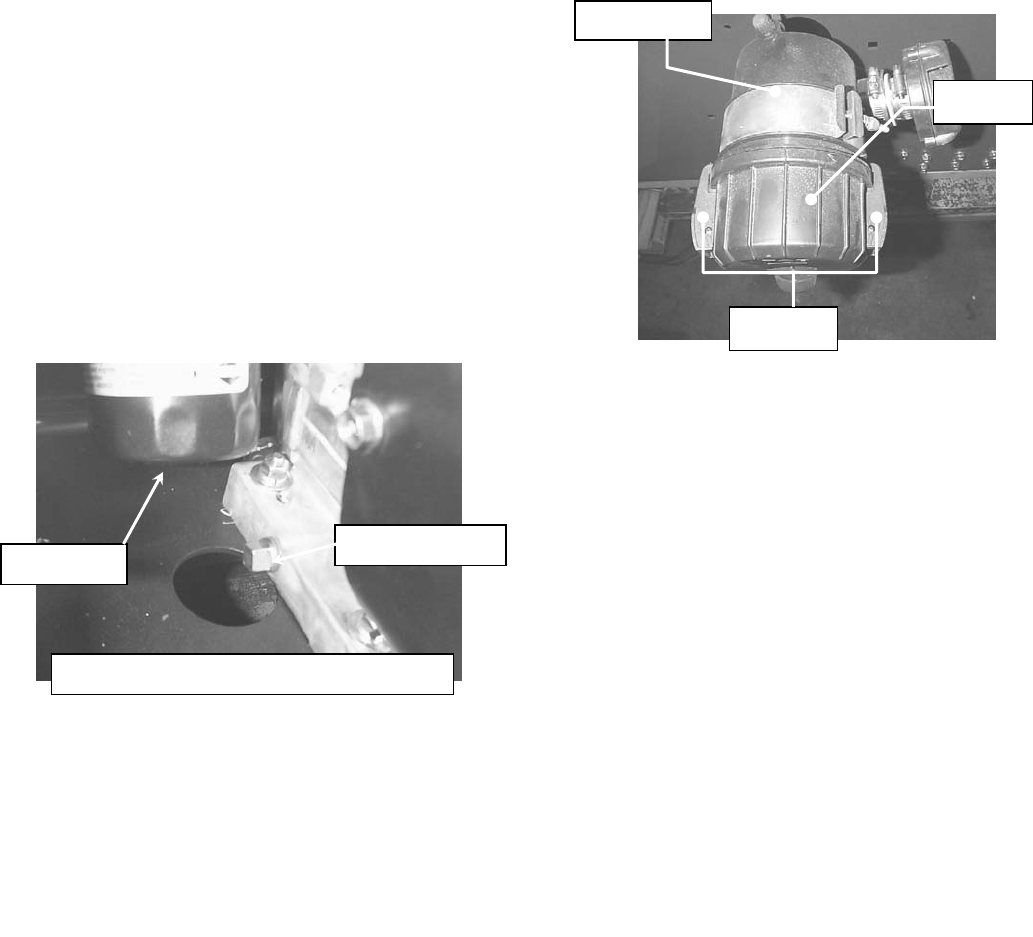
1. Locate engine air cleaner. Cover is retained with
two latches. Unsnap both latches and remove
cover. See Figure 3.2.
FIGURE 3.2
(Viewed from top, cargo bed removed)
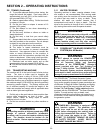
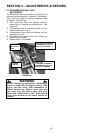
2. Remove air filter element.
3. Clean inside of filter canister carefully - DO NOT
allow debris to enter intake tube.
4. Service element. Clean by tapping gently on firm
surface. Tapping will remove loose debris only. If
cartridge is damaged or dirty, REPLACE IT. DO
NOT oil the filter element or use pressurized air.
5. Place filter element into center of canister and
press firmly to seat fully.
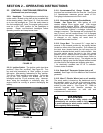
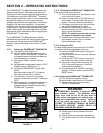
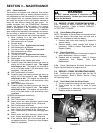
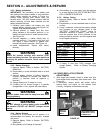
6. Attach cover to canister. Make sure that both
latches are hooked on the flange on the canister,
the cover is secure and the duck bill valve is
located at the bottom. See Figure 3.3.
LATCHES
CANNISTER
COVER
OIL DRAIN PLUG
NOTE: HEAT SHIELD REMOVED FOR CLARITY.
OIL FILTER
22